
24 to 48 Hours to Stop Ceiling Water Stains: UK DIY That Works
- WM Creative Designs Limited
- 11 hours ago
- 10 min read
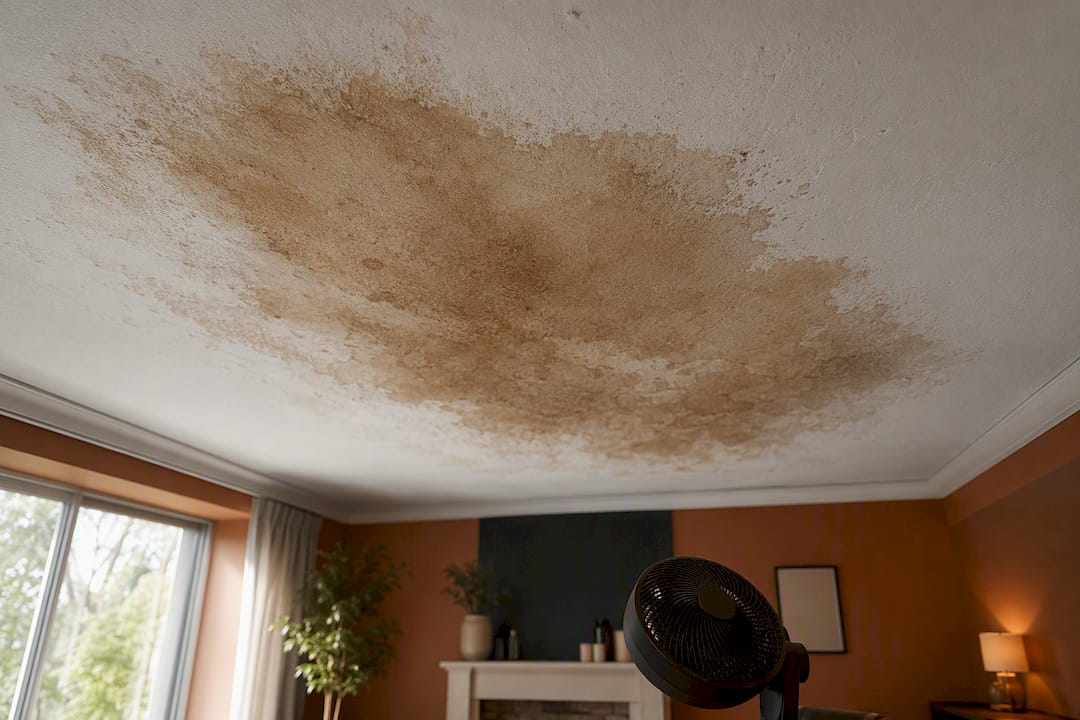
Yes, but paint alone never fixes a water stain. Stop the leak, let the ceiling dry fully, seal the mark with a stain-blocking primer (shellac or oil for anything stubborn), then repaint. If the plasterboard feels soft, the stain is still spreading, or you can smell damp mustiness, put the roller down and call a professional before you touch it.
TL;DR:
Water stains that bleed through after painting indicate an unresolved leak or moisture source that requires fixing before repainting.
A stain that reappears after rain or shows signs of soft, crumbling plasterboard needs professional repair and replacement, not just patching.
Stain-blocking primers like shellac or oil-based options are essential for sealing persistent stains and preventing bleed-through in the long term.
Proper drying times, thorough surface prep, and full ceiling re-coating are crucial steps to stop water stains from returning and ensure a durable finish.
Homeowners should avoid painting over fresh stains, patching only the visible mark, or using water-based primers on stubborn stains to prevent repeat problems.
Table of Contents
What’s causing the ceiling water stain paint fix has to address?
Location tells you almost everything. A ring near an external wall or under a loft hatch usually points to roof or flashing failure. A stain below a bathroom or en-suite is nearly always a pipe joint, shower tray seal, or overflowing bath. A patch that appears only in cold weather and never quite dries out is often condensation rather than a leak at all, particularly in poorly ventilated bathrooms or kitchens.
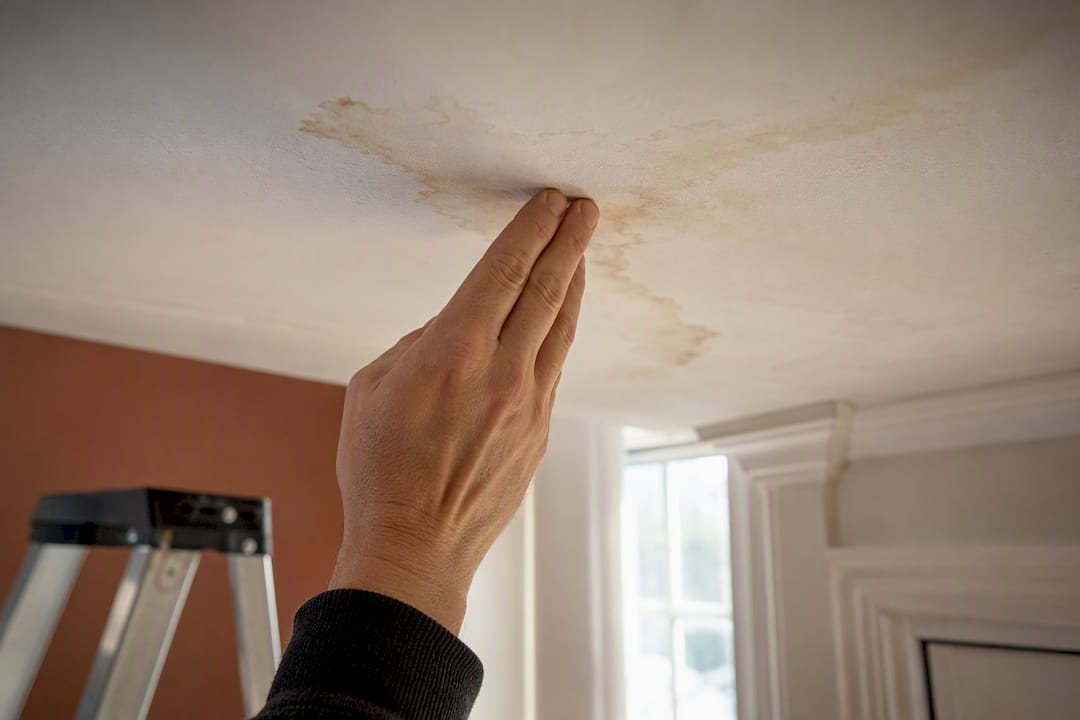
Before you plan any repair, run two quick checks. Trace the outline of the stain in pencil, wait a few days, and see whether it has grown. Press the centre gently with a fingertip. If it gives way or feels spongy, you’re not dealing with a paint job yet.
Fresh, unpainted stain with a musty smell: likely active damp or mould, needs treatment before any primer goes near it.
Dry, hard edge that hasn’t moved in weeks: probably a resolved historic leak, safe to prepare and paint.
Damp patch that reappears after rain: roof or flashing issue, needs a roofer’s inspection.
Stain directly under bathroom plumbing: check waste pipes and shower seals, or bring in a plumber.
Painting over a stain before the source is fixed only hides the problem temporarily, and it will bleed straight back through, as SERPRO’s guidance on water stains makes clear. If water is actively dripping, the ceiling is bulging, or you spot black mould spreading rather than a single dry patch, that’s not a weekend DIY job. Get a tradesperson out first.
Inspect the ceiling before deciding whether patching will do
A stain that looks cosmetic on the surface can be hiding a plasterboard that’s already failed. Work through this before you buy a single tin of primer.
Press test: push firmly on the stained area with your palm. Any give, sponginess, or crumbling means the board has lost integrity and needs cutting out and replacing rather than painted over, a threshold BobVila’s ceiling stain guide sets out clearly.
Visual check: look for flaking or bubbling paint, sagging in the ceiling line, or staining that’s noticeably darker at the centre than the edges, which usually means a deeper, longer-running leak.
Dryness check: touch the area and compare it to unaffected ceiling nearby. A moisture meter, if you have access to one, gives a proper reading rather than a guess.
Safety sweep: note any light fittings, smoke alarms, or wiring near the stain, since water and electrics are a genuinely dangerous combination. Set up your ladder on a firm, level base, and if you’ll be using a solvent-based primer, open windows and doors before you start.
Pro Tip: Shine a torch across the ceiling at a low, raking angle rather than straight on. Shadows and dips that are invisible under normal light jump out immediately and tell you exactly where the board has sagged.
How long should you wait before priming a ceiling stain?
Patience is the step most DIYers skip, and it’s the one that causes repeat failures. A small, isolated leak that’s already stopped typically needs 24 to 48 hours of drying time before you prime. A larger leak, a persistently damp room, or a British winter with the heating off will push that out considerably, sometimes to a week or more.
Running a dehumidifier in the room and pointing a fan at the ceiling speeds things along noticeably. Damp behind a stain isn’t just cosmetically annoying either. Mould can start colonising a wet patch within 24 to 48 hours, according to SERVPRO’s research on water damage, so slow drying is a health issue as much as a decorating one.
Once the ceiling is properly dry, work through preparation in this order:
Wipe down any residue, grime, or discoloured deposits with a mild detergent solution and let it dry again.
If you spot mould rather than plain water staining, treat it with a fungicidal wash first and allow the full drying time stated on the product before doing anything else.
Mask off light fittings, skirting, and flooring, and lay dust sheets, since primer drips are far harder to shift than emulsion.
Sand any flaking or loose paint back to a sound edge, feathering it out so there’s no ridge for the new coat to sit against.
Skipping the sanding step is how you end up with a visible bump under the new paint months later, especially under side lighting.
Which primer actually stops the stain coming back?
This is where most repaint jobs go wrong. Ordinary emulsion, even two or three coats of it, will not stop a water stain. Tannins and mineral salts left behind by the water are water-soluble, and they migrate straight through a standard latex topcoat given enough time, which is why the stain always looks like it’s “coming back” a few weeks later. A stain-blocking primer is the only reliable barrier.
Which chemistry you need depends on how stubborn the mark is:
Shellac-based primer: the strongest option for old, dark, or repeat-bleed stains. It dries within minutes and seals almost anything, but it has a strong solvent smell and needs proper ventilation.
Oil-based primer: nearly as reliable as shellac and a good middle-ground choice, though it takes several hours to recoat rather than minutes.
Water-based stain blocker: fine for light, fresh, first-time staining with no odour and easy soap-and-water clean-up, but it’s the weakest of the three against a stain that’s already bled through once.
UK decorators tend to reach for shellac on the toughest jobs specifically because of that fast dry time and sealing strength, even accepting the smell as a trade-off, a preference Zinsser’s UK guidance also backs for stubborn water rings. If you’re working in a small bedroom with limited airflow, oil-based is often the more comfortable compromise.
For the topcoat, stick to a flat or matt ceiling paint rather than anything with sheen, since sheen exaggerates every roller mark and any residual unevenness in the surface. In a bathroom or kitchen where condensation caused the original problem, a moisture-resistant or bathroom-formulated ceiling paint is worth the small price difference over standard emulsion.
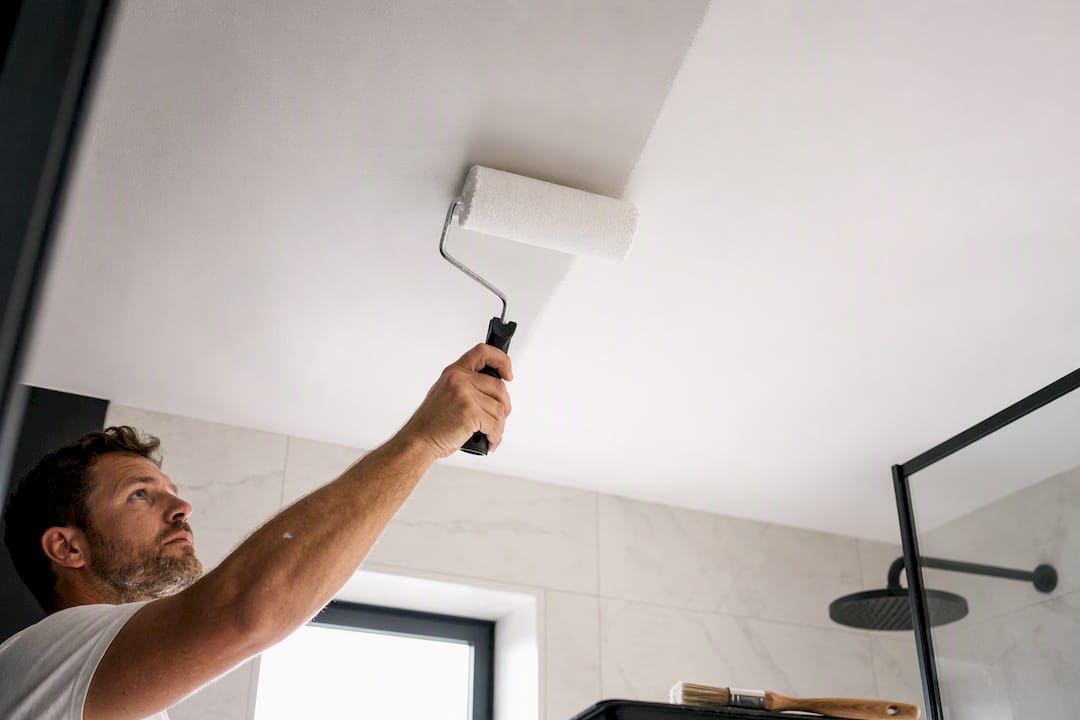
You’ll find shellac and oil-based primers, plus flat ceiling emulsions, at most independent decorators’ merchants, the larger DIY chains, and online paint suppliers across the UK. Independent merchants are usually your best bet for trade-grade primer and honest advice on quantities for a specific ceiling size.
Step-by-step: priming and repainting a dry, stable stain
Once the ceiling has dried out properly and passed the press test, the job itself is straightforward if you follow the sequence in order.
What you’ll need: stain-blocking primer, a small roller or brush for cutting in, a medium-pile roller (around 9 to 12mm nap) for the main ceiling, flat ceiling paint, a dust mask at minimum, and a proper respirator rated for organic vapours if you’re using shellac or oil-based primer.
Ventilate the room fully, open windows, and put on your mask or respirator before opening any solvent-based primer.
Cut in around the edges of the stain and the ceiling perimeter with a brush, then apply the primer over the stain itself, feathering the coat 5 to 7cm beyond the visible edge of the mark so you catch any tannin spread the eye can’t see, a margin Housewise’s application guide recommends specifically to stop bleed-through at the edges.
Let the primer dry fully, then inspect it under a torch at a low angle. If you can still see the faintest shadow of the stain, apply a second coat over that area only.
Once you’re confident the stain is sealed, roll two full coats of flat ceiling paint across the entire ceiling, not just the patch, working in slightly overlapping strips while the edges are still wet to avoid roller lines.
Check the finished ceiling again with raking light once fully dry. If a mark is still bleeding through after two primer coats, stop and treat that as a sign the underlying leak or damp source hasn’t actually been resolved.
For small, isolated marks under about 15cm across, an aerosol shellac primer gives even, controlled coverage without the mess of decanting a tin, a technique worth knowing about from Housewise’s guide for anything bigger than that, switch to a roller for consistency.
Pro Tip: Always repaint the whole ceiling plane rather than just the patch. A single patched square, even a well-blended one, catches the eye under any change in light. A full recoat costs you a bit more paint and an extra hour, but it’s the difference between a repair and an invisible one, as The Spruce’s repaint guidance also points out. Correct sequencing, fix the leak, dry fully, clean and sand, prime, then two full topcoats, is what actually stops the mark returning.
If preparation was thorough and the mark still ghosts through after two coats of primer, the leak almost certainly hasn’t been fully resolved. Recheck the source before you touch the ceiling again.
When to call a professional instead of tackling it yourself
Some stains are a Saturday afternoon job. Others need a tradesperson before you go anywhere near a paintbrush. Call in help if the leak is still active, if there’s any visible mould rather than a dry historic mark, if the board feels soft or spongy under the press test, or if the same patch has bled through more than once despite a proper repaint.
A plumber can trace and fix a bathroom leak at its source, and if the cause turns out to be roof-related, a roofer’s inspection will confirm whether flashing or tiles need attention before any ceiling work makes sense. Once the source is sorted, that’s where Abrushwithgus fits in for homeowners across Cornwall and the South West who’d rather not manage plasterboard replacement, controlled drying, and solvent primers themselves.
A proper professional repair goes further than a DIY spot fix. It typically means cutting out and replacing damaged board and any wet insulation behind it, running proper drying equipment rather than an open window, and applying trade-grade stain-blocking primer before a full ceiling recoat that leaves no visible join. Abrushwithgus handles this as part of its domestic painting and decorating work, and if the damage extends to exterior render or guttering that caused the leak in the first place, the team’s exterior cleaning and maintenance services cover that side too. Getting a quote is straightforward: get in touch, describe the stain and its history, and Abrushwithgus can arrange an inspection to confirm what’s needed before any work starts.
A decorator’s honest take on the mistakes homeowners keep making
The single most common mistake is sequencing. Homeowners paint over a stain the same week it appears, before the ceiling has actually dried, and then wonder why it reappears a month later looking worse than before. Painting first and investigating never works; it just adds a paint layer on top of an unresolved problem.
The second mistake is reaching for whatever emulsion is left in the shed instead of a proper stain-blocking primer. Water-based products are fine for a faint, one-off mark, but they’re consistently the wrong choice for anything that’s already bled through once. And the third is patching only the stain itself rather than recoating the full ceiling. It saves paint and costs you a visible join that catches the light every evening.
If you’re unsure whether your ceiling needs a DIY fix or a proper inspection, our wall preparation guide and primer guide cover the groundwork in more depth, and Abrushwithgus is always happy to take a look in person if you’d rather have a second opinion before you start.
— Angus
Get a ceiling water stain fixed properly, without the trial and error
Abrushwithgus is the practical alternative to guessing your way through a stain repair with a shed full of half-used tins. For homeowners across Cornwall and the South West, that means one visit sorts the board replacement, the drying, and the primer choice, rather than three separate trips to the merchants while the mark keeps bleeding through.

Where a DIY repair asks you to judge drying times, choose between shellac and oil primer, and match sheen across a whole ceiling, a professional job removes that guesswork entirely. Abrushwithgus brings trade-grade stain blockers and proper drying equipment to every job, so the repair holds rather than needing redoing in six months. The team also handles the damp-proofing side of things when condensation is the real culprit, covered in more detail in the damp-proofing painting guide, and can pair ceiling repairs with exterior fixes where a leak has come from outside, through the exterior home services. If your ceiling stain has come back more than once or the board feels soft to the touch, get in touch through the domestic services page for a quote and inspection.
Sources
Water stains on ceilings & walls: Causes & solutions | SERVPRO
How to block water stains on a ceiling that keeps bleeding - Housewise
How to paint over interior water-stained surfaces | Zinsser UK
How to know if ceiling water stains mean a bigger problem | BobVila
How to paint over water stains and stop them returning | The Spruce
Recommended
Comments