
Essential tools for home painting: your 2026 guide

TL;DR:
Home painters need basic tools like brushes, rollers, and surface prep equipment for a lasting, professional look. Proper selection of brushes, rollers, and thorough surface preparation prevent common painting failures. Maintaining tools and investing in quality supplies improve results and save money over time.
The essential tools for home painting are the fundamental equipment every homeowner needs to achieve a clean, lasting finish without calling in a professional for every job. Getting the right kit before you start is the single biggest factor separating a satisfying result from a patchy, peeling disappointment. A beginner’s core painting kit covers seven items and costs roughly £35–£70, which is a modest outlay for results that last years. Abrushwithgus, a professional decorating firm serving the South West, uses this same foundational list as the baseline for every domestic project.
1. The right paintbrushes for every job
Paintbrushes are the most personal item on any painting supplies checklist. The wrong brush leaves streaks, bristle marks, and frustration. The right one makes cutting in feel effortless.
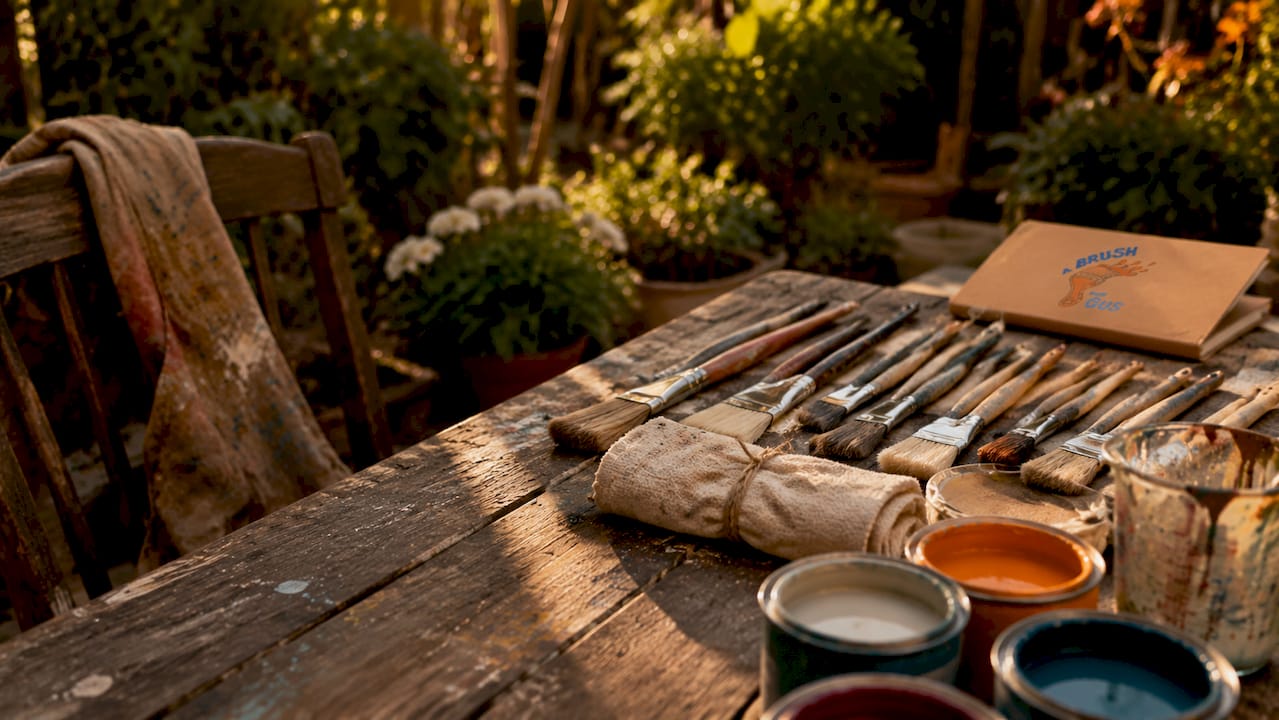
The 2½-inch angled sash brush is the industry standard for cutting in along edges, corners, ceiling lines, and trim. Its angled tip gives you control that a flat brush simply cannot match. For tighter spots such as window glazing bars or detailed architrave, a 1-inch brush is the correct choice.
Bristle type matters as much as size. Synthetic bristles (nylon or polyester) work best with water-based latex paints because they hold their shape when wet. Natural bristles, made from animal hair, are suited to oil-based paints and varnishes. Using a natural bristle brush with latex paint causes the bristles to swell and go limp.
2½-inch angled sash brush: cutting in edges, ceiling lines, and trim
1-inch detail brush: window bars, tight corners, and fine mouldings
Synthetic bristles: water-based and latex paints
Natural bristles: oil-based paints and varnishes
2-inch flat brush: broad trim areas and skirting boards
Pro Tip: Wrap your brush tightly in plastic wrap between coats to stop the paint drying out. This saves you a full clean between sessions and extends the life of the bristles.
2. Paint rollers and how to choose the right cover
A roller covers wall and ceiling area far faster than any brush. Choosing the correct roller cover for your surface is what separates a smooth finish from a textured mess.
The standard 9-inch roller frame fits most wall and ceiling jobs. It holds enough paint to work efficiently without becoming too heavy to control. Pair it with an extension pole to reach ceilings and high walls without climbing a ladder for every stroke.
Nap thickness determines how much paint the cover holds and how it releases onto the surface. Thicker nap holds more paint and pushes it into rough textures. Thinner nap gives a smoother, flatter finish on already-smooth surfaces.
Surface type | Recommended nap thickness |
Smooth drywall or plaster | 3/8 inch |
Lightly textured walls | 1/2 inch |
Rough surfaces (brick, pebbledash) | 3/4 inch or greater |
A roller tray and a set of disposable tray liners round out this part of your kit. Liners mean you can switch colours quickly and skip the tray wash between coats.
Pro Tip: Dampen your roller cover with water before loading it with latex paint. This primes the fibres and helps the paint spread more evenly from the first stroke.
3. Surface preparation tools you cannot skip
Surface preparation failures are the most common cause of poor paint adhesion, regardless of how good your paint or brushes are. Prep tools are not glamorous, but they do more for the final result than any premium roller cover.
Sanding blocks and sandpaper are the starting point. Use them to degloss shiny surfaces, smooth rough patches, and scuff previously painted areas so the new coat has something to grip. A medium-grit block (around 120 grit) handles most walls, while a finer grit (180–220) suits woodwork.
Putty knives and spackling compound let you fill holes, cracks, and dents before you paint. Apply the compound, let it dry fully, then sand it flush. Skipping this step means every imperfection shows through the finished coat.
Sanding block or sandpaper (120 and 180–220 grit): deglossing and smoothing
Putty knife: applying and feathering spackling compound
Spackling compound: filling holes, cracks, and nail pops
Degreasing cleaner and lint-free rags: removing grease, dust, and residue before painting
Painter’s tape: protecting trim, windows, and adjacent surfaces
Pro Tip: Remove light switch and outlet covers before you start and store all the screws in one small container. You will save time at the end and avoid losing hardware mid-project.
For a thorough walkthrough of prep technique, the Abrushwithgus guide on preparing surfaces for painting covers every step in detail.
4. Protective and convenience tools for comfort and safety
Protecting your floors, furniture, and yourself is not optional. The right protective kit prevents accidents and keeps your clean-up time short.
Canvas drop cloths absorb paint splashes and provide non-slip footing on hard floors. Plastic sheeting is better for draping over furniture because it is lighter and easier to tuck in, but it is slippery underfoot and a genuine trip hazard on floors. Use canvas on the floor and plastic over anything you need to cover but will not walk on.
A sturdy step ladder or small step stool gives you safe access to the top of walls and ceiling edges. Do not substitute a chair or a box. Falls from improvised platforms account for a significant share of DIY injuries every year.
Canvas drop cloths for floor protection and safe footing
Plastic sheeting for draping furniture and fixtures
Step ladder or step stool for safe access to high areas
Disposable gloves to protect skin from paint and solvents
Old clothing or a decorator’s overall to protect against splashes
Paint bucket or cut bucket for decanting paint when working at height
Pro Tip: Use a small, lightweight container rather than a full paint tin when cutting in from a ladder. A lighter load reduces arm fatigue and the risk of a spill.
5. Multi-use painter’s tools and gadgets worth owning
A handful of multi-function tools reduce clutter and save time on site. Professional painters rate multi-use painter’s tools highly for combining a scraper, roller cover cleaner, and built-in wrenches in one pocketable device. For a DIY homeowner, owning one of these replaces three separate items.
Beyond the multi-tool, a few small additions make a real difference to your workflow.
Roller cleaner and brush comb: removes dried paint from bristles and roller fibres, extending tool life significantly
Pour spout or resealable paint can lid: reduces mess when decanting paint and keeps the tin sealed between sessions
Stir sticks: always stir paint thoroughly before use, even if it looks well mixed in the tin
Paint can opener: a flat-head screwdriver damages the lid seal; a dedicated opener preserves it
Keeping your tools clean and stored correctly after each session is the single best investment you can make in your kit. A well-maintained brush used twenty times costs far less per job than a cheap brush thrown away after one use. Buy fewer tools, buy better ones, and look after them.
For more on technique and tool use together, the Abrushwithgus article on painting walls professionally is worth reading before you start.
Key takeaways
The most effective approach to home painting is to invest in quality prep tools first, then choose brushes and rollers matched to your specific surface and paint type.
Point | Details |
Match brush to paint type | Use synthetic bristles for latex paints and natural bristles for oil-based products. |
Match roller nap to surface | Choose 3/8-inch nap for smooth walls, 1/2-inch for textured, and 3/4-inch or more for rough surfaces. |
Prioritise surface preparation | Skipping sanding and deglossing is the leading cause of paint adhesion failure. |
Use canvas on floors | Canvas drop cloths absorb paint and resist slipping; plastic sheeting is a slip hazard underfoot. |
Maintain your tools | Cleaning and storing brushes and rollers correctly extends their life and lowers your cost per project. |
What I have learned from years of watching homeowners get this wrong
Most homeowners spend too much on paint and too little on prep tools. I have seen beautifully expensive paint peel off a wall within a year because the surface was not deglossed or cleaned properly beforehand. No brush or roller can fix a surface that was not ready to receive paint.
The second mistake is buying too many brushes. You do not need a full set. A 2½-inch angled sash brush and a 1-inch detail brush handle almost every interior job. Spend the money you save on a quality brush comb and a proper canvas drop cloth instead.
The third thing I would tell any homeowner is this: the tools that feel boring are the ones that matter most. Painter’s tape, sanding blocks, spackling compound, and a degreasing cleaner will do more for your finished result than any gadget. The role of prep in painting is not a footnote. It is the whole story.
— Angus
When the project calls for a professional finish
Sometimes the right tool for the job is a professional decorator.

Abrushwithgus offers domestic painting services across the South West, covering interior and exterior residential projects. The team uses professional-grade equipment, including airless spraying rigs and specialist surface preparation methods, to deliver finishes that hold up for years. Whether you need a single room refreshed or a full exterior repaint, Abrushwithgus provides a free quotation and a straightforward, friendly service. For larger or more complex jobs, professional spraying services can cut project time significantly compared to brush and roller alone. Get in touch with Abrushwithgus to discuss your project.
FAQ
What brushes do I need to paint a room?
A 2½-inch angled sash brush handles cutting in along edges and trim, while a 1-inch brush covers tight detail work. Those two sizes cover almost every interior painting task.
How do I choose the right roller nap thickness?
Use a 3/8-inch nap for smooth drywall, a 1/2-inch nap for lightly textured walls, and a 3/4-inch or thicker nap for rough surfaces such as brick or pebbledash.
Why does surface preparation matter so much?
Skipping sanding or deglossing is the leading cause of paint adhesion failure. Even high-quality paint will peel if applied to a dirty, shiny, or uneven surface.
Is a canvas drop cloth better than plastic sheeting?
Canvas drop cloths are better for floors because they absorb paint and provide non-slip footing. Plastic sheeting is suitable for covering furniture but is slippery underfoot and should not be used on walking surfaces.
How do I keep paintbrushes fresh between coats?
Wrap the brush tightly in plastic wrap to prevent the paint from drying out during short breaks. This reduces cleaning frequency and extends the life of the bristles.
Recommended
Comments