
Shellac Primer Stops Nicotine Stains: DIY or Hire a UK Pro
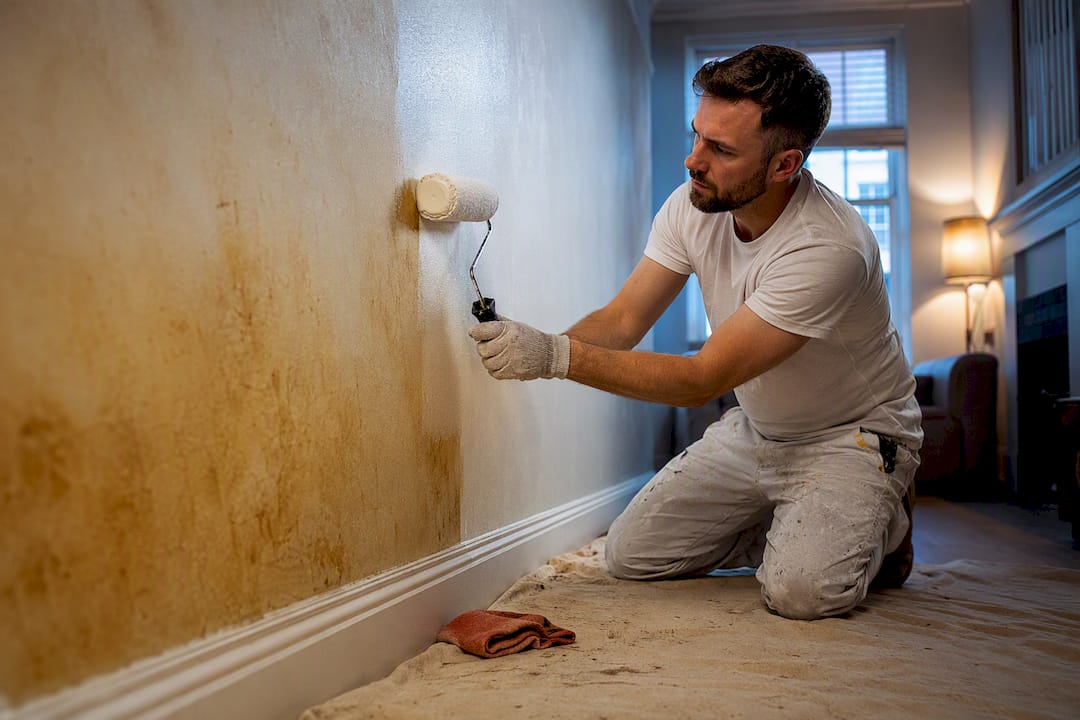
Don’t trust ordinary emulsion on nicotine-stained walls. Clean the surface thoroughly with a degreaser like TSP or sugar soap, seal it with a shellac-based stain-blocking primer such as Zinsser B-I-N, then topcoat once the primer has cured. Standard water-based paint alone will let the yellowing bleed straight through within weeks. Work with the windows open and a respirator on, and if a whole room is saturated, bring in a professional decorator instead of fighting it room by room.
TL;DR:
Proper cleaning with degreasers like TSP or sugar soap is essential to remove nicotine residues before sealing the surface.
Shellac-based primers such as Zinsser B-I-N are necessary to block nicotine bleed, especially on heavily stained or saturated walls.
Applying the primer in thin, even coats and ensuring the surface is fully dry and clean prevents future yellowing and odour reemergence.
Overpainting with water-based emulsion is safe once the primer has cured, but it requires two coats for thorough coverage and to avoid shadowing.
Whole-room nicotine saturation or persistent odours warrant professional intervention for better ventilation, even application, and complete odour removal.
Table of Contents
How do you clean and test nicotine-stained walls before painting?
Why does shellac primer stop nicotine bleeding through paint?
What paint should you use over a nicotine-stained wall once it’s sealed?
Why is the yellow coming back after painting over nicotine stains?
When should you call a professional instead of doing it yourself?
Tools and products you need for nicotine stain painting
Get everything on the surface before you touch a brush to it. Half the DIY failures on nicotine-stained walls come from someone reaching for a roller before the wall is actually clean and dry.
Sugar soap or TSP (trisodium phosphate) for the initial degrease
Methylated spirits for stubborn tar and grease patches sugar soap won’t shift
Shellac-based stain-blocking primer, such as Zinsser B-I-N, for sealing the stain
A quality water-based topcoat for the finish, plus filler and 120 to 180 grit sandpaper for repairs
Natural-bristle brushes and a short-nap roller (shellac primer eats synthetic bristles)
A respirator rated for organic vapours, nitrile gloves, and sealable bags for solvent-soaked cloths
Pro Tip: Buy a cheap natural-bristle “throwaway” brush just for the shellac primer coat. Synthetic bristles can go stiff and clumped after one dip, and you’ll waste more time cleaning the brush than you saved on it.
How do you clean and test nicotine-stained walls before painting?
Cleaning comes first, and it’s not optional even if you’re planning to prime everything anyway. Priming over a tacky, nicotine-saturated surface is the single most common reason DIY jobs fail, because the primer never gets a clean surface to bond to.
Mix sugar soap or TSP according to the packet instructions, usually a capful per litre of warm water, and work in a well-ventilated room.
Wash the walls and ceiling in overlapping sections, top to bottom, rinsing your cloth or sponge frequently so you’re not just smearing residue around.
Rinse with clean water and a fresh cloth, then let the surface dry fully. Damp plaster won’t take primer properly, so give it a day if the room is cold or poorly ventilated.
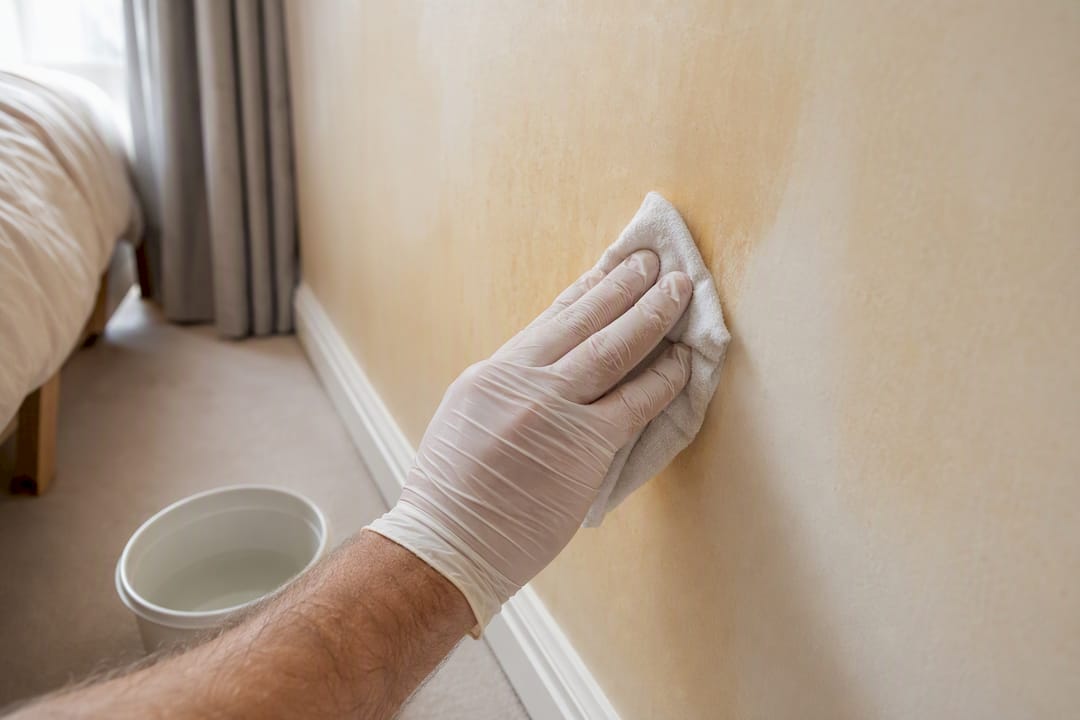
Run the wipe test: after the wall looks clean and dry, wipe a small patch with a fresh white cloth. If yellow keeps transferring after several passes, the nicotine has soaked into the substrate and cleaning alone won’t fix it.
Once you’ve confirmed the residue has stopped transferring, deal with any remaining physical damage. Scrape off loose or flaking paint, fill cracks and nail holes, and sand everything back to a smooth, even key.
Check moisture levels before priming, particularly in older properties or rooms that have had condensation problems. If the wall feels cool and damp to the touch, wait.
If your test patch keeps lifting colour no matter how many times you wash it, treat that as your green light to seal rather than clean further. CompositePaint’s guidance backs this up: repeated washing has diminishing returns once the substrate itself is saturated, and sealing becomes the only reliable route. For a wider refresher on getting a wall properly ready before any primer goes near it, our guide to wall preparation essentials covers the same groundwork in more detail.
Why does shellac primer stop nicotine bleeding through paint?
Nicotine and tar are oil-soluble. Water-based paint dries by letting water evaporate out of an acrylic film, and that same water reactivates the tar residue sitting underneath it, dragging the yellow stain straight up through the fresh coat. A shellac-based primer works on an entirely different principle: it’s dissolved in alcohol, not water, so it dries by solvent evaporation and forms a hard, non-porous film that physically locks the stain and its smell beneath it. That’s why Zinsser B-I-N remains the reference product for this exact job across the UK trade.
Applying it correctly matters as much as choosing the right product:
Apply in thin, even coats. Thick, heavy coats take longer to flash off and are more likely to show brush marks once dry.
Brush or roll for small areas; for full ceilings or heavily stained rooms, a fine-finish spray gives a more even film and cuts application time considerably.
Flash time is fast, typically under 30 minutes, but check the tin for your specific product and room temperature.
Heavier nicotine staining generally needs a second coat rather than relying on one pass to do everything. Trade guidance from Specialist Paints Online puts typical coverage for professional-grade shellac primer at around 350 square feet per gallon, though this varies between products, so check the tin before you buy enough for the room.
Ventilate properly. Shellac primer releases strong alcohol fumes as it dries, and in a closed British bedroom or lounge that builds up fast. Open every window, run a fan if you have one, wear an organic-vapour-rated respirator, and keep pets and children out of the room until the smell has fully cleared, usually a few hours after the final coat.
What paint should you use over a nicotine-stained wall once it’s sealed?
Once the shellac primer has properly cured, standard water-based emulsion goes on without issue. Zinsser AllCoat Interior is a solid choice here, offering broad colour matching and a durable stain-blocking topcoat in one product, while PermaWhite suits bathrooms or kitchens where moisture resistance matters more than colour flexibility.
Choose a matt or eggshell finish for ceilings and living spaces; use a more washable sheen in kitchens or hallways.
Respect the recoat window on the tin. Painting too soon over primer that hasn’t fully cured risks lifting or patchy sheen.
Two coats of topcoat is standard for full coverage and to avoid any shadowing where the primer shows through.
If you’re going from a dark, heavily stained wall to a pale colour, add a tinted undercoat first rather than relying on two thin topcoats to hide it.
Watch for lap marks by keeping a wet edge as you work across the wall, rather than stopping halfway and coming back once it’s tacky.
Why is the yellow coming back after painting over nicotine stains?
If yellow reappears within days or weeks, the primer coat was too thin, missed a patch, or went over a substrate that was still tacky from incomplete cleaning. That’s the single most common cause, and it’s fixable without stripping back to bare plaster.
Reapply a second, full coat of shellac primer over the affected patch, feathering it into the surrounding area.
Recheck your wipe test on any spot that’s still yellowing. If residue keeps transferring, the wall needs another clean before you prime again.
Persistent odour after painting often isn’t coming from the walls at all. Carpets, curtains, upholstery and ductwork hold smoke long after the plaster is sealed, and no amount of repainting will fix a smell coming from soft furnishings.
Pro Tip: If the smell lingers after a properly cured shellac seal, get the carpets professionally cleaned and check whether the extractor or central heating ducts need attention before you blame the paint job.
When should you call a professional instead of doing it yourself?
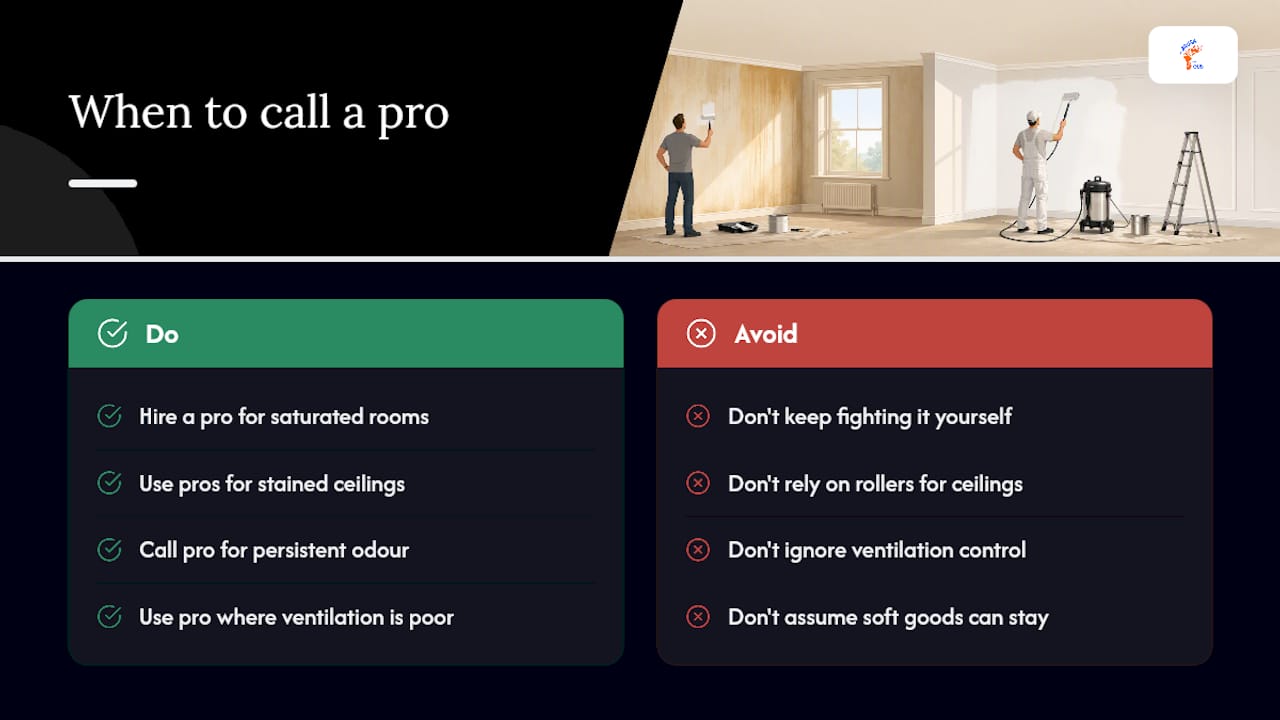
Whole rooms with saturated, tacky nicotine build-up, ceilings with years of staining, or persistent odour that survives a proper clean and seal are all good reasons to bring in a decorator rather than keep fighting it yourself. Professionals also make sense where ventilation is genuinely difficult, such as small bathrooms or box rooms with no window.
What changes with a professional job is technique as much as product. Airless spraying gives an even film across a whole ceiling in a fraction of the time a roller takes, with none of the lap marks that show up under strong light. Decorators also control ventilation properly across an entire property, sequence rooms so drying times don’t clash, and know when soft goods genuinely need removing rather than working around.
Abrushwithgus handles exactly this kind of remediation work across Cornwall and the South West, from single-room nicotine jobs to full property restorations, and our domestic painting services cover the full clean, seal and finish process described above.
The DIY advice that gets skipped, and shouldn’t
Most guides to painting over nicotine stains rush the cleaning step to get to the exciting part: the primer. That’s backwards. The wipe test matters more than the primer choice, because a saturated wall that hasn’t been properly washed will undermine even the best shellac product on the market. Skip that step and you’re just delaying the same failure by a few weeks.
The other thing conventional advice underplays is odour. Painting a wall seals the plaster, but it does nothing for the smell trapped in carpets, curtains or an extractor fan that’s been running through a smoky room for years. Treating a repainted ceiling as “job done” when the smell persists usually means someone missed the real source.
If there’s one priority for anyone tackling this themselves, it’s patience during preparation. Wash properly, test properly, and only pick up the primer once that wipe test comes back clean. Rushing straight to a shellac coat over a poorly cleaned wall wastes the most expensive product in the whole job.
— Angus
Get a quote for nicotine stain removal and repainting
Abrushwithgus is the practical alternative to spending a weekend fighting a saturated ceiling with a roller and a respirator that keeps steaming up. We handle the full process, from initial degreasing through shellac sealing to a sprayed or rolled topcoat, across domestic properties throughout Cornwall and the South West.

Our team assesses the extent of the staining first, since a single feature wall and a whole smoke-damaged flat need very different approaches and timeframes. Where a room needs full airless spraying for an even, fast finish, that’s covered under our spraying services; where the walls themselves need degreasing before any paint goes near them, our cleaning services handle that stage separately. A typical single-room job runs from a day for light staining to several days for full ceiling and wall saturation with multiple coats.
Get in touch through our domestic services page for a quote, and we’ll tell you honestly whether it’s a job worth doing yourself or one worth handing over.
Where to check the technical detail
For manufacturer application rates, safety data sheets, and recoat windows, go straight to the source: Zinsser’s own nicotine staining guidance and Rawlins Paints’ odourless method guide both carry current technical specifications for B-I-N and AllCoat Interior.
Sources
Recommended
Comments