
Paint Over Wallpaper Right First Time with Angus's Field Tested Rules
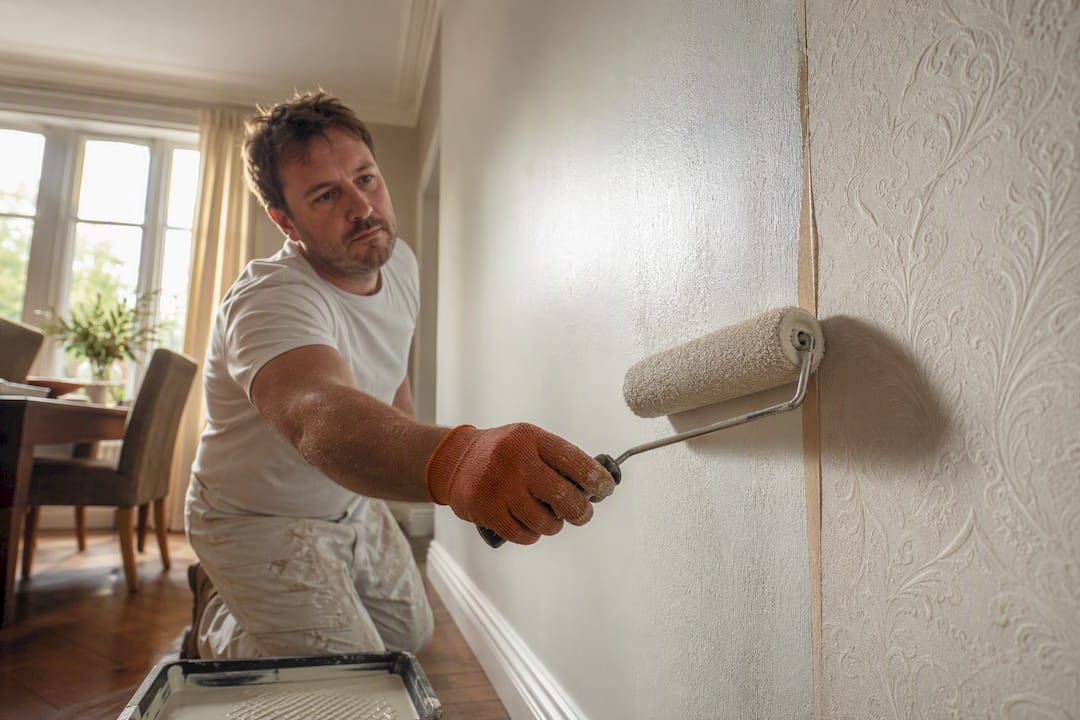
Yes, you can paint over wallpaper, but only if it’s smooth, firmly stuck down and free of tears, bubbles or damp. Treat this as a one-way decision: once painted, wallpaper becomes far harder to strip off later, and you’ll almost certainly need an oil or shellac primer plus a couple of extra coats to hide the pattern underneath.
TL;DR:
Painting over wallpaper is only viable if the surface is smooth, firmly attached, and free of tears, bubbles, or moisture, or removal may be necessary.
Suitable wallpapers include painted lining paper, tightly bonded paste-the-wall or vinyl paper, while textured, embossed, fabric-backed, or flocked papers should be stripped.
Proper preparation involves sealing seams with caulk, cleaning carefully, and ensuring the wall is fully dry before priming with an oil or shellac-based primer to prevent bubbling.
You should expect to apply one primer coat and two coats of paint, with a third coat often necessary for covering dark or heavily patterned wallpaper.
Walls that are moldy, damp, heavily embossed, or have multiple paper layers are better stripped to avoid sealing in underlying issues.
Table of Contents
Which types of wallpaper can you paint over?
Not every wallpaper is a fair candidate for a roller. The surface has to be flat, tightly seamed and properly bonded to the wall, which rules out a lot of older or decorative papers straight away.
Suitable for painting:
Lining paper — designed to be painted, and the safest starting point if your walls are uneven
Paste-the-wall or smooth papers with tight seams and no lifting edges
Vinyl wallpaper labelled as paintable, provided it’s fully stuck down with a compatible high-adhesion primer
Poor candidates:
Textured or embossed papers, where the pattern will show through no matter how many coats you apply
Fabric-backed or woven papers, which absorb moisture unevenly and can peel
Flocked wallpaper, which paint simply won’t grip properly
Before you commit, check every seam for lifting, press for bubbles, sniff for mustiness, and look for patchy staining that might mean more than one layer is hiding underneath. This Old House is blunt about it: tight seams and no tearing are the baseline, and textured or failing paper should be stripped, not painted.
Weighing the pros, cons and the point of no return
Painting over wallpaper is quicker and cheaper than stripping it, and it sidesteps the risk of gouging soft plaster underneath, which is a real hazard in older houses with lime plaster or multiple paper layers.
The trade off is permanence. Once painted, that wallpaper is staying, one way or another.
Pros: faster turnaround, lower material cost, no risk of damaging plaster during strip-back
Cons: seams and texture often remain visible under raking light, and future removal becomes a bigger job
The catch: HGTV notes that painted paper can be significantly harder to remove than plain paper, sometimes requiring stripping right back to plaster
Decorators tend to reach for paint over paper mainly to avoid disturbing dodgy plaster, or when the schedule simply doesn’t allow for a full strip. If that’s not your situation, and you’d rather keep your options open, removal is usually the better long-term call.
Prepare the wall: a step-by-step checklist
Skipping preparation is the single biggest reason painted wallpaper fails within months. Work through this in order:
Cut away loose edges with a sharp blade rather than trying to stick them back down. Anything you can lift with a fingernail needs dealing with now, not later.
Seal vulnerable seams with a flexible decorator’s caulk or specialist seam adhesive, pressed flat with a seam roller.
Clean without soaking. A damp sponge and mild detergent lift dust and grease; a saturated cloth reactivates the paste underneath and undoes all your good work.
Let the wall dry fully for 24 to 48 hours before you fill or sand anything.
Fill seams and any holes, then sand smooth once dry. If seams are widespread or the paper is badly bubbled in patches, consider re-lining or a light skim coat instead of fighting it with filler.
Mask fittings, skirting and sockets, and open windows. Oil-based primers in particular need proper ventilation while they cure.
Wall preparation done properly at this stage is what separates a wall that looks painted from one that looks papered underneath.
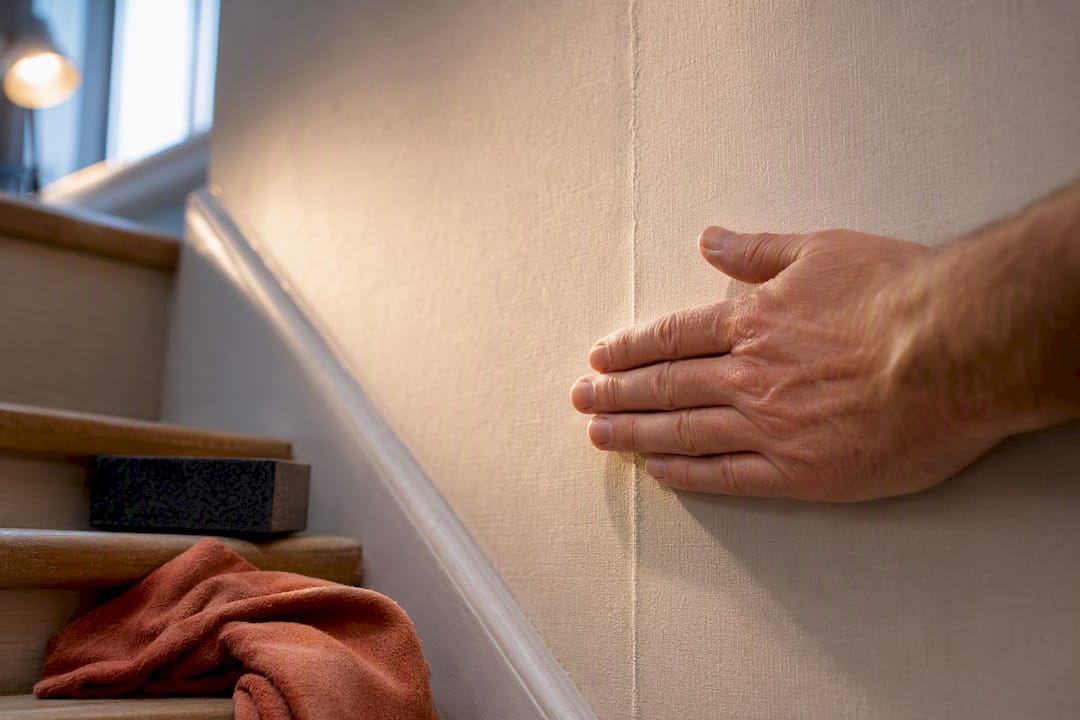
Pro Tip: Run your hand flat across every seam once it’s dry and sanded. If you can feel a ridge, so will the light from a lamp at night, no matter how many coats go over it.
Choosing a primer and paint without brand bias
Water-based primers are the wrong tool here. They carry enough moisture to soften wallpaper paste, which causes bubbling and lifting exactly where you least want it, right under fresh paint.
Use an oil-based or shellac-based primer, or a dedicated wallpaper sealer built for the job
For vinyl wallpaper, choose a high-adhesion primer specifically rated for vinyl surfaces. Wickes advises that thicker oil or shellac formulas are far less likely to reactivate the adhesive underneath than a standard water-based product
Zinsser’s own guidance for vinyl wallpaper points to an oil-based primer followed by two full coats of a suitable topcoat for a properly finished result
Coat count in practice: expect one primer coat, then two coats of emulsion or eggshell. A third coat is often needed if you’re going pale over a dark or heavily patterned paper, since a thin first coat rarely blocks bold colour on its own.
Let each coat dry fully before the next, and keep the room ventilated throughout, oil-based products in particular release strong fumes as they cure.
Painting technique that hides seams and pattern
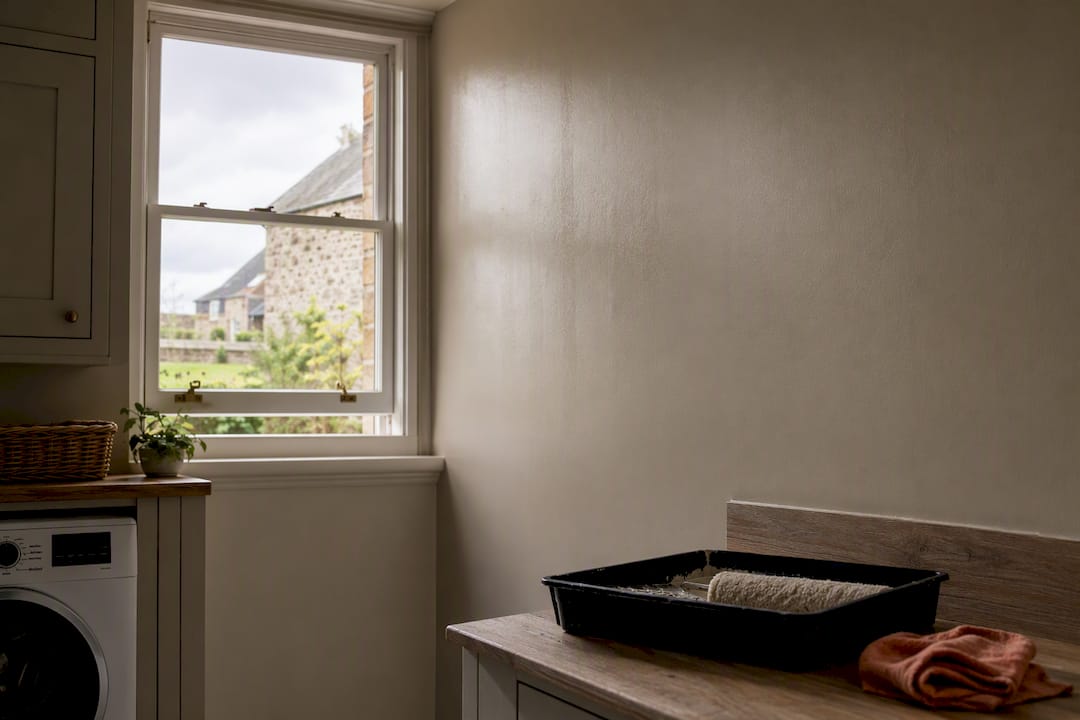
Cut in around the edges, coving and fittings first with a brush, then roll the main wall area systematically rather than working in random patches.
A medium-nap roller copes better with the slight ridges of wallpapered walls than a fine-nap one, which tends to skip over low texture and leave thin patches.
Work one manageable section at a time and keep a wet edge, so you’re not blending a dry patch into a wet one
Back-roll over each pass to even out the finish and knock down roller marks
Check the wall under a raking light, a torch held at an angle works well, once the second coat is dry
If seams or pattern are still ghosting through, don’t just add another coat. A localised skim or an extra coat of primer over that specific area usually fixes it faster than painting the whole wall again
Inspect the finished wall in daylight and again under artificial light at night before you call the job done. Seams have a habit of hiding themselves at 2pm and reappearing the moment a lamp switches on.
When painting over wallpaper is false economy
Some walls are better stripped than painted, full stop. Mould, damp patches, multiple layers of old paper, or anything fabric-backed or heavily embossed are red flags worth taking seriously.
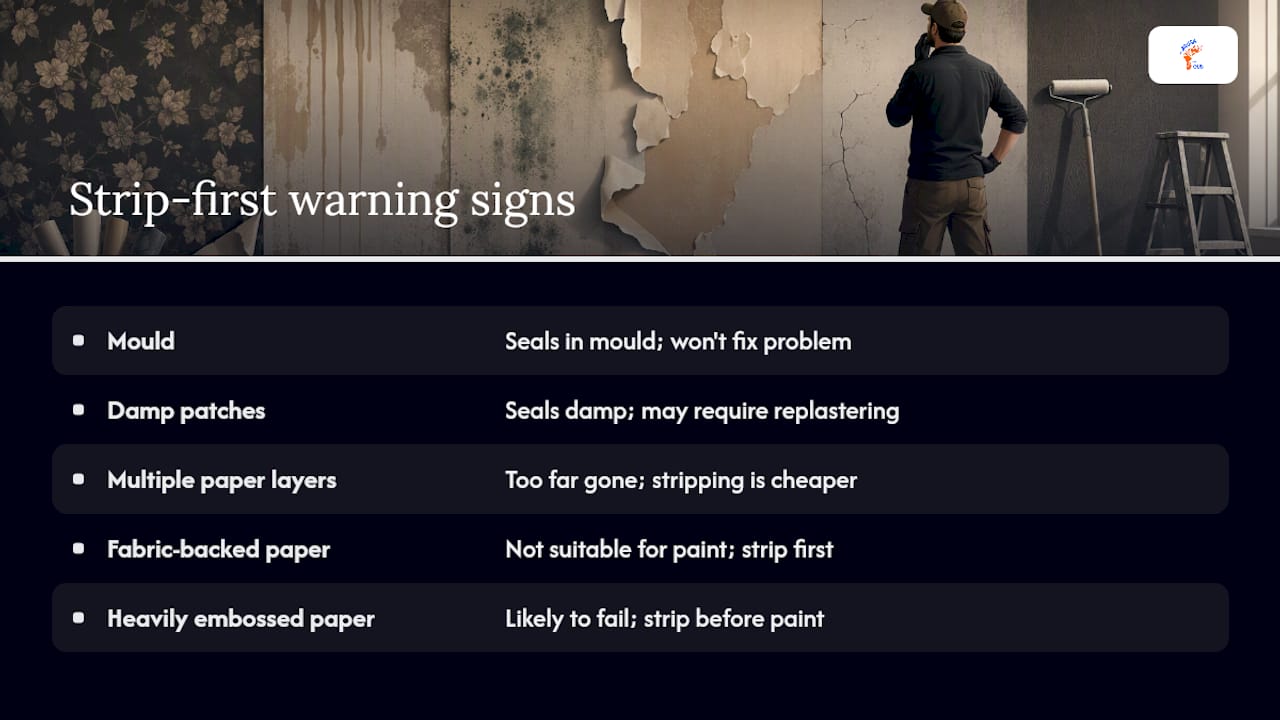
Paint over these and you’re not fixing the problem, you’re sealing it in. If the paper later fails anyway, you’re often stripping back to bare plaster and paying for replastering on top of the decorating work you’d already done twice.
Where the existing paper is genuinely too far gone, re-lining, partial removal of the worst areas, or bringing in a professional for a full skim and strip is usually cheaper across the whole job than gambling on paint.
Angus’s field-tested tips from A Brush With Gus
We see the same failure pattern again and again on jobs where a client has already tried painting over wallpaper themselves: seams that were “close enough” during prep show up like tramlines six weeks later under evening light. Sand in the direction of the seam, not across it, and always seal seams with a flexible decorator’s caulk before priming, not filler alone, filler cracks where paper flexes and caulk doesn’t.
If more than a handful of seams are lifting, or you can smell damp anywhere on the wall, that’s the point we’d tell a client to book a proper inspection rather than push on. Large rooms, high ceilings and anything with suspected damp behind it are where a professional eye earns its keep. Our guide on sanding walls before painting covers grit choice in more detail if you’re tackling the prep yourself.
Publisher perspective: the honest recommendation
My honest view: paint over wallpaper when the paper is sound and you genuinely don’t mind it staying forever. Rush the prep and you’ll be back doing it properly within a year, at greater cost than stripping it now. Follow the checklist above to the letter, or get in touch with us for an inspection and quote before you buy a single tin of primer.
— Angus
How A Brush With Gus can help you get it right first time
A Brush With Gus is the alternative to guessing your way through a wallpaper job with a tin of trade primer and hope. We handle the parts that go wrong most often, seam sealing, correct primer selection for vinyl or lining paper, and full surface preparation, so you’re not paying twice when a rushed DIY job needs redoing six months later.

Our domestic painting service covers everything from full interior preparation and priming to the final topcoats, and we work across Cornwall and the wider South West. A quote typically starts with a look at the actual wall condition, seams, damp, layer count, rather than a guess over the phone, so you know exactly what you’re paying for before we pick up a brush. If your walls need more than paint can fix, ask us about lining and re-skim options in the same visit. Get in touch for an inspection and a written quote before you decide which route to take.
Sources
Recommended
Comments