
The role of primer in decorating: a homeowner's guide
- WM Creative Designs Limited
- Jul 30
- 13 min read
TL;DR:
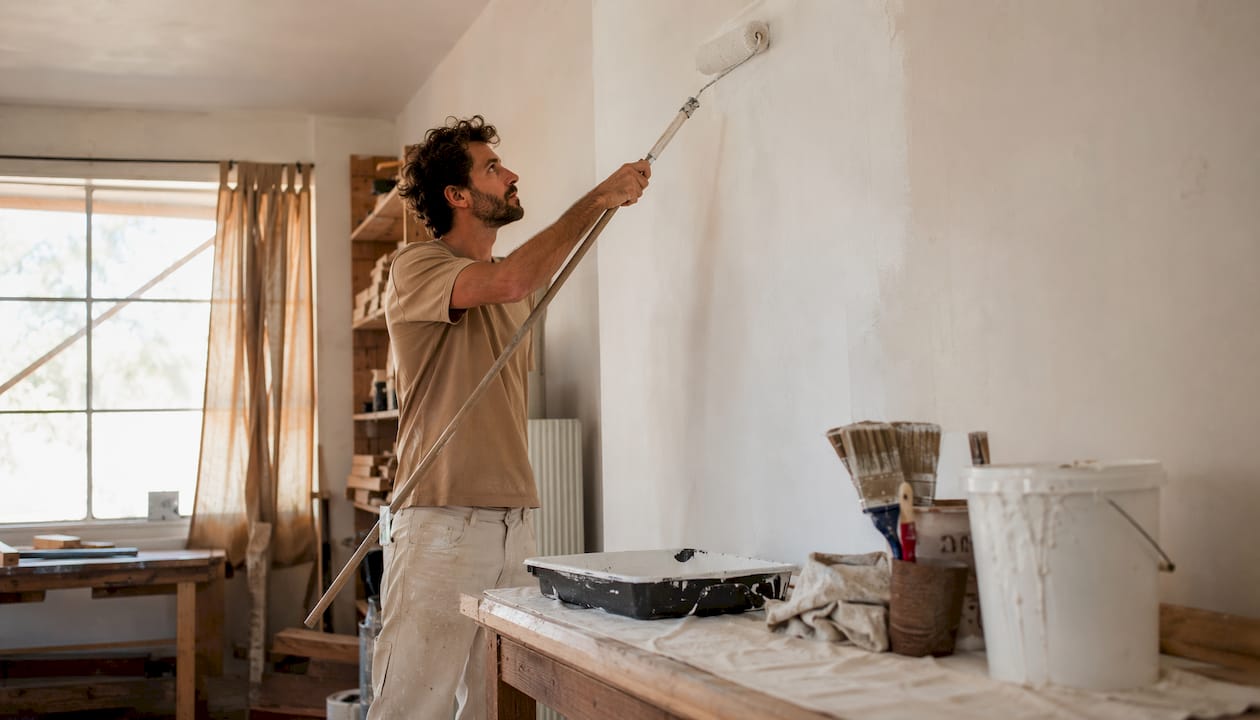
Primer forms a sealed, adhesive base that bonds, seals, and blocks stains to ensure long-lasting paint results. Skipping primer on porous, stained, or bare surfaces increases the risk of peeling, flashing, or stain bleed-through over time. Proper surface preparation and matching primer type to the substrate are essential for a durable, professional finish.
Primer creates a sealed, adhesive base that helps paint stick, evens out porosity, and stops stains or previous colours bleeding through. Without it, topcoats can peel, flash, or fail within months — especially on raw or problem surfaces. Here is what primer actually does in a decorating project:
Adhesion: bonds to the substrate and gives topcoats a stable surface to grip
Sealing: fills pores in new plaster, bare wood, and masonry so paint dries evenly
Stain-blocking: creates a chemical barrier against tannins, nicotine, and water stains
Hiding power: tinted primers reduce the number of topcoats needed for dark-to-light colour changes
Corrosion protection: specialist metal primers inhibit rust and prevent peeling on bare metal
Primer is mandatory on new plaster, bare wood, raw masonry, and metal. On previously painted, sound surfaces it is often optional — but skipping it always carries a risk.
Table of Contents
What primer actually does to your walls and surfaces
Primer is engineered for tasks that topcoats simply are not built to handle. A standard emulsion is formulated for colour, sheen, and washability. A primer is formulated to bond, seal, and block — three very different jobs.
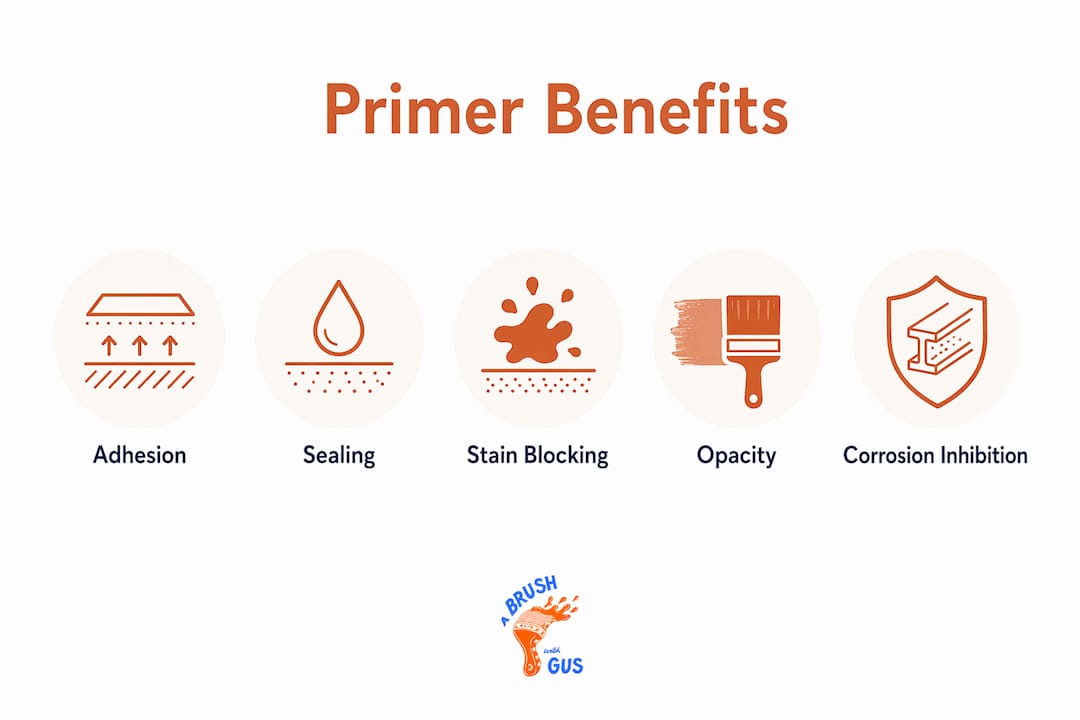
Adhesion is the most fundamental function. Primer penetrates the substrate slightly, then cures to form a mechanical and chemical key. Topcoats applied directly to bare or slick surfaces often fail because there is nothing for them to grip. Primers ensure proper adhesion, increase durability, and provide a stable, sealed foundation that prevents future peeling and cracking.
Sealing and suction control matters most on porous substrates. New plaster, bare drywall, and untreated wood all absorb paint at wildly different rates across the surface. The result is “flashing” — patches where the finish dries to a different sheen because the substrate pulled moisture from the paint unevenly. A high-pigment-volume primer fills pores uniformly and prevents those visible sheen differences at joints and repaired areas. On new plaster specifically, tradespeople often apply a first coat diluted with around 10% water as a sealer, which slows moisture loss and allows the paint film to form correctly.
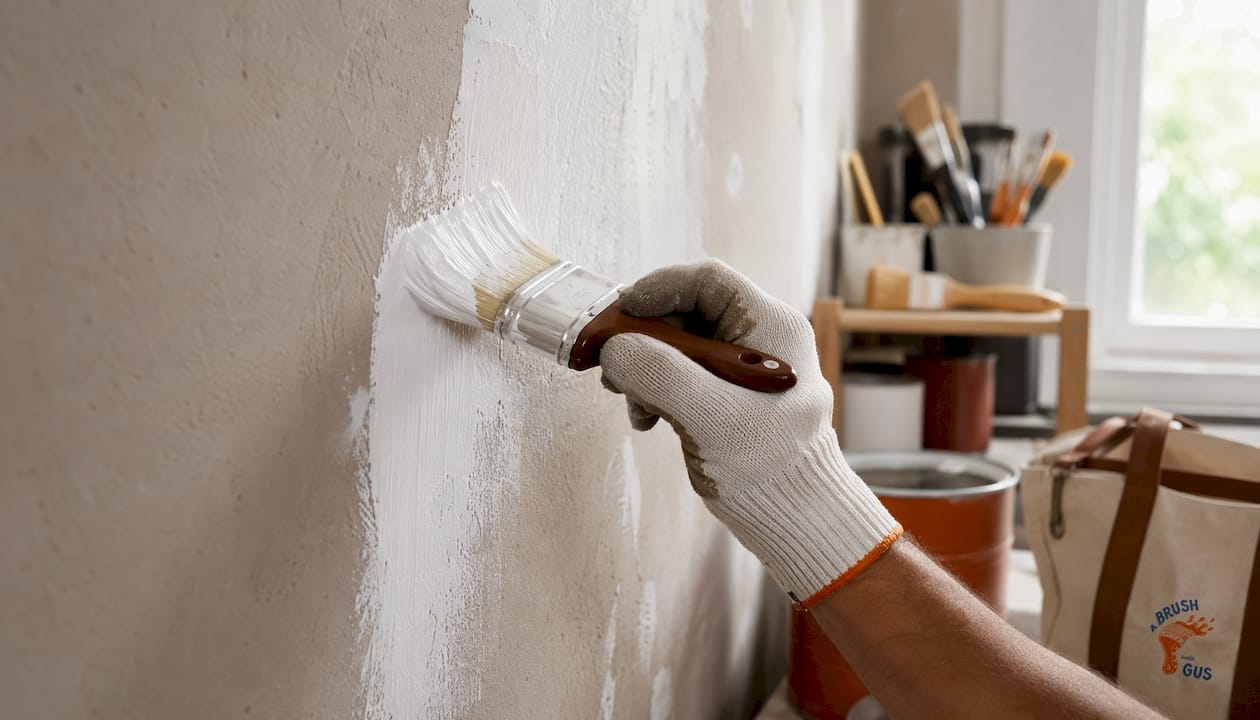
Stain and tannin blocking is where primer earns its keep on problem surfaces. Water-based topcoats cannot block tannin or nicotine stains — the stain simply migrates through the paint film and reappears. Specialist oil or shellac-based primers create a chemical barrier that water-based products cannot replicate.
Opacity and hiding power become relevant when you are moving from a dark colour to a light one. A tinted primer pigmented close to the final topcoat hides the existing colour and can cut the topcoat count by at least one coat in many cases, saving both time and money.
Corrosion inhibition on metal is a separate mechanism entirely. Metal primers contain inhibiting pigments that passivate the surface and slow oxidation. Without them, paint applied to bare metal is prone to peeling as rust forms beneath the film.
When do you actually need to use primer?
Not every job requires a full prime. The decision comes down to the substrate, its condition, and the size of the colour change. Here is a practical breakdown:
Primer is mandatory when:
Painting new plaster or drywall — highly porous and will cause flashing without sealing
Painting bare wood — absorbs solvent too quickly, disrupting the curing process
Painting raw masonry or concrete — masonry primers seal dusty, porous surfaces and regulate suction; without them, paint can blister as moisture moves through
Painting bare metal — rust inhibition is non-negotiable
Covering heavy stains (nicotine, water damage, tannin bleed) — water-based topcoats will not hold them back
Painting over knots in wood — resin will bleed through and discolour the finish
Switching from a dark colour to a significantly lighter one
Painting over chalking, flaking, or degraded coatings — skipping primer on incompatible surfaces frequently leads to adhesion failure within months
Primer is optional when:
The surface is previously painted, sound, clean, and in good condition
The colour change is minor (similar tones, same colour family)
You are using a high-quality paint-and-primer-in-one on a stable, non-porous surface
When you can safely skip primer:
On a well-maintained, previously painted interior wall with a minor colour refresh, a quality emulsion applied over a clean, lightly abraded surface will often perform well without a dedicated primer coat. The trade-off is real though: you save an hour now and risk uneven absorption or early peeling later if the surface was not as stable as it looked.
Pro Tip: Avoid spot-priming only the repaired patches on a wall. Primer the full wall section instead. Spot-primed areas absorb paint differently from the surrounding surface, leaving visible dull patches once the topcoat dries — a problem that is far harder to fix than it is to prevent.
Which primer type should you use for your surface?
Matching the primer to the substrate is where most DIY mistakes happen. Here is a guide to the main primer families available in the UK market:
Multi-surface / water-based primers: the everyday choice for previously painted or lightly porous interior walls and ceilings. Easy to apply, low odour, and fast drying. Not suitable for heavy stains or bare metal.
Oil-based primers: excellent adhesion and stain resistance on bare wood and previously painted surfaces. Slower drying than water-based options, but they penetrate deeply and provide a harder film. Good for softwood where resin bleed is a concern.
Shellac-based primers (Zinsser BIN type): the most reliable chemical barrier for severe water stains, nicotine, and tannin bleed. They dry fast but require solvent-based cleanup and good ventilation. Reserve these for the worst stain problems.
Bonding / adhesion primers: use specialised resins that key to slick substrates such as laminate, vinyl, and factory-coated surfaces. They can reduce the need for aggressive sanding in some cases, which is useful on doors and furniture.
Metal primers (corrosion-inhibiting): contain rust-inhibiting pigments. Essential on bare ferrous metals; some formulations also work on aluminium and galvanised steel.
Masonry primers / penetrating sealers: regulate suction on brick, render, and concrete. Particularly important for exterior work where moisture movement is a factor.
Tannin-blocking primers: a subset of oil or shellac-based products specifically formulated for oak, cedar, and other high-tannin timbers.
Substrate | Recommended primer family | Why |
New plaster / drywall | Water-based plaster primer or diluted emulsion sealer | Seals porosity, prevents flashing |
Bare softwood (pine, etc.) | Oil-based or shellac | Penetrates deeply, blocks resin bleed from knots |
Bare hardwood (oak, cedar) | Tannin-blocking or shellac | Stops tannin migration discolouring topcoat |
Bare metal (ferrous) | Corrosion-inhibiting metal primer | Passivates surface, prevents rust under film |
Raw masonry / brick | Masonry primer / penetrating sealer | Regulates suction, prevents blistering |
Laminate / vinyl / gloss | Bonding / adhesion primer | Keys to non-porous surface without heavy sanding |
Nicotine / water-stained walls | Shellac-based (Zinsser BIN type) | Creates chemical barrier water-based products cannot |
How to choose the right primer at the paint counter
Before you buy, work through these five questions:
What is the substrate? Match the primer chemistry to the surface first. Water-based systems work over water-based; if you are switching from oil-based to water-based, you need a primer that isolates the chemistry change.
Are there stains present? Tannins, nicotine, water marks, or grease all need an oil or shellac-based blocker. A standard water-based primer will not hold them back.
How big is the colour change? For a dark-to-light shift, a tinted primer can cut the topcoat count by at least one coat. If your final colour is pale grey and the existing wall is deep charcoal, tinting the primer to a mid-grey saves a full coat of expensive finish paint.
What are the drying and recoat windows? Standard interior water-based primers typically dry to touch within a short period, with a recoat window under normal UK interior conditions that allows for timely application of subsequent coats. Cold or damp conditions extend both figures significantly. Oil-based and shellac primers have different windows — always check the manufacturer’s datasheet.
What are the VOC levels? For indoor work, particularly in poorly ventilated rooms, a low-VOC or water-based primer reduces exposure. Shellac and oil-based products require good ventilation and appropriate respiratory protection.
On coverage and cost: a standard primer generally covers a moderate area per litre on smooth surfaces, with coverage decreasing on more porous substrates. On a heavily porous wall you may need two coats of primer, but that is almost always cheaper than applying three or four coats of finish paint to achieve the same result.
Pro Tip: Always test the system in an inconspicuous spot first. A small test patch reveals compatibility issues — solvent-softening, poor adhesion, or unexpected bleed-through — before you have committed to the whole room.
How to apply primer correctly: prep, tools, and timing
Getting the application right matters as much as choosing the right product. A good primer applied to a poorly prepared surface will still fail.
Step-by-step application:
Clean the surface. Wash with sugar soap to remove grease, dust, and grime. Trade guidance recommends sugar soap degreasing, removal of loose paint, and filling cracks before priming. Rinse and allow to dry fully.
Remove loose or flaking paint. Scrape back to a firm edge, feather the edges with sandpaper, and fill any cracks or holes with an appropriate filler. Allow filler to cure fully before priming.
Sand glossy areas. Primer needs a key. Lightly abrade any glossy surfaces with 120–180 grit sandpaper, then wipe down with a damp cloth to remove dust.
Apply the primer. Use a brush for edges and a short-pile roller (6–9mm nap) for flat areas. Avoid overworking the primer once it starts to set — this drags the film and creates an uneven surface. Maintain a wet edge to avoid lap marks.
Allow to dry fully before recoating. Standard interior water-based primers are touch-dry in 30–60 minutes; allow one to four hours before applying the next coat or topcoat. Oil-based primers typically need four to six hours or longer. Cold temperatures and high humidity extend drying times considerably — do not rush this step.
Lightly sand between coats if needed. A light pass with fine sandpaper (180–220 grit) after the primer dries knocks back any nibs or brush marks and gives the topcoat an even surface to sit on.
For spray application, airless spraying delivers a more uniform film on large areas and is the method Abrushwithgus uses on many exterior and UPVC projects. For most DIY interior jobs, brush and roller is entirely adequate.
Pro Tip: When priming repaired patches, prime the whole wall section rather than just the filled area. Spot-primed patches absorb the topcoat differently from the surrounding surface, leaving dull rings that show through even multiple finish coats.
Primer vs undercoat vs paint-and-primer: which do you need?
These three products are often confused, and using the wrong one is a common cause of poor results.
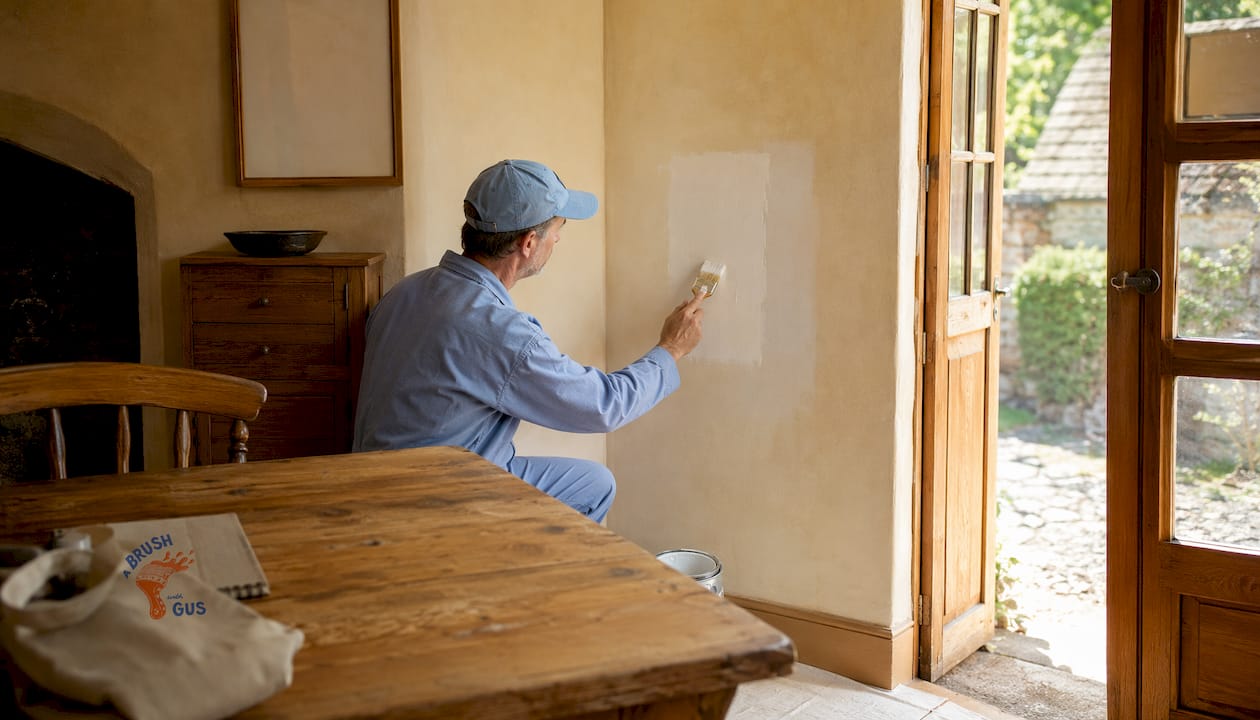
Primer bonds to the substrate, seals porosity, and blocks stains. It is the first coat and its job is to prepare the surface for what comes next, not to provide colour or opacity.
Undercoat builds opacity and creates a uniform mid-tone base for the finish coat. It is not designed to bond to bare or difficult substrates — it relies on the primer having done that work first. Professionals use dedicated primer plus undercoat plus finish on new wood and bare surfaces because each layer does a specific job.
Paint-and-primer-in-one is a higher-solids paint with improved hiding power. It is convenient and works well for refreshing sound, previously painted interiors. It is not a reliable substitute for a specialist primer on raw substrates or heavy stains.
Product | Bonding | Stain-blocking | Hiding power | Best use case | Limitation |
Primer | Excellent | Good–excellent (shellac) | Low | Bare/problem substrates | Not a finish coat |
Undercoat | Moderate | Low | Good | Over primed surfaces, before gloss | Needs primer beneath on bare surfaces |
Paint-and-primer-in-one | Moderate | Low | Good | Sound, previously painted walls | Not suitable for bare or stained substrates |
The practical rule: use paint-and-primer-in-one for a straightforward colour refresh on a sound, clean wall. Use dedicated primer (and undercoat where needed) for anything involving bare substrates, stains, or significant chemistry changes.
Bare wood or new plaster: always use a dedicated primer first
Nicotine or water stains: shellac-based primer, then undercoat, then finish
Refreshing a painted bedroom wall: paint-and-primer-in-one is usually fine
Switching from oil-based gloss to water-based: primer to isolate the chemistry change, then proceed
Common problems when primer is skipped or misused
Most paint failures trace back to preparation and priming errors. Here are the symptoms, causes, and fixes:
Peeling or flaking: primer was skipped on a bare or contaminated surface. Fix: strip back to a firm edge, clean thoroughly, apply the correct primer, and repaint.
Flashing (dull patches): porosity differences across the surface caused uneven absorption. Common on walls with filled repairs that were spot-primed. Fix: apply a full coat of primer across the entire wall section, allow to dry, then recoat.
Stain bleed-through: a water-based primer was used over nicotine, tannin, or water stains. The stain migrates through the paint film. Fix: apply a shellac-based primer (Zinsser BIN type) over the affected area, allow to dry fully, then repaint.
Patchy sheen: spot-priming created absorption mismatches. Fix: prime the full wall section for a uniform base.
Wrinkling or softening: incompatible chemistry — typically a solvent-based product applied over an uncured water-based coat, or vice versa. Fix: allow full cure, sand back, and apply a compatible primer to isolate the layers.
When to call a professional: if you are dealing with structural damp, active water ingress, or large-scale adhesion failure across multiple surfaces, these are not DIY fixes. A decorator can assess the root cause, apply the correct remedial system, and guarantee the result. Attempting to paint over active damp without addressing the source will fail regardless of which primer you use. For common DIY painting mistakes that go beyond primer selection, getting a professional assessment early saves significant cost later.
Do professional decorators always use primer?
Yes, on any job where the substrate or surface condition demands it. Professionals prime new plaster as standard, always prime bare wood and metal, and reach for shellac-based products without hesitation when stains are present. The difference between a trade finish and a DIY one often comes down not to the finish coat but to what happened before it.
Pro Tip: Before deciding whether to prime on site, professionals check three things: surface porosity (does water absorb quickly or bead?), the previous coating type (oil or water-based?), and whether any stains are visible. Those three checks determine the primer choice in most cases. You can do the same at home before you buy.
For more on professional painting techniques that translate to DIY projects, the approach is the same: preparation first, always.
Key takeaways
Primer is the single most important step between a surface and a lasting paint finish — skipping it on bare or problem substrates is the leading cause of peeling, flashing, and stain bleed-through.
Point | Details |
Primer is mandatory on bare surfaces | New plaster, bare wood, metal, and raw masonry all require a dedicated primer before any topcoat. |
Match primer type to the problem | Shellac-based primers for stains; masonry primers for porous exteriors; bonding primers for slick surfaces like laminate. |
Tinted primer saves topcoat costs | A primer tinted close to the final colour can cut the topcoat count by at least one coat on dark-to-light changes. |
Paint-and-primer-in-one has limits | It works for refreshing sound, painted walls — but is not a substitute for specialist primer on raw or stained substrates. |
Abrushwithgus | For complex priming and decorating jobs in Cornwall and the South West, Abrushwithgus applies trade-standard preparation and primer systems on every project. |
Why primer is the step most DIYers underestimate
Most people focus on the finish coat — the colour, the sheen, the brand. The primer is an afterthought, or skipped entirely. Having worked on hundreds of residential and commercial properties across Cornwall and the South West, the pattern is consistent: the jobs that fail early almost always skipped or rushed the preparation stage.
What surprises people is how much difference the substrate makes. Two walls in the same room can behave completely differently if one has a filled repair and the other does not. Spot-priming that repair and rolling straight over the rest looks fine on the day. Six months later, the repaired patch is a different sheen from the rest of the wall, and no amount of extra topcoat will fix it without going back to square one.
The other thing worth saying: not every job needs an expensive specialist primer. A sound, clean, previously painted wall in a dry room does not need shellac. But bare new plaster, a wall with a nicotine history, or any exterior surface absolutely does. The skill is in reading the surface correctly before you open a tin, not in applying the most expensive product available.
For homeowners planning a project, the surface preparation guide covers the cleaning and filling steps in detail — getting those right before the primer goes on is what separates a finish that lasts from one that does not.
Get a professional finish with Abrushwithgus
Knowing the theory is one thing. Getting the preparation, primer choice, and application right on a real surface — especially on new plaster, exterior masonry, or UPVC — is where trade experience makes a tangible difference to the final result.

Abrushwithgus is a family-run painting and decorating service covering Cornwall and the South West, run by brothers Gus and Rhys. Every job starts with a proper surface assessment: checking porosity, identifying stains, and selecting the right primer system before a brush touches the wall. Interior and exterior painting, UPVC spraying and restoration, and full surface preparation are all part of the service. Products are applied in line with manufacturer guidance, including Dulux technical recommendations, so the finish performs as it should over the long term. If your project involves bare substrates, problem stains, or exterior surfaces, get in touch for a no-obligation quote via the domestic painting services page.
Useful sources
The following resources are worth consulting for product-specific instructions, safety data, and technical guidance on primers and priming practice:
Screwfix: Difference between primer and undercoat — clear UK trade guidance on primer vs undercoat functions, drying times, and substrate compatibility. A reliable first reference for most interior jobs.
Rawlins Paints: When to use a primer or undercoat — detailed guidance on mandatory vs optional priming situations, with coverage of specialist substrates. Useful for exterior and industrial applications.
Rawlins Paints: What primer do I need? — product-selection guide covering masonry, metal, wood, and problem surfaces. Good for matching primer type to substrate.
Sherwin-Williams: How to paint prep — practical application guidance including test-patch methodology and surface preparation steps. Note: a US source, but the technical principles apply universally.
Neasden Hardware: Primer and undercoat — accessible UK-focused overview of preparation steps and the distinction between primer and undercoat products.
Wikipedia: Primer (paint)) — a solid technical overview of primer chemistry, substrate applications, and the mechanisms behind adhesion and stain-blocking.
Always consult the product datasheet for the specific primer you are using. Drying times, recoat windows, dilution ratios, and health and safety information vary between products and manufacturers. Datasheets are available from Dulux, Zinsser, Johnstone’s, and most trade suppliers.
This article provides general information for homeowners and DIY decorators. For specific product safety, application, or regulatory guidance, consult the manufacturer’s datasheet or a qualified professional.
Recommended
Comments