
Paint curing time: a practical guide for UK homeowners
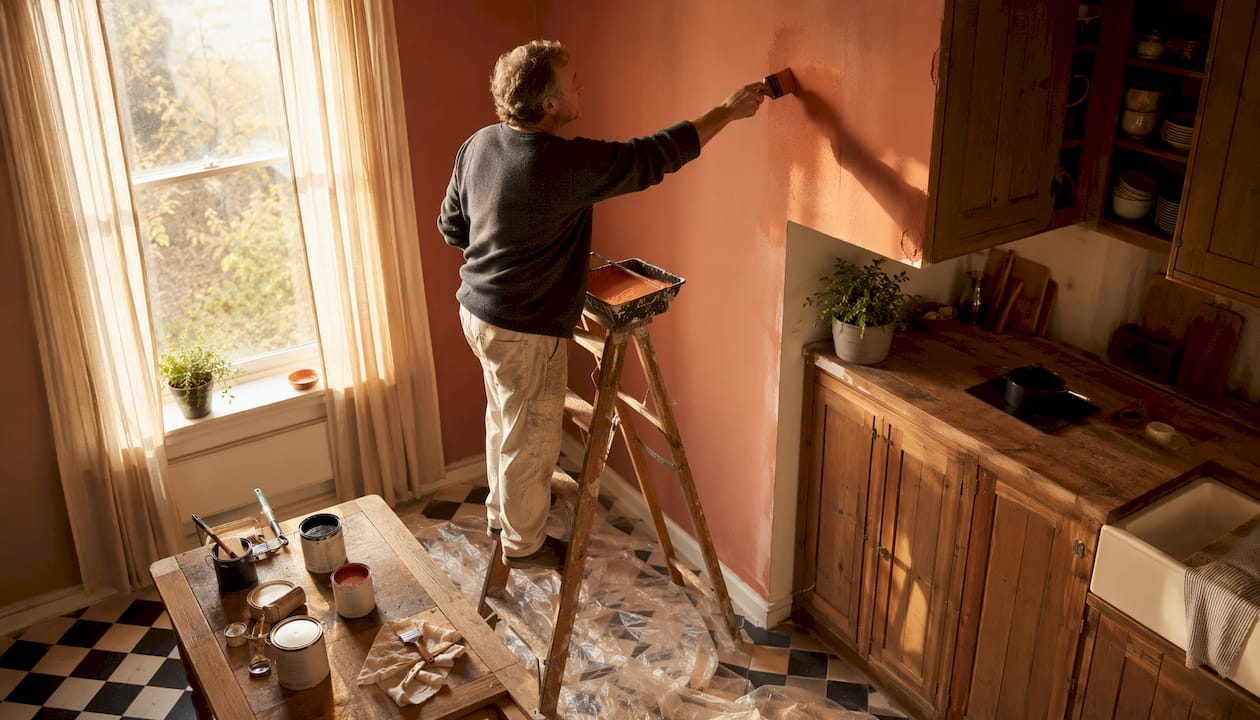
TL;DR:
Paint curing time refers to the period needed after surface dryness for a paint film to reach its final hardness and durability. The process can take 14 to 30 days for acrylics and even up to 60 days or more for oil-based paints, depending on conditions. Proper timing prevents damage and ensures the finish fully cures before heavy use or reattachment of objects.
Paint curing time is the period a paint film needs after it first feels dry to reach its final hardness, chemical resistance, and durability. Water-based acrylic and latex paints typically cure in 14–30 days, while traditional oil and alkyd paints can take anywhere from 7 days to 60 days or more depending on formulation and conditions.
The gap between “dry to touch” and “fully cured” catches a lot of homeowners out. Here is what it means in practice:
Moving furniture back: wait several days for most acrylic wall paints before pushing heavy pieces against a freshly painted surface.
Reattaching fittings and hardware: 7–14 days for many enamels and satin finishes; longer for gloss oil-based coatings.
Normal door use: allow 7–14 days before closing doors fully in their frames to avoid blocking.
Full heavy use: 14–30 days for acrylics; up to 60 days for traditional alkyds in cool or damp conditions.
Abrushwithgus, a professional painting and decorating team based in the South West of England, sees this confusion regularly on domestic jobs. Getting the timing right protects your finish and saves you from repainting a surface that looked fine but was not yet ready for use.
Table of Contents
What is paint curing time, and how does it differ from drying?
Drying and curing are two separate processes, and mixing them up is the most common reason a freshly painted surface ends up dented, sticky, or peeling within weeks.
Drying is physical: water or solvent evaporates from the wet film, leaving the paint feeling solid to the touch. It happens relatively quickly. Curing is chemical: the binder in the paint undergoes cross-linking or oxidative polymerisation to form a hard, durable film. That reaction takes days to weeks, regardless of how dry the surface feels.
A paint film passes through five recognisable stages, each running on its own clock:
Flash off — the initial rapid evaporation of solvent or water from the wet surface; happens within minutes for thin coats in good conditions.
Tack-free — the surface no longer picks up dust or fibres; typically 30 minutes to 2 hours for water-based paints.
Dry to recoat — the film is stable enough to accept a second coat without lifting; 2–4 hours for most acrylics, 16–24 hours for oil-based paints.
Full hardness — the film resists indentation under moderate pressure; commonly 7–14 days under controlled conditions for modern coatings.
Full cure — maximum chemical resistance and durability achieved; 14–30 days for acrylics, potentially 60 days or more for traditional alkyds.
The chemistry behind each type behaves differently. Latex and acrylic paints dry by water evaporation and then cure as the polymer particles coalesce into a continuous film. Alkyd and oil-based paints cure by oxidative polymerisation, where the binder reacts with oxygen in the air to harden gradually. Two-part systems such as epoxies and polyurethanes cure by a chemical reaction between two components, which is why their pot life and cure windows are so tightly specified by manufacturers.
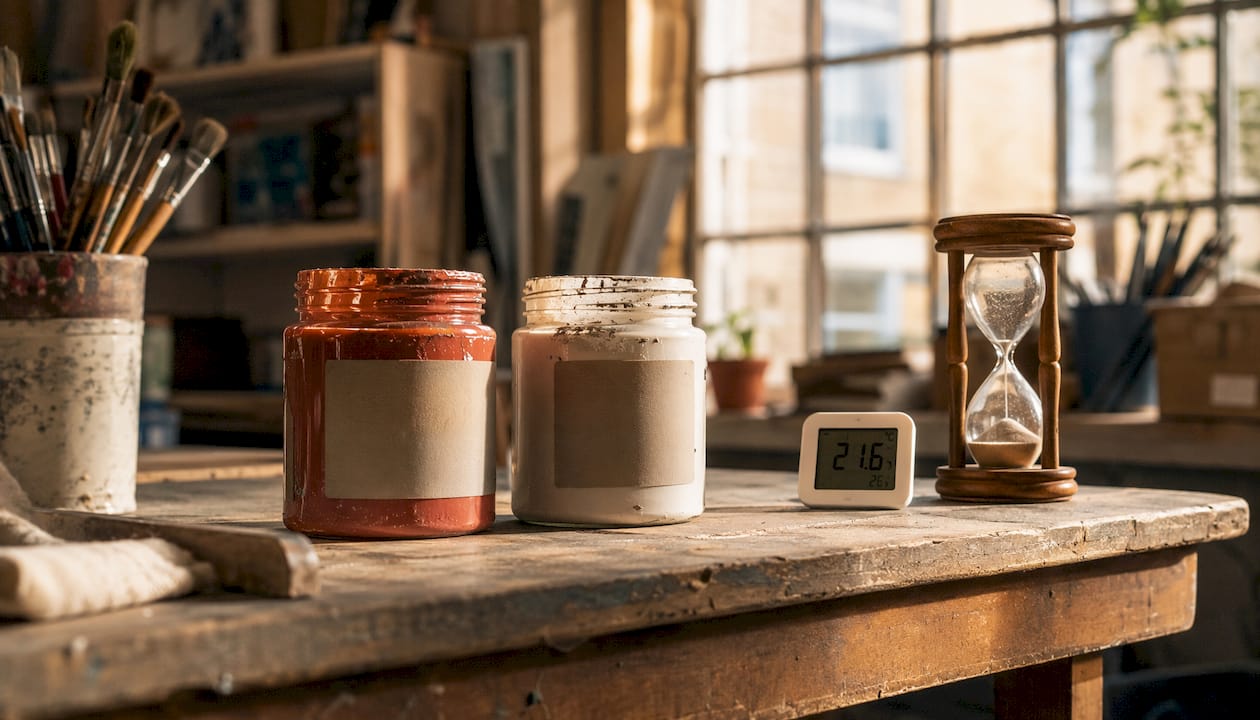
Typical cure times by paint type
Use this table for planning only. Manufacturer datasheets are the authoritative source for the exact product you are using, and they assume specific temperature and humidity conditions.
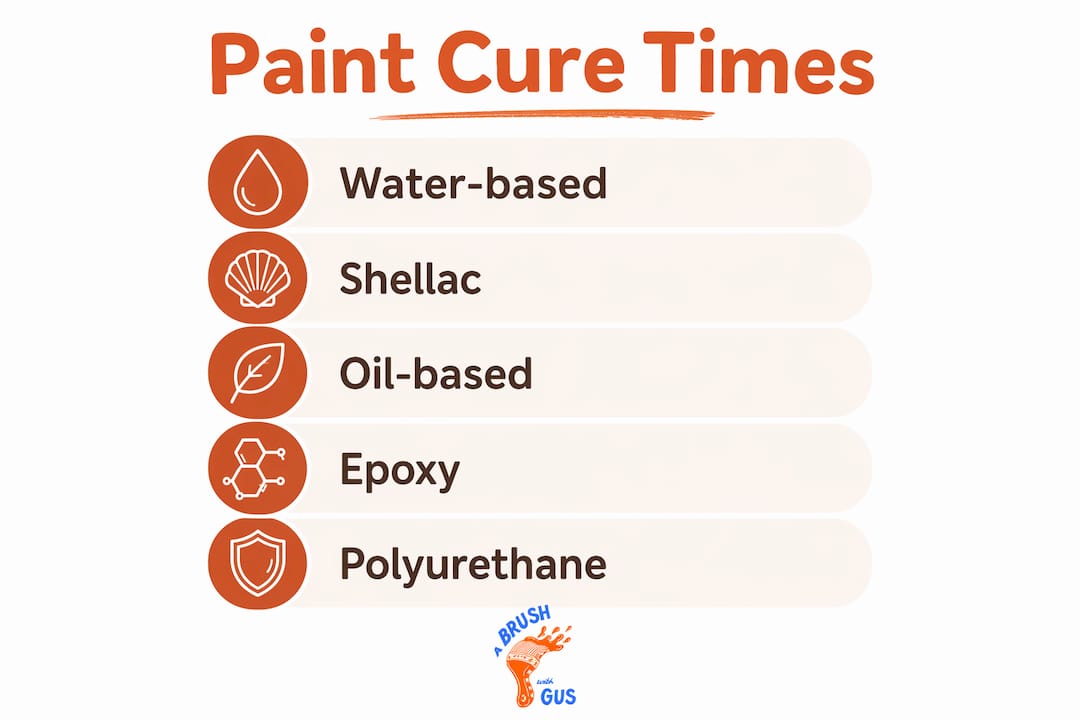
Paint type | Dry to touch | Full hardness | Full cure |
Water-based acrylic / latex | 1–4 hours | 7–14 days | 14–30 days |
Oil / alkyd (traditional) | 6 hours | 7–14 days | Up to 60 days |
Waterborne alkyd (hybrid) | 1–2 hours | 7–14 days | 14–30 days |
Two-part epoxy | 2–4 hours | 7 days | ~30 days |
Polyurethane (single-part) | 2–6 hours | 7–14 days | 14–30 days |
Lacquer (solvent-based) | 30 min–1 hour | 3–7 days | 7–14 days |
A few caveats worth noting. These ranges assume a single coat at the manufacturer’s recommended wet film thickness, applied at around 20°C with moderate humidity. Thicker coats, multiple layers, or cooler and damper conditions all push these numbers higher. For two-part systems in particular, walk-on hardness can appear within 24–72 hours but full chemical resistance often takes closer to 30 days. Always check the product datasheet before scheduling any work that depends on the surface being ready.
What affects how quickly paint cures?
Several variables on a typical UK job site can extend or compress these timelines significantly.
Temperature. The recommended ambient range for most paints is 10°C–29°C. Below 10°C, evaporation and cross-linking both slow sharply; above 29°C, the surface can skin over before lower layers have dried, trapping solvents.
Humidity. High relative humidity slows water evaporation from water-based paints and can stall the oxidative reaction in alkyds. Painting above 80% relative humidity risks tackiness, uneven sheen, and poor adhesion. Outside the recommended temperature and humidity range, cure times can multiply by two to four times relative to the label conditions.
Ventilation. Airflow carries away evaporating water and solvent, allowing the drying stage to complete promptly so curing can begin. A still, enclosed room is one of the worst environments for a fresh coat.
Film thickness. Thicker coats trap moisture and solvent beneath the surface skin. Applying two thin coats rather than one heavy one is almost always faster overall, because each thin coat dries and begins curing before the next goes on.
Substrate condition. A damp or porous substrate draws moisture into the film from below, extending drying and disrupting adhesion. Controlling substrate moisture and ensuring adequate flash-off between coats is more effective at preventing cure problems than trying to force the process with heat.
Paint formulation. Premium paints often contain better coalescents and binders that cure more reliably across a wider range of conditions. Cheaper formulations may be more sensitive to temperature and humidity swings.
Good surface preparation also plays a direct role: a clean, primed, and correctly sealed substrate gives the paint film the stable base it needs to cure evenly.
Pro Tip: Apply paint at the manufacturer’s recommended wet film thickness. Too thin and the film may not coalesce properly; too thick and you risk solvent entrapment. A wet film thickness gauge costs a few pounds and removes the guesswork entirely.
How to tell whether your paint has cured
Treating a surface as finished when it is only touch-dry leads to blocking, indentations, and finish failure. Here are simple checks you can do at home, in order of how invasive they are.
Touch test. Press a fingertip lightly to an inconspicuous area. If the surface feels tack-free and leaves no mark, the film has at least passed the tack-free stage.
Fingernail indentation test. Press a fingernail firmly into a hidden spot (behind a door, inside a cupboard). If it leaves a clear dent, the film has not reached full hardness. No mark at all means you are close to or at full cure.
Scuff test. Rub a coin or key lightly across a hidden area. A cured surface resists scratching; an under-cured one will scuff or powder.
Solvent spot check. Dampen a cloth with a small amount of white spirit and press it to a hidden area for 30 seconds. If the paint softens or transfers to the cloth, curing is incomplete. Use this test only on oil-based or enamel finishes, not on decorative water-based walls.
Edge and blocking test. For doors and windows, check whether the edges stick when you close them. Blocking (two painted surfaces sticking together) is a reliable sign the film is not yet cured.
Avoid destructive tests on decorative finishes. The fingernail and scuff tests work well on woodwork, skirting boards, and door frames, but use them only in hidden spots on feature walls or specialist finishes. When in doubt, wait the full cure period stated on the datasheet rather than risk marking a visible surface.
As a rough planning guide: light handling after 24 hours for some coatings; normal door use after 7–14 days for many enamels; full heavy use after 14–30 days for acrylics. For garage floor coatings and two-part systems, follow the manufacturer’s specific cure guidance before subjecting the surface to vehicle weight or chemical exposure.
How UK conditions affect curing, and what to do about it
The British climate is not kind to fresh paint. Cool temperatures and high humidity are the norm for much of the year, and both extend cure times considerably.
Aim for 10°C–29°C ambient temperature during application and for at least 24–48 hours afterwards. In practice, this means avoiding painting in unheated rooms in winter or on cold autumn mornings.
Target 30–50% relative humidity where possible. Above 70–80%, water-based paints struggle to dry properly and alkyds may never cure correctly.
Time exterior jobs carefully. The best windows for exterior painting in the South West are typically late spring and early autumn, when temperatures are moderate and rain is less frequent. Avoid painting if rain is forecast within 24 hours for exterior work.
Use a dehumidifier in enclosed rooms during and after painting, particularly in bathrooms, kitchens, or any room with poor natural ventilation.
Open windows strategically. Ventilation helps, but opening windows on a cold, damp day can introduce more moisture than it removes. Aim for short, frequent bursts of fresh air rather than leaving windows wide open overnight in winter.
Controlled heating helps, but carefully. A gentle background heat (around 18°C–20°C) speeds evaporation and supports curing. Never use naked flames or unflued gas heaters in an enclosed freshly painted space; the combustion products add moisture and can cause yellowing in oil-based paints.
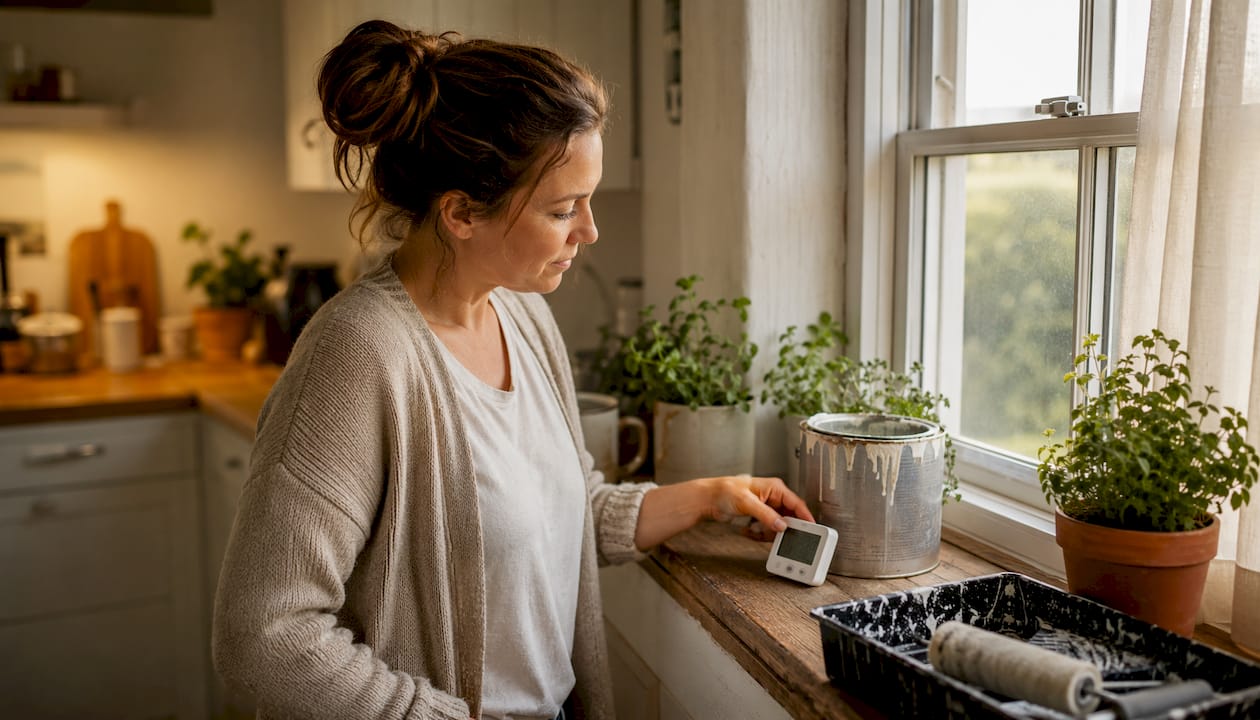
Pro Tip: A cheap digital hygrometer (under £10 from most DIY retailers) tells you the room’s relative humidity before you open a tin. If it reads above 70%, run a dehumidifier for a few hours first. It takes five minutes and can save you from a sticky finish that takes weeks to resolve.
High humidity or painting below the product’s minimum recommended temperature can extend dry and cure times by two to four times relative to label conditions. In a UK winter, that 14-day cure window for an acrylic emulsion can quietly become four weeks or more.
Common mistakes that damage the finish or prolong curing
Most finish failures on DIY jobs come down to a handful of repeated errors.
Recoating too soon. Applying a second coat before the first is properly dry traps moisture and solvent, causing wrinkling, poor adhesion, and extended cure times. Remedy: follow the recoat window on the datasheet, not the clock on the wall.
Applying coats that are too thick. A heavy single coat looks efficient but skins over on the outside while the interior stays wet for much longer. Remedy: two thin coats, always.
Poor substrate preparation. Painting over damp plaster, dusty surfaces, or incompatible old coatings undermines adhesion and cure. Remedy: allow new plaster to dry fully (typically 4–6 weeks), sand and clean surfaces, and use the correct primer.
Painting in unsuitable conditions. Cold, damp, or very hot conditions all compromise the cure. Remedy: check temperature and humidity before starting, and reschedule if conditions are outside the recommended range.
Stacking or leaning objects against a touch-dry surface. Even after 24 hours, most paints are nowhere near full hardness. Remedy: keep the room clear for at least 7–10 days and use cardboard or cloth as a barrier if you must store anything nearby.
What never to do while paint is curing:
Slam doors or windows in freshly painted frames.
Place heavy objects directly on painted shelves or worktops.
Deep-clean a painted surface with strong detergents or abrasive cloths.
Stack painted panels or doors face-to-face.
Apply a second coat of a different paint type without checking compatibility.
Practical pro tips from Abrushwithgus
Angus and the team at Abrushwithgus have worked on hundreds of domestic painting jobs across the South West, and the same issues come up repeatedly. Here is what they recommend for getting the best result from a freshly painted room.
Stage the room before you start. Move furniture to the centre and cover it. Trying to work around furniture leads to rushed edges and inadequate ventilation around the walls.
Wait 7–14 days before rehanging doors in their frames, even if the paint feels hard. The edges are the last part of a door to cure fully, and blocking is almost always the result of hanging too soon.
For drawers and cabinet doors, leave them open or off their hinges for at least 14 days. The inside edges of a drawer box rarely get adequate airflow and cure more slowly than the face.
Check paint quality before you buy. A mid-range or premium paint from a reputable manufacturer cures more reliably and is more forgiving of slight variations in temperature and humidity than a budget option.
You cannot chemically accelerate the cure. The best approach is to optimise drying conditions so curing can start promptly and proceed normally. Patience, ventilation, and correct film thickness do more than any additive.
For specialist coatings (two-part epoxies, UPVC paints, or high-build primers), always read the full technical datasheet. These products have specific pot lives, application windows, and cure requirements that differ substantially from standard emulsions.
Pro Tip: Before reattaching switch plates, door handles, or curtain poles, run the fingernail test on the area where the fitting will sit. If it leaves any mark at all, wait another 48 hours and test again. A fitting pressed into an under-cured surface will leave a permanent impression.
For complex jobs, tight schedules, or specialist coatings, the Abrushwithgus team is happy to advise. Their professional painting techniques guide covers application methods in more detail.
Key takeaways
Paint curing time is the period after touch-dry when the film builds its final hardness and durability, and for most home paints that process takes 14–30 days, not hours.
Point | Details |
Curing is not the same as drying | Touch-dry means solvent has evaporated; full cure means the binder has cross-linked to maximum hardness. |
Timelines vary by paint chemistry | Acrylics cure over several weeks; traditional alkyds cure over a longer period, especially in cool or damp conditions. |
UK conditions extend cure times | High humidity and temperatures below 10°C can multiply cure times by two to four times relative to label conditions. |
Test before you use the surface | The fingernail indentation test on a hidden spot is the most reliable quick check for hardness. |
Abrushwithgus | For time-sensitive or specialist jobs in the South West, the Abrushwithgus team can advise on correct application and cure planning. |
The patience most homeowners underestimate
There is a gap between what a freshly painted room looks like and what it actually is. It looks finished. The colour is even, the sheen is right, and the smell has mostly gone. So the natural instinct is to put the room back together and get on with life.
The problem is that a paint film at 24 hours is still a work in progress. The chemistry is still running. Press a sofa against that wall, hang a picture with a tight bracket, or scrub a mark off the skirting board, and you will find out the hard way that “looks cured” and “is cured” are not the same thing.
The advice that actually helps is not complicated: check the datasheet, control the temperature and humidity, apply thin coats, and then leave the room alone for longer than feels necessary. The jobs that come back to Abrushwithgus for remedial work are almost never the ones where the painter was too patient.
When it makes sense to bring in a professional

Some paint jobs are genuinely straightforward, and a confident DIYer with the right preparation can achieve an excellent finish. But there are situations where the cure timeline, the substrate, or the coating type makes professional application the smarter choice.
If you are working with two-part epoxies, specialist UPVC coatings, or high-build exterior systems, the margin for error on application and cure conditions is much narrower than with standard emulsions. A missed pot life, a coat applied in the wrong humidity, or a surface that was not properly prepared can mean a complete strip and reapplication.
Abrushwithgus offers domestic painting services across the South West, including interior and exterior work, UPVC spraying, and airless spray application for larger surfaces. The team handles substrate preparation, correct film thickness, and cure condition management as part of every job. For exterior work where weather timing is critical, their exterior painting service includes scheduling around local conditions to give the coating the best possible start. Get in touch for a free quote.
Useful sources and further reading
These are the primary sources used in this article. For any specific product, always check the manufacturer’s datasheet first.
Industrial Physics: Paint curing — what it is and testing methods — covers test methods, hardness stages, and the distinction between full hardness and full cure.
CompositePaint: Dry time vs cure time — clear explanation of the five drying and curing stages, with notes on two-part systems.
SpecialChem: Drying and curing — detailed chemistry of acrylic, alkyd, and solvent-based cure mechanisms with typical timelines.
PaintNuts: Weather conditions for painting — UK-specific guidance on temperature, humidity, and environmental controls.
Benjamin Moore: How to make paint dry faster — practical advice on optimising drying conditions to support proper curing.
Sherwin-Williams: How to make paint dry faster — typical dry and cure times by product family for planning purposes.
This article is general information for planning purposes. Always consult the manufacturer’s datasheet for the specific product you are using, and seek professional advice for specialist coatings or structural applications.
Recommended
Comments