
Choosing paint for bathrooms: a homeowner's guide
For most UK bathrooms, the right choice is a bathroom-rated acrylic latex in a satin finish. If your bathroom has poor ventilation or sees heavy daily use, step up to semi-gloss. Both sheens include mildewcide additives and moisture-resistant resins that standard interior paints lack, and that difference shows up in how long the finish lasts.
Why bathroom-grade matters: mildewcide additives, tighter binders, higher resin content, and genuine scrub resistance.
Cost vs lifespan: bathroom-specific paints cost more upfront but outlast standard emulsion by years, making them cheaper over time.
If you’d rather hand the job to someone who does this every week, Abrushwithgus covers bathroom painting across Cornwall and the South West.
Table of Contents
What does ‘bathroom-grade’ paint actually mean?
The label “bathroom paint” is not just marketing. A properly formulated product contains mildewcide additives that inhibit mould growth on the dried film, a tighter acrylic binder that resists moisture penetration, and higher resin content that makes the surface genuinely scrubbable. Standard interior emulsion has none of those properties in sufficient quantity.
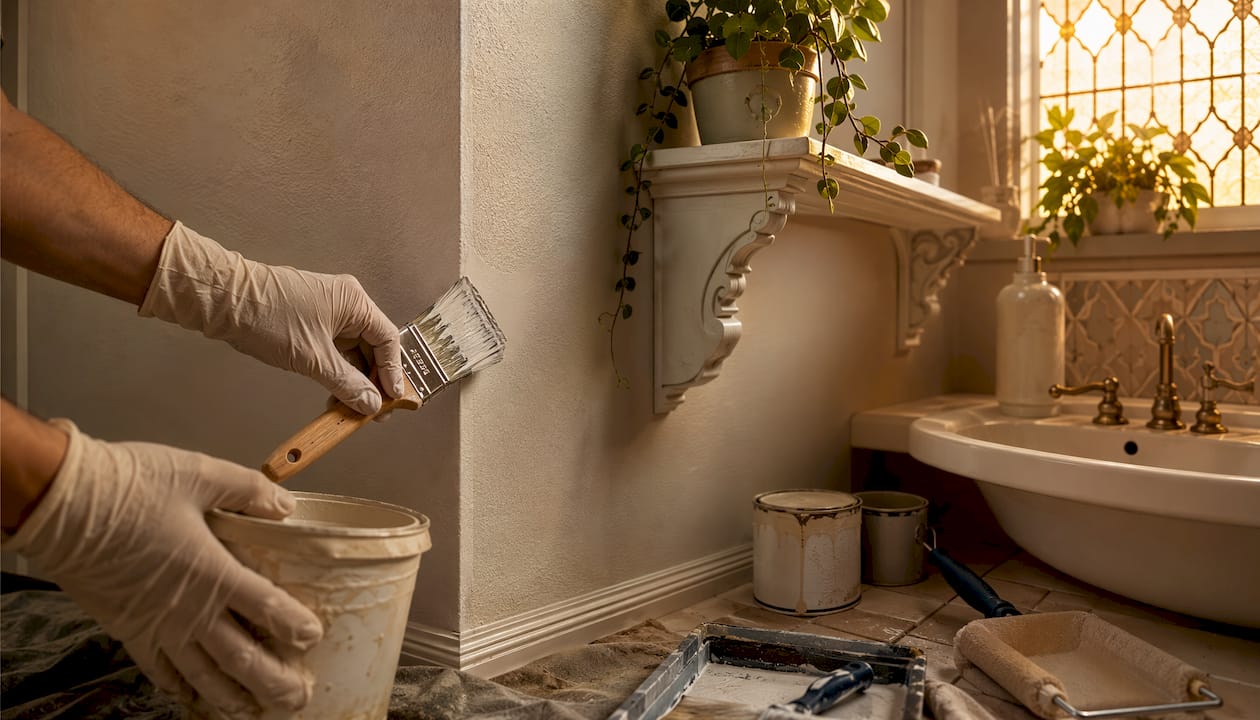
In practice, standard wall paint in a humid bathroom tends to blister, peel, and grow mildew within a year or two. A bathroom-specific acrylic latex formulated for high-humidity areas can last substantially longer when applied over properly prepared surfaces. The upfront price premium is real, but so is the payoff.
When you’re reading labels in a trade counter or DIY store, look for these specific claims: mildew resistant, kitchen and bath formula, scrubbable, or moisture-resistant resin. A product that only says “washable” is not the same thing. Check the technical data sheet if you’re unsure; the resin type and mildewcide content are usually listed there.
Pro Tip: Always read the product’s technical data sheet, not just the tin label. The TDS confirms whether the mildewcide is in the base formula or only in the tinted version.
Which finish should you choose: satin, semi-gloss or bathroom matte?
Satin is the default for most bathroom walls. It balances moisture resistance with a forgiving appearance, reflects enough light to feel clean without being mirror-like, and is far more tolerant of minor wall imperfections than semi-gloss.
Semi-gloss is tougher and easier to scrub, but higher-sheen paints amplify surface flaws, so walls need careful sanding, patching, and priming before you open the tin. Use it in poorly ventilated bathrooms, on trim, around splash zones, and on bathroom ceilings above showers where steam concentrates.
Satin: walls in most bathrooms, good ventilation, minor imperfections present.
Semi-gloss: poorly ventilated rooms, heavy-use family bathrooms, trim, splash zones, ceilings.
Bathroom matte: only acceptable when the product is explicitly rated for humid environments; standard matte absorbs moisture and will fail.
Ceiling: satin or semi-gloss; some manufacturers offer dedicated bathroom ceiling paints with anti-microbial additives.
Trim and vanity: semi-gloss or high-gloss for a hard, washable coating.
Pro Tip: Sheen amplifies both light and imperfections. If your walls are uneven, invest in prep rather than dropping to a lower sheen — a well-prepared wall in semi-gloss will look better than a poorly prepared wall in satin.
How professionals prepare a bathroom before painting
Preparation is where most DIY bathroom paint jobs fail. Proper prep is the most critical stage: surfaces must be free of soap scum, oils, and mildew before a single drop of paint goes on.
Remove fixtures and hardware — toilet tank, towel rails, outlet plates, mirror fixings. Working around them produces a poor result.
Deep clean all surfaces — trisodium phosphate (TSP) or a strong sugar soap cuts through soap scum and grease that standard cleaning misses.
Treat mildew — painting over visible mildew without treatment causes rapid failure. Use a biocide solution or an alcohol-based shellac primer to kill spores before coating.
Rinse and dry fully — any residual moisture under new paint will cause blistering.
Repair and sand — fill cracks and holes, then sand smooth. Higher sheens demand smoother walls.
Prime — bare plaster, patched areas, and any surface with staining need a suitable primer. On previously painted walls in good condition, a self-priming bathroom paint can skip this step.
Caulk wet junctions — reseal around the bath, shower tray, and basin before painting.
For a thorough walkthrough of surface preparation, the role of prep in painting guide covers every stage in detail.
Drying and curing times
Stage | Typical guidance |
Surface dry (touch dry) | 1–2 hours |
Recoat window | 2–4 hours (check product TDS) |
Light use (handwashing) | Overnight |
Full cure (moisture resistance) | 2–4 weeks |
Curing time is significantly longer than surface dry time; the first 48–72 hours are the highest-risk window for steam disruption. Run the extractor fan during and after every shower for at least the first two weeks.
If you have persistent mould or water damage behind the plaster, call a professional. Painting over a structural damp problem will fail every time.
How colour and light work in UK bathrooms
Artificial light changes everything. A shade that looks warm and neutral in a paint shop can read cold and flat under a bathroom downlight. For small or windowless bathrooms, lighter and warmer tones make the space feel larger and more open. Cool whites and pale blues work well here, but test them under your actual lighting before committing.
Deeper, moodier colours can work beautifully in powder rooms and larger bathrooms, provided ventilation is adequate and the paint grade is right. A dark charcoal or forest green in a well-ventilated en suite with good lighting reads sophisticated rather than oppressive.
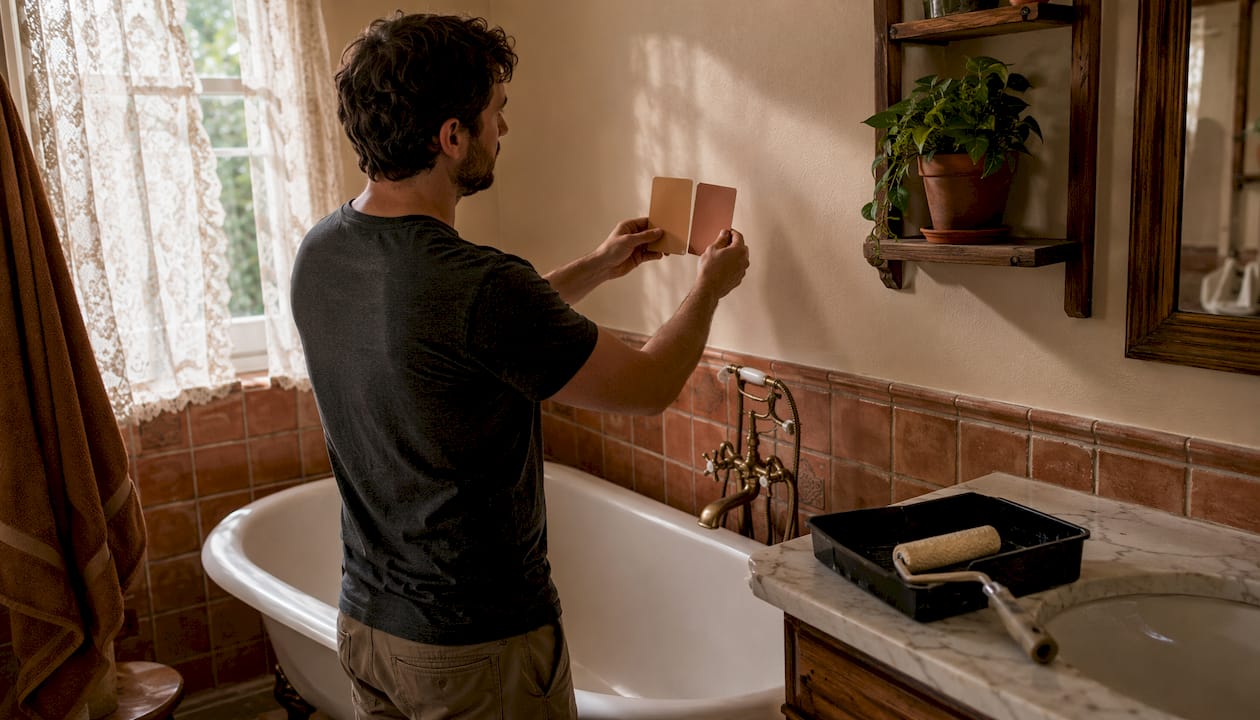
Test swatches on at least two walls and view them at different times of day.
Check the swatch against your tiles, fixtures, and floor before buying a full tin.
Remember that sheen affects perceived depth: the same colour in semi-gloss will look richer and more saturated than in satin.
Ventilation and room use determine the appropriate finish: a powder room without a shower can accept a wider range of colours and finishes than a family bathroom with daily hot showers.
Special surfaces: tiles, ceilings, UPVC, and rented properties
Tiles and splashbacks
Painting over tiles is possible but rarely the best long-term solution. If you do proceed, the surface needs degreasing, light sanding, and a specialist tile primer before any topcoat. For damaged grout or cracked tiles, repair or replacement gives a more durable result than paint.
Ceilings above showers
Treat the ceiling above a shower as a high-moisture surface in its own right. Standard ceiling paint in a flat finish will peel. Use a bathroom-rated product in satin or semi-gloss, or a dedicated bathroom ceiling paint with anti-microbial additives.
UPVC doors and frames
Standard wall paint will not adhere to UPVC and will peel within months. UPVC requires specialist preparation and a dedicated coating system. Abrushwithgus offers a UPVC spraying service across Cornwall and the South West, restoring frames and doors to a factory-quality finish without replacement.
Rented properties
Landlords and property managers should default to neutral, washable finishes in satin. These are easy to touch up between tenancies and acceptable to most tenants. If a bathroom has a history of recurring mould, budget for specialist remediation before repainting. Painting over the problem is not a solution; it is a delay.
For renovation planning that includes ventilation upgrades before painting, a bathroom renovation planning guide covers the sequencing in detail.
Cost and lifespan: what to expect
Paint tier | Approximate cost (per US gallon) | Expected lifespan (professionally applied) |
Budget bathroom paint | $50–75 | Lasts a few years |
Mid-range bathroom-grade | $50–75 | Lasts multiple years |
Premium bathroom-grade | Higher-cost paint | Lasts the longest time |
Bathroom-specific paints commonly cost $50–75 per US gallon (about 3.78 litres) and last substantially longer than standard interior latex. These figures reflect typical UK and US retail pricing; actual costs vary by brand and supplier.
Prep quality and ventilation influence lifespan more than small differences in paint price. A premium paint applied over poorly cleaned walls will fail faster than a mid-range product applied over a properly prepared surface. Moisture control through exhaust fans and opening windows is essential; no paint can compensate for a bathroom that never dries out.
Premium paint is worth the extra cost when colour stability matters (deep or dark shades fade faster in budget formulas), when low-VOC is a priority, or when a specific sheen is only available in the premium range.
Some budget products offer a mildew warranty on the dried film; check the terms carefully, as these often require specific application conditions to be valid.
Should you hire a professional? When to book Abrushwithgus
Hire vs DIY checklist
Persistent mould or water damage present? Hire a pro.
UPVC doors or frames needing treatment? Specialist spraying required.
Walls in poor condition needing significant patching? Professional prep makes a visible difference.
Tight curing schedule (rental turnaround, renovation deadline)? A professional team works faster.
Want an airless-sprayed finish with no brush or roller marks? DIY cannot replicate this.
Professional application buys correct prep, specialist primers, access to trade-grade materials, and a portfolio of completed work you can inspect. Abrushwithgus uses airless spraying for smooth, durable finishes and handles UPVC restoration alongside standard bathroom painting.
Three questions to ask any painter before booking:
Do you have experience specifically with bathroom painting and high-humidity surfaces?
Can you show me a portfolio or recent examples of bathroom work?
What guarantee or warranty do you offer, and are you fully insured?
Pro Tip: Ask to see photos of the prep stage, not just the finished result. A painter who documents their preparation is one who takes it seriously.
For new homeowners unsure where to start, the new homeowner painting guide covers the full sequence from assessment to completion.
Key takeaways
Bathroom-rated acrylic latex in a satin or semi-gloss finish, applied over thoroughly prepared surfaces, is the single most reliable approach to a lasting bathroom paint job in the UK.
Point | Details |
Choose bathroom-grade paint | Look for mildewcide, moisture-resistant resin, and a scrubbable rating on the label. |
Match sheen to ventilation | Satin for most walls; semi-gloss for poor ventilation, trim, and ceilings above showers. |
Prep determines lifespan | Clean, treat mildew, sand, and prime before painting — prep matters more than paint price. |
Allow full curing time | Avoid steam for 2–4 weeks; full moisture resistance takes 2–4 weeks to develop. |
Abrushwithgus for specialist work | Book Abrushwithgus for bathroom painting, airless spraying, and UPVC restoration in Cornwall and the South West. |
The approach that actually works
Most bathroom paint failures come down to one thing: skipping preparation. The paint gets the blame, but the real culprit is usually a wall that was never properly cleaned, a mildew patch that was painted over rather than treated, or a UPVC frame that was brushed with standard emulsion and expected to hold.
At Abrushwithgus, every bathroom job starts with a proper assessment of the surface condition. That means checking for damp, treating any mildew with a biocide before priming, and selecting the right primer for the substrate, whether that’s bare plaster, previously painted walls, or a specialist surface. The finish coat is the easy part.
The team has completed bathroom and interior projects across Cornwall and the South West, and the portfolio reflects that range. If you’d like to see recent work or discuss a specific project, the gallery on the website is the best starting point.
Get a quote and see recent bathroom projects
Abrushwithgus offers domestic painting and decorating across Cornwall and the South West, with specialist spraying services for smooth, durable finishes and dedicated UPVC spraying for doors and window frames.

Free on-site estimates are available across the South West. Whether you need a single bathroom refreshed or a full property repainted between tenancies, Gus and Rhys will assess the surfaces, recommend the right products, and give you a clear, honest quote. Contact Abrushwithgus to book your estimate and view the portfolio of completed projects.
Recommended
Comments