
DIY home painting workflow: save £350 per room
- WM Creative Designs Limited
- 5 hours ago
- 8 min read
TL;DR:
Proper preparation and using quality tools are essential for a lasting professional-looking paint job.
Applying multiple thin coats in the correct sequence results in smoother, more durable finishes.
Knowing when to DIY and when to hire professionals ensures best results, especially for complex exteriors.
Chipped skirting boards, faded walls, or a kitchen that looks like it hasn’t seen a fresh coat since the nineties. Sound familiar? Many homeowners across the South West want to refresh their spaces but feel put off by decorator quotes or unsure where to begin. The good news is that with the right workflow, the right tools, and a bit of patience, you can achieve results that genuinely impress. This guide walks you through every stage of the DIY painting process, from gathering materials to avoiding the mistakes that cost time and money. Follow these steps and you’ll wonder why you ever hesitated.
Table of Contents
Key Takeaways
Point | Details |
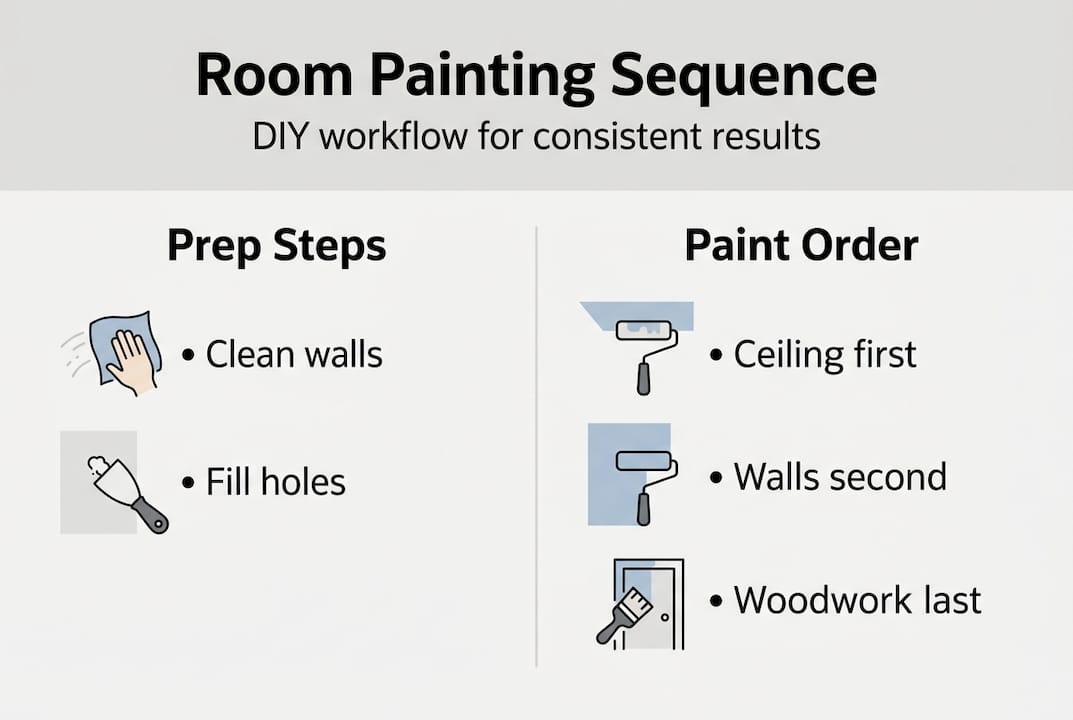
Order matters | Always paint the ceiling first, walls second, and woodwork last for a clean finish. |
Prep is crucial | Proper cleaning, taping, and surface checks ensure paint adheres well and lasts longer. |
Thin coats outperform | Applying two thin coats of quality paint gives superior coverage and durability compared to thick or cheap paint layers. |
DIY saves money | Completing your own painting can save £150-350 per room while achieving impressive results if done correctly. |
Avoid common errors | Mistakes like poor prep or painting out of sequence are easily prevented with a workflow-focused approach. |
Essential tools, materials, and preparation steps
Before you open a single tin of paint, preparation is everything. Skipping this stage is the single biggest reason DIY paint jobs look amateurish within months. Good prep takes time, but it’s what separates a lasting finish from one that peels by winter.
Here’s what you’ll need before you start:
Rollers (short pile for smooth walls, medium pile for textured surfaces)
Angled cutting-in brush (essential for edges and corners)
Masking tape (low-tack for delicate surfaces)
Dust sheets (canvas holds better than plastic on floors)
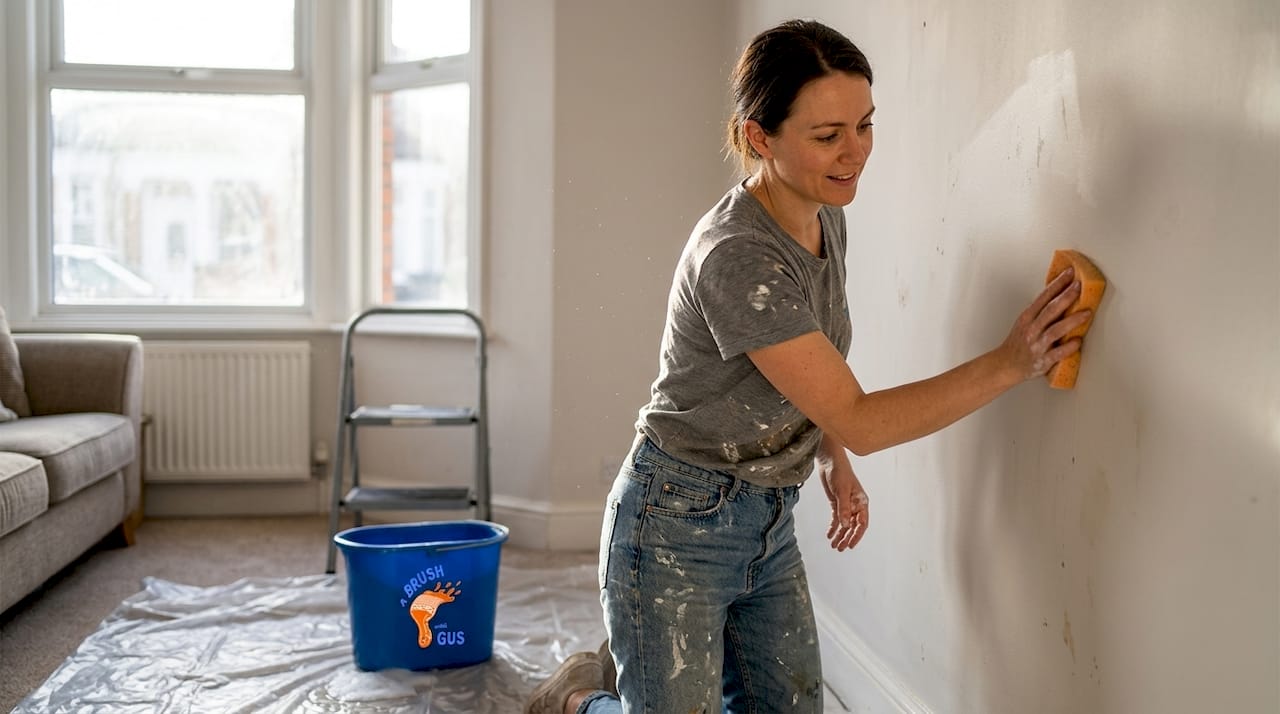
Sugar soap or degreaser (for cleaning walls before painting)
Filler and sandpaper (for surface repairs)
Primer (especially important on new plaster or bare wood)
Tool | Budget option | Quality option | Why it matters |
Roller | Foam roller | Microfibre roller | Microfibre holds more paint, fewer streaks |
Brush | Synthetic bristle | Natural bristle or quality synthetic | Cleaner cut-in lines |
Masking tape | Standard tape | Low-tack painter’s tape | Protects trim without pulling off paint |
Dust sheet | Plastic sheet | Heavy canvas sheet | Canvas stays flat and absorbs drips |
Once you’ve gathered your tools, clean every surface with sugar soap. Fill any cracks or holes with filler, sand smooth once dry, and wipe away dust. Tape off skirting boards, window frames, and any edges you want to protect. Open windows for ventilation, particularly important in smaller rooms where paint fumes can build up quickly.
For exterior projects, always choose a breathable exterior paint designed for UK conditions. The South West’s damp climate means moisture can get trapped behind non-breathable coatings, leading to bubbling and flaking within a single season.
Pro Tip: Refer to this DIY painting preparation checklist before any project. Rushing prep is the most expensive shortcut you can take.
When it comes to order, the rule is simple. Paint ceiling first, then walls, then woodwork and trim last. This order prevents drips landing on freshly painted surfaces below. Understanding the different interior paint types before you buy also saves money and avoids compatibility issues between coats.
Step-by-step DIY home painting workflow
With your surfaces prepared and tools ready, it’s time to paint. Following a structured sequence makes the difference between a patchy result and one that looks genuinely professional.
Cut in first. Using your angled brush, paint a 5 to 7 cm band along all edges, corners, ceiling lines, and around trim. Work in sections rather than doing the whole room at once. This keeps the cut-in paint wet when you roll, which is critical for blending.
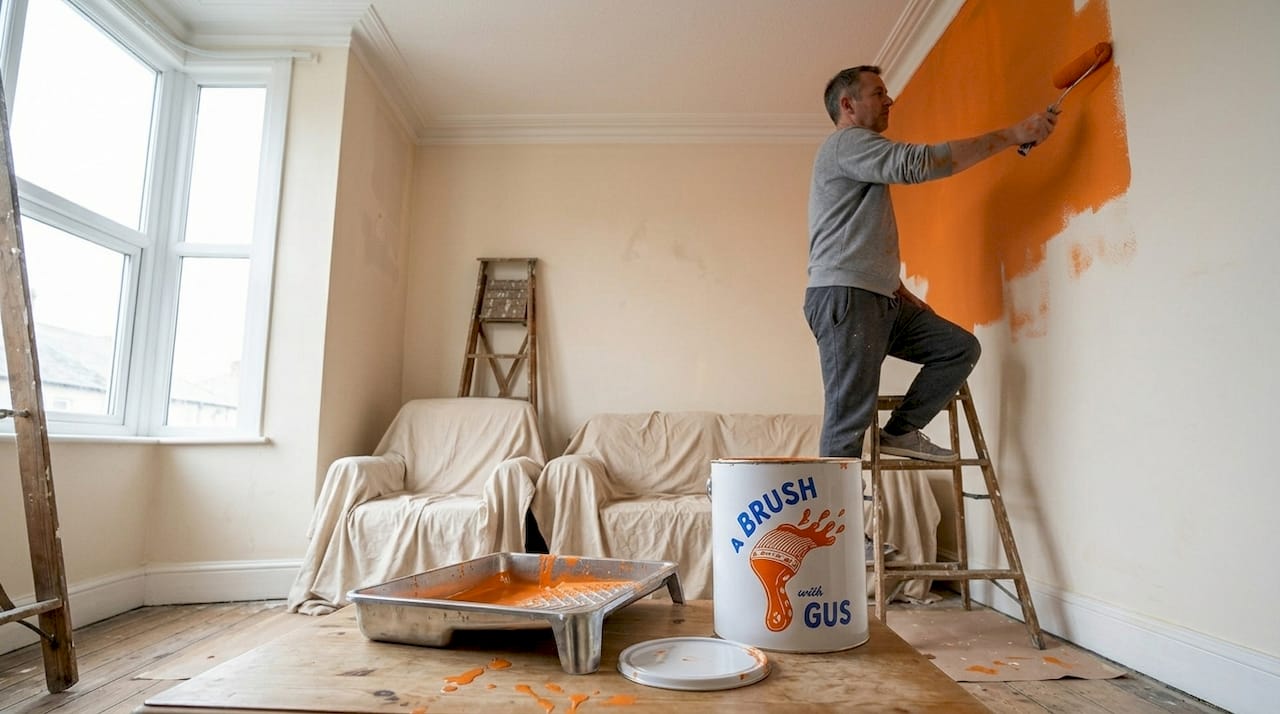
Roll the main areas. Load your roller evenly and use a W or N pattern across 3 to 4 foot sections. The cutting-in technique and rolling must overlap while both are still wet to avoid visible lap marks where the two meet.
Apply thin coats. One thick coat is never better than two thin ones. A heavy coat sags, takes longer to dry, and often shows brush marks once set. Allow each coat to dry fully before applying the next.
Paint woodwork and trim last. Once walls are fully dry, tape off the edges and apply your trim paint. Gloss or satinwood works well on skirting boards and door frames.
Stage | Common mistake | Correct approach |
Cutting-in | Using a flat brush | Use an angled brush for precision |
Rolling | Random strokes | W or N pattern in sections |
Coat thickness | One thick coat | Two thin coats with drying time |
Trim | Painting trim first | Always paint trim last |
For a full breakdown of sequencing, the residential painting workflow guide covers each stage in detail. You can also explore how to approach painting walls professionally for technique-specific advice.
Pro Tip: Work in natural light whenever possible. Artificial lighting hides uneven coverage that becomes obvious in daylight.
The room painting workflow confirms this sequence works consistently across different room types. Doing it right the first time can save you £150 to £350 per room compared to hiring a decorator, which is a meaningful saving across a whole house.
Benefits of using high quality paints and applying thin coats
Not all paint is equal. This is one of those areas where spending a little more upfront genuinely pays off. Quality paints typically cover 12 to 16 square metres per litre and require just two coats. Budget paints often cover far less and need three or four coats to achieve the same depth of colour, which cancels out any initial saving.
Advantages of quality paint:
Better pigment density means richer, more consistent colour
Higher coverage per litre reduces the number of coats needed
More durable finish resists scuffs, moisture, and fading
Often contains mould inhibitors, useful in bathrooms and kitchens
Easier to clean without damaging the surface
Risks of cheap paint:
Thin consistency leads to streaking and uneven coverage
Requires more coats, increasing labour time significantly
Fades faster, especially on south-facing exterior walls
May not adhere well to previously painted surfaces without a primer
Applying thin coats is equally important. Overloading your brush or roller causes the paint to sag before it dries, leaving ridges and drips that are difficult to correct once set. Thin coats dry faster, bond better to the surface, and build up to a smoother finish.
Always ventilate the room properly and inspect your work in natural light between coats. You’ll spot thin patches and uneven areas far more easily than under artificial lighting.
For exterior projects in the South West, breathable paint application is not optional. Older stone and render properties in the region need coatings that allow moisture to move through the wall. Sealing them with non-breathable paint traps damp inside, which damages both the wall and the coating.
Our painting tips blog covers specific product recommendations for South West homes, and the interior paint types guide explains which finishes suit which rooms. For inspiration on colour choices that work well in the region’s light, South West UK painting ideas is worth a look.
Common pitfalls in DIY painting and how to achieve a professional-standard finish
Even with the right tools and good paint, certain habits consistently produce poor results. Knowing what to avoid is just as valuable as knowing what to do.
Most common DIY painting mistakes:
Skipping surface preparation. Painting over dirty, greasy, or cracked walls means the paint won’t bond properly and will peel sooner.
Applying paint too thickly. One heavy coat looks appealing in theory but sags, drips, and dries unevenly.
Painting out of sequence. Painting trim before walls means you’ll inevitably get wall paint on your freshly finished woodwork.
Not maintaining a wet edge. If you let cut-in edges dry before rolling, you’ll see a visible line where the two meet.
Ignoring drying times. Applying a second coat too soon traps moisture and causes the paint to peel or wrinkle.
DIY painting can save you £150 to £350 per room, but avoidable painting mistakes are what turn a cost-saving project into an expensive redo.
Tips for achieving a professional-standard finish:
Sand lightly between coats with fine-grit sandpaper for a smoother build-up
Use a small foam roller for doors and large flat surfaces instead of a brush
Remove masking tape while the final coat is still slightly tacky to get a clean edge
Step back and inspect walls from an angle in natural light before calling the job done
For more advanced technique guidance, painting walls professionally and professional painting techniques are both excellent resources. If a job feels beyond your current skill level, understanding the benefits of hiring professionals can help you decide when to call in help. The best painting practices guide is also tailored specifically for South West properties.
A fresh perspective: the truth about DIY versus professional painting results
Here’s something most DIY guides won’t tell you: the biggest underestimation isn’t technique, it’s time. Homeowners routinely expect a room to take a weekend and find themselves still finishing on the third evening. Prep alone on an older South West property, with its textured render, damp patches, and uneven plasterwork, can take as long as the painting itself.
DIY saves £150 to £350 per room, and that’s real money. But the saving evaporates quickly if you have to repaint a wall because the prep was rushed, or if you’ve used the wrong paint on a damp exterior and it starts peeling by spring.
The South West’s climate is genuinely different from drier parts of the country. Older stone cottages, period terraces, and rendered bungalows need specific products and approaches. A breathable masonry paint on an exterior wall isn’t a premium choice here, it’s a necessity.
For straightforward interior rooms with sound plasterwork, DIY is absolutely the right call. For complex exterior work, high ceilings, or properties with moisture issues, the residential painting workflow advice is clear: know your limits and get professional input early rather than after something has gone wrong.
Your next step for perfect home painting
You’ve now got a solid understanding of how to approach a DIY painting project with confidence. From preparation through to finishing touches, the workflow makes all the difference.

But some jobs genuinely benefit from professional hands, whether that’s a full exterior repaint, UPVC spraying, or a complex interior with high ceilings and intricate cornicing. At A Brush With Gus, Gus and Rhys bring years of South West experience to every project. Explore our exterior home services, our specialist spraying service, or our full range of domestic painting options. Get in touch for a no-obligation quote and see what a professional finish really looks like.
Frequently asked questions
What is the best order to paint a room for DIY results?
Always start with the ceiling, followed by walls, then woodwork or trim last to avoid drips and maximise finish quality.
How many coats of paint should I apply for a professional finish?
For quality paint, two thin coats usually give a smooth, durable finish; cheap paint often needs three or more coats to achieve the same result.
What is the cutting-in technique for painting?
Cutting-in uses an angled brush for edges and corners before rolling the main wall area, helping to achieve sharp lines and avoid visible lap marks.
Can exterior paint help prevent damp in South West UK homes?
Breathable exterior paints designed for UK conditions help reduce damp by allowing moisture to escape from walls rather than becoming trapped beneath the coating.
What are the most common mistakes in DIY painting?
Skipping prep, applying thick coats, and painting out of sequence often lead to poor results, but following the correct workflow consistently avoids these issues.
Recommended
Comments