
Best home painting practices for South West UK homeowners
- WM Creative Designs Limited
- Apr 1
- 8 min read
Getting a professional finish when painting your home is harder than it looks. Choose the wrong primer, skip a coat, or ignore the damp corner behind the radiator, and you will be repainting within a year. For homeowners across the South West UK, where coastal humidity and unpredictable weather add extra complexity, the stakes are even higher. This guide covers the evidence-backed practices that separate a lasting, beautiful result from a frustrating redo. Whether you are tackling a single room or refreshing your entire home, following expert guidance from the outset saves you time, money, and considerable stress.
Table of Contents
Key Takeaways
Point | Details |
Preparation is vital | Cleaning and priming surfaces properly leads to lasting paint results. |
Choose paint wisely | Select paints and tools suited to your room conditions for the best outcome. |
Apply paint in order | Painting ceilings, then walls, then woodwork prevents drips and mistakes. |
Maintenance matters | Regular cleaning and timely touch-ups keep surfaces fresh and protected. |
Consult local experts | Professional advice or PDA-accredited decorators help homeowners avoid costly mistakes. |
Essential preparation before painting
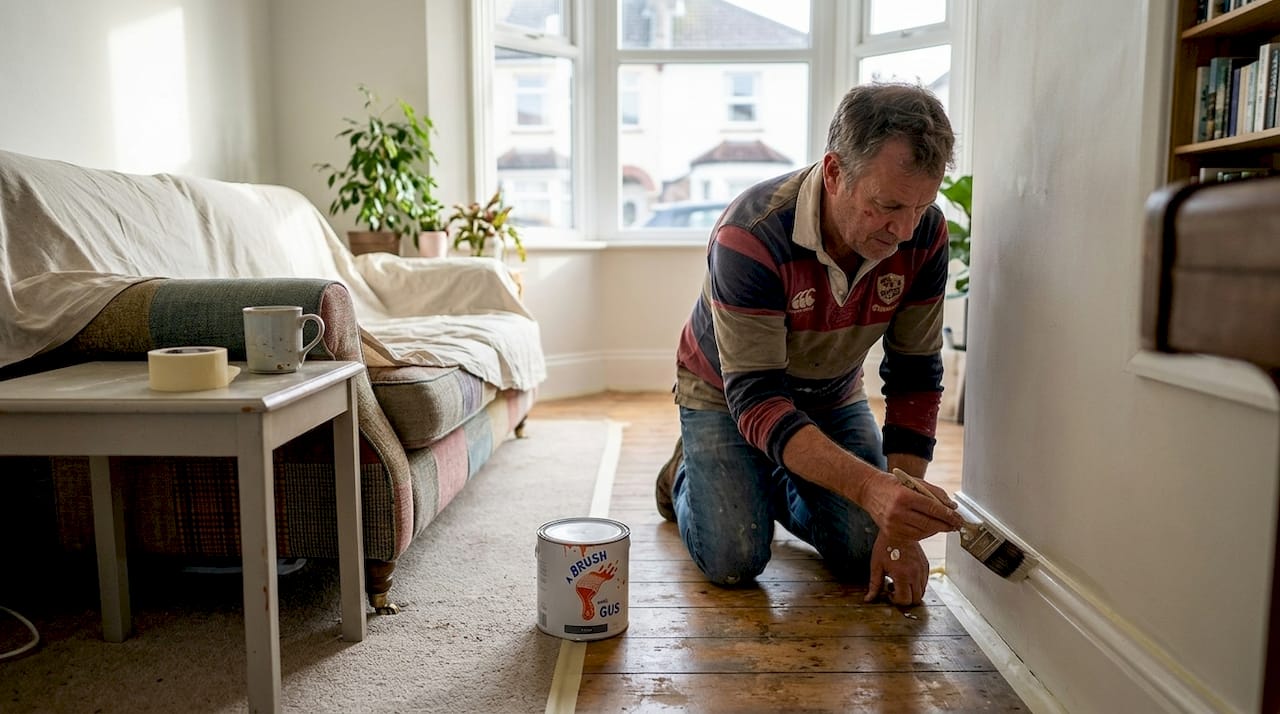
Preparation is the part most homeowners rush, and it is almost always the reason a paint job fails early. Before a single brush touches a wall, the surface needs to be clean, dry, and sound. Grease, dust, and old flaking paint all prevent adhesion, so wash surfaces with sugar soap and fill any cracks or holes with a suitable filler. Sand filled areas smooth once dry.
Checking for moisture is non-negotiable, especially in South West UK homes where damp can be a persistent issue. Run your hand along external walls after heavy rain. If you spot staining, bubbling, or a musty smell, investigate before painting. Covering a moisture problem with fresh paint only delays the damage and makes it worse.
Protecting your space matters just as much as preparing the surface. Use these steps before you open a tin:
Lay dust sheets over all flooring and furniture
Remove switch plates and socket covers where possible
Apply masking tape along skirting boards, door frames, and window edges
Decant paint into a clean tray to avoid contaminating the tin
Selecting the right primer is equally important. Bare plaster needs a mist coat (a diluted emulsion), bare wood needs a wood primer, and stained walls may need a stain-blocking primer. Skipping primer on new plaster is one of the most common and costly mistakes we see. For further guidance on professional painting techniques that make a real difference, it is worth reading up before you start.
“Applying thin even coats and allowing 2 to 4 hours drying time is key to a quality finish.”
Pro Tip: Invest in quality brushes and rollers from the start. Cheap tools shed bristles, leave lint, and produce an uneven finish. A good synthetic brush and a medium-pile roller will outlast several budget alternatives and give you noticeably better results. The PDA advice on surface preparation is also worth consulting for a thorough checklist.
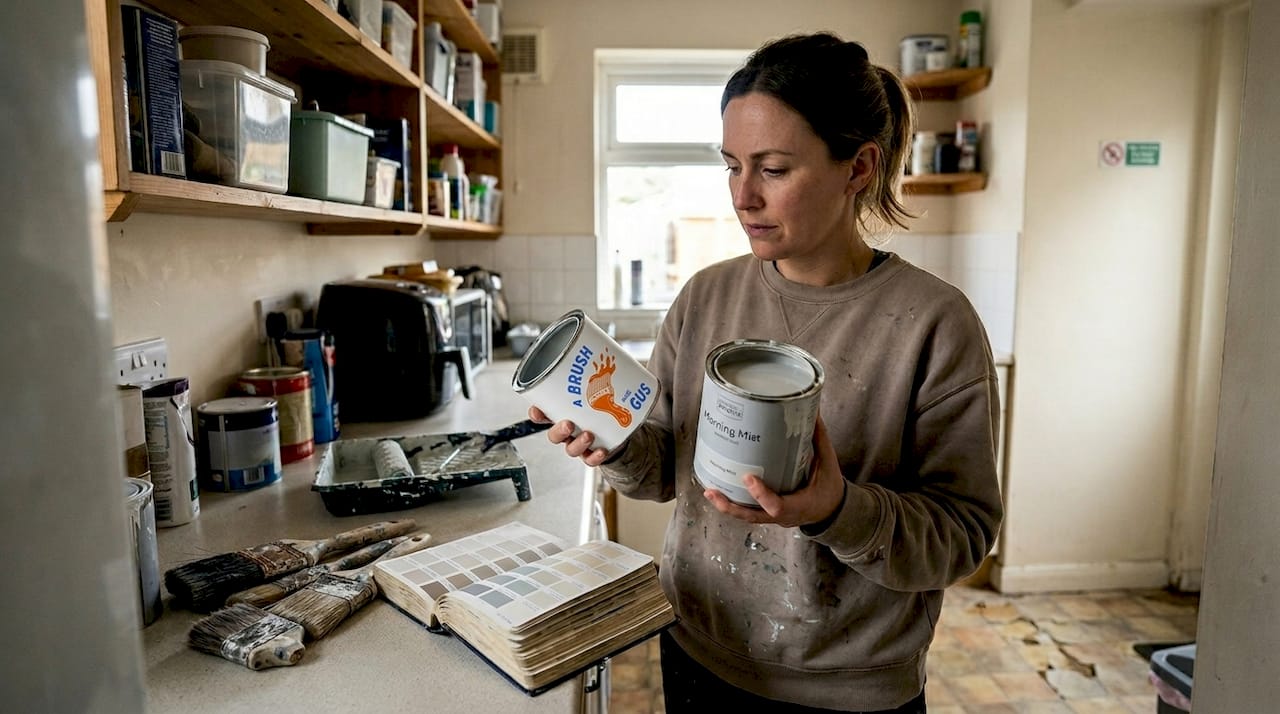
Choosing the right paint and tools
With preparation finished, the next step is selecting the best materials for a lasting finish. The South West UK climate, with its higher-than-average rainfall and coastal salt air in many areas, means paint choice genuinely matters. A standard matt emulsion that works fine in a dry inland home may not hold up as well in a bathroom in Falmouth or a hallway in Plymouth.
Here is a quick comparison of the main paint types for interior use:
Paint type | Finish | Best use | Durability |
Matt emulsion | Flat, no sheen | Ceilings, low-traffic walls | Moderate |
Eggshell | Slight sheen | Hallways, living rooms | Good |
Gloss | High shine | Woodwork, doors, skirting | Excellent |
Satinwood | Soft sheen | Woodwork, radiators | Very good |
For kitchens and bathrooms, choose paints specifically labelled as moisture-resistant or anti-mould. These contain fungicides that actively prevent mould growth, which is a genuine concern in rooms with steam and condensation. Our [kitchen painting tips](https://abrushwithgus.com/post/expert-kitchen painting tips-modern home refresh) cover the best products for these high-demand spaces.
Your tool checklist should include:
A 2-inch angled brush for cutting in around edges
A 9-inch roller with a medium-pile sleeve for walls
A high-density foam roller for ceilings
A paint tray with a grid
Extension pole for ceilings and high walls
Masking tape and dust sheets
For a deeper look at which products suit which rooms, our guide to types of interior paints](https://abrushwithgus.com/post/types-interior paints-explained-homeowners) breaks it all down clearly. As [Which? notes, applying thin, even coats and allowing sufficient drying time between each one produces the best results, regardless of paint type.
Pro Tip: Use a high-density foam roller for ceilings. It holds more paint, reduces splatter, and gives a smoother finish than a standard pile roller. Your neck will thank you too.
Applying paint for a professional finish
After selecting paint and tools, proper application ensures lasting quality. The order in which you paint a room is not arbitrary. It follows a logical sequence that prevents you from dripping fresh paint onto already-finished surfaces.
Follow this sequence every time:
Cut in around the ceiling edges with a brush
Roll the ceiling in sections, working away from the main light source
Cut in around the wall edges, including corners and around windows
Roll the walls in a W or M pattern for even coverage
Paint doors, window frames, and skirting boards last
As Which? confirms, the correct order is ceilings first, then walls, then woodwork. This prevents the classic mistake of dripping gloss onto a freshly painted wall.
Here is a quick comparison of the three main application methods:
Method | Best for | Skill level | Finish quality |
Brush | Detail, edges, woodwork | Beginner to advanced | High control |
Roller | Large flat surfaces | Beginner | Fast, even |
Spray | Large areas, smooth surfaces | Advanced | Very smooth |
Avoiding drips and streaks comes down to two things: not overloading your brush or roller, and keeping a wet edge. Work in manageable sections and always blend back into the previous section before it dries. If you spot a drip, smooth it out immediately with a dry brush. Once paint has dried, sanding it flat and recoating is the only fix.
For a full breakdown of sequencing and method, our [painting workflow guide](https://abrushwithgus.com/post/residential painting workflow-quality results) covers every stage in detail.
Maintaining painted surfaces
Once painting is complete, ongoing care keeps your results fresh and protects your investment. Many homeowners treat a freshly painted room as finished and forget about it entirely until the paint starts to look tired. A little regular attention extends the life of any paint job significantly.
Gentle, routine cleaning prevents the gradual buildup of grease, dust, and marks that dull painted surfaces over time. For most painted walls, a damp cloth with a small amount of mild washing-up liquid is all you need. Avoid abrasive cleaners, which scratch the surface and remove sheen from eggshell or satinwood finishes.
Keep an eye out for these warning signs:
Hairline cracks appearing along plaster joints
Bubbling or peeling near windows or external walls
Yellowing on white woodwork, particularly near radiators
Mould spots in corners or behind furniture
Spot repairs are straightforward if you act early. Sand the affected area lightly, apply a small amount of filler if needed, prime, and touch up with the original paint. Keep a small amount of leftover paint in a sealed tin for exactly this purpose. Label it with the room and date.
As proper drying and curing times prevent premature wear, it is worth noting that most paints take up to four weeks to fully cure, even if they feel dry to the touch within hours. Avoid scrubbing freshly painted surfaces during this period.
If you start to notice persistent issues on external surfaces, our guide on [exterior painting signs](https://abrushwithgus.com/post/recognise signs-you-need-exterior painting-for-your home) will help you decide when professional intervention is needed. And if you are weighing up whether to hire help, our [painting contractors guide](https://abrushwithgus.com/post/understanding painting contractors-homeowners guide) explains what to look for.
Pro Tip: Use microfibre cloths to clean painted finishes. They lift dirt without scratching and are far gentler than sponges or rough cloths on eggshell and satinwood surfaces.
What most homeowners overlook when painting
After years of working on homes across the South West, we have noticed a pattern. Most homeowners focus entirely on the visible part of a paint job and underestimate everything that happens before and after. The prep, the weather, the curing time, and the quality of the contractor all shape the final result more than the paint colour ever will.
The South West UK climate is genuinely different from the rest of England. Higher humidity, coastal winds, and mild but wet winters mean that painting in the wrong conditions can ruin a job that looked perfect on the day. Cold or damp weather slows drying times and can cause paint to blister or not adhere properly. Ideally, paint when temperatures are between 10°C and 25°C and humidity is below 85%.
Overlooking professional advice also tends to cost more in the long run. A poorly executed DIY job often needs professional remediation, which is more expensive than getting it right first time. PDA members are vetted for quality and insurance, making them a reliable choice for South West UK jobs where local knowledge matters.
For homeowners unsure whether to go DIY or professional, our [professional painting guide](https://abrushwithgus.com/post/what is-professional painting-homeowners guide) sets out the honest pros and cons of each approach.
Take your painting project further
If you want results that genuinely last and look the part, sometimes the smartest move is calling in a local expert who knows South West homes inside out.

At A Brush With Gus, Gus and Rhys bring years of hands-on experience to every project, from single-room refreshes to full exterior transformations. Our domestic painting services cover everything from careful prep to a flawless final coat. For outside your home, our exterior home painting team handles the South West’s demanding weather conditions with the right products and methods. We also offer specialist paint spraying solutions for smooth, even finishes on large surfaces. Get in touch for a no-obligation quote and see what a professional finish really looks like.
Frequently asked questions
What is the best order to paint a room?
Always start with ceilings, then move to walls, and finish with woodwork such as skirting boards, doors, and window frames. This order prevents drips from landing on already-finished surfaces.
How long should you wait between coats of paint?
Wait at least 2 to 4 hours between coats to allow proper drying and achieve the best possible finish. Rushing this step is one of the most common causes of a patchy result.
What tools are essential for home painting?
Quality brushes, rollers, dust sheets, masking tape, and the correct primer for your surface are all essential for a professional-looking result at home.
Why should I hire a PDA member for painting?
PDA members are vetted for both quality and insurance, which means you have recourse if something goes wrong and confidence that the work meets a recognised industry standard.
Recommended
Comments