
External structure painting tips: the UK homeowner's guide
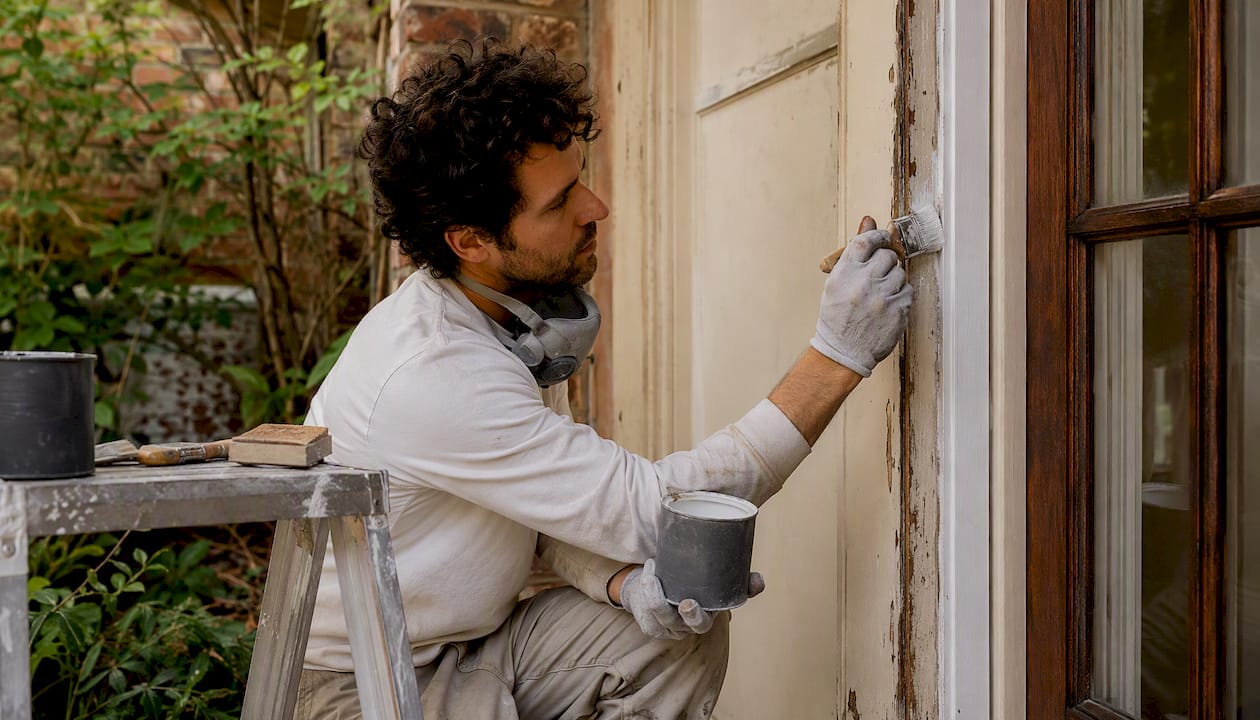
TL;DR:
Proper surface preparation accounts for about 70% of a successful exterior paint job and determines its longevity.
Following the correct sequence of inspection, cleaning, scraping, repairing, priming, and applying coats ensures durability and prevents failure.
Most homeowners can tackle exterior painting themselves — provided the job is straightforward, the surfaces are sound, and they are comfortable working safely at height. Trade guidance from the PCA is consistent on one point: proper surface preparation accounts for roughly 70% of a successful exterior paint job. Get that right, and a quality finish can last many years. Skip it, and there is a higher risk of early peeling.
Before you buy a single tin of paint, run through this starter checklist:
Assess the full condition of all surfaces (masonry, timber, metal, UPVC)
Protect plants, garden furniture, and external fixtures with dust sheets and masking
Wash down all surfaces to remove dirt, mildew, and chalky residue
Scrape away all loose or flaking paint
Feather (sand smooth) every scraped edge so no ridge remains
Book repairs, rotten timber replacement, or scaffolding if the job demands it
If any of those steps reveal structural problems, significant rot, or surfaces more than three metres up without safe access, pause. The rest of this guide will tell you exactly how to proceed — and when to call in a professional.
Table of Contents
What tools and materials do you need before you start?
Arriving at the job without the right kit is one of the most common reasons DIY exterior projects stall halfway through. Here is what to gather before you touch a surface.
Tools
Paint scrapers (wide and narrow)
Random-orbit sander with 80-grit and 120-grit discs
Pressure washer (1,200–2,500 PSI with 25–40° tips — hire rather than buy if this is a one-off job)
Angled sash brushes (50 mm and 75 mm) for cutting in around windows and trim
Rollers with the correct nap: 9 mm for smooth masonry, 15–18 mm for rough render
Extension poles for rollers (saves scaffold time on lower-storey walls)
Airless sprayer (hire for large areas; not worth buying for a single house)
Masking tape, plastic sheeting, and dust sheets
Exterior-grade flexible filler and caulk gun
Primer and topcoat appropriate to each substrate
Consumables and coverage
A rough rule for estimating paint: most exterior masonry paints cover 8–10 m² per litre per coat. Measure your wall area (height × width, minus windows and doors), divide by the coverage rate, then multiply by two for the recommended two coats. Add some extra for waste and cut-ins. A typical UK semi-detached house with an average paintable wall area needs an appropriate quantity of topcoat accordingly.
PPE
P2 dust respirator for sanding and scraping
Safety goggles for pressure washing and sanding
Chemical-resistant gloves when using fungicidal wash
Knee pads for low-level work
Dispose of paint waste, rags, and solvent containers at your local household waste recycling centre — never pour them down the drain
Pro Tip: Hire a pressure washer rather than buying one unless you plan to use it at least four or five times a year. Hire costs are typically £40–£80 per day, which is far less than the purchase price for a machine capable of the 1,200–2,500 PSI needed for exterior walls. The same logic applies to airless sprayers.
For a deeper look at spraying vs brushing and which method suits your surfaces, the Abrushwithgus guide covers the trade-offs in detail.
What is the right order of work for exterior painting?
Follow this sequence and you avoid the most common failure points. Skipping or reordering steps is where most DIY jobs go wrong.
Inspect thoroughly. Check every surface for rot, cracks, loose render, rust, and mould. Mark problem areas with chalk so nothing gets missed.
Treat mildew. Apply a proprietary fungicidal wash and allow the dwell time stated on the label before rinsing. Painting over live mould guarantees early failure.
Pressure wash. Work top to bottom at 1,200–2,500 PSI with a 25–40° tip, keeping the nozzle at least 30 cm from the surface to avoid delaminating timber fibres or forcing water behind cladding.
Allow to dry fully. Masonry needs at least 24–48 hours of dry weather after washing before you prime. Timber needs longer — up to 72 hours in cool or overcast conditions.
Remove all loose paint. Scrape until every edge is firmly adhered. Half-removed paint is worse than none: it creates a weak boundary layer.
Feather scraped edges. Sand the perimeter of every scraped area with 80-grit paper until the transition from bare surface to intact paint is smooth. This prevents ridges that later act as starting points for peeling.
Repair and replace. Fill cracks with exterior flexible filler. Replace rotten timber sections — paint will not save wood that has already failed structurally.
Caulk joints. Seal vertical joints and around windows and doors with exterior-grade caulk. Do not caulk the bottom horizontal edge of lap siding — that edge must stay open to drain moisture.
Prime bare areas. Spot-prime all bare wood, bare masonry, and repairs before applying any topcoat. If more than 30% of the surface is bare, prime the whole area.
Cut in and apply first topcoat. Work top to bottom, cutting in around trim with a brush before rolling or spraying the main field.
Apply second topcoat. Two thin coats always outperform one heavy coat for adhesion, film build, and colour consistency.
Final checks and touch-ups. Inspect in raking light for thin spots, runs, or missed areas. Touch up before removing masking.
Typical timing guide
Stage | Typical duration | Notes |
Wash and dry | 1–2 days | Add 24–48 h drying time after washing |
Scrape, sand, repair | 1–2 days | Depends on surface condition |
Prime bare areas | Half to 1 day | Allow full recoat time before topcoat |
First topcoat | 1 day | Work in shade; avoid direct midday sun |
Drying gap | 4–6 hours minimum | Check label; some products need 24 h |
Second topcoat | 1 day | Total project: 5–7 days for a typical semi |
According to step-by-step scheduling research, a 1,500–2,000 sq ft single-storey house takes one person roughly 4–6 days of active work, plus drying gaps between stages.
Pro Tip: Feathering is not optional. Run your hand across a scraped edge before priming — if you can feel a step, sand it flatter. That small ridge will telegraph through every coat you apply and become the first place the new paint lifts.
Working top to bottom keeps wet paint from dripping onto finished sections. Maintain a wet edge by working in manageable strips rather than letting one area dry before you reach the next — a dried edge creates a visible lap mark.
For a full walkthrough of surface preparation, the Abrushwithgus homeowner’s guide goes into further detail on each prep stage.
Brush, roller, or spray — which method works best where?
The honest answer is that professionals rarely use just one method. They spray the main field for speed, then immediately back-roll while the paint is still wet to force it into surface pores and build the correct film thickness. Brushing handles the detail work — window frames, soffits, and anywhere masking is impractical.
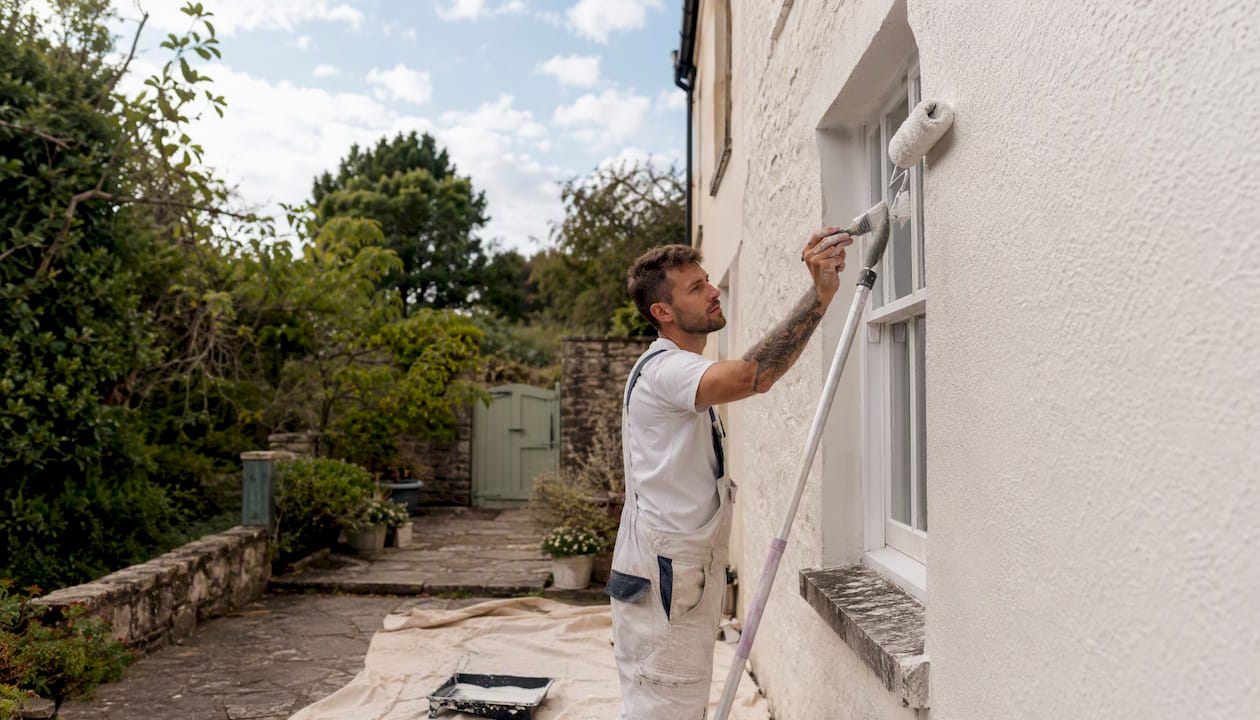
Pros and cons by method
Method | Best for | Advantage | Limitation |
Brush | Trim, frames, tight areas | Maximum penetration and control | Slow on large areas |
Roller | Flat or lightly textured masonry | Fast, even coverage | Struggles with deep texture |
Airless spray | Large flat areas, render, cladding | Fastest; excellent on texture | Extensive masking required |
Combining methods is the professional approach. Spray the main body, then back-roll immediately with a 15 mm nap roller. This gives you the speed of spraying with the adhesion of rolling — the roller pushes paint into surface pores rather than leaving it sitting on top.
Use a 50 mm angled sash brush for all cut-in work around windows, doors, and fascias
Roll masonry with a 9 mm nap on smooth surfaces, 15–18 mm on rough render
When spraying, mask everything within 3–4 metres of the spray path — overspray travels further than you expect in even a light breeze
Pro Tip: If you are spraying, notify your neighbours before you start. Overspray on a car or conservatory roof is an expensive conversation. Cover all glazing, downpipes, and any surface you are not painting with plastic sheeting secured with masking tape.
Safety note: always wear a P2 respirator when spraying, not just a dust mask. Atomised paint particles are fine enough to bypass a basic mask entirely.
How do you choose the right paint and primer for UK conditions?
The UK’s combination of freeze-thaw cycles, persistent damp, and UV exposure means paint selection genuinely matters. The wrong system on the wrong substrate fails faster than almost any other variable.
Masonry
Breathable masonry paint or a smooth masonry emulsion suits most brick and render. Where hairline cracks are present, an elastomeric coating can bridge them — but only over properly cured, dry masonry. Applied over damp or uncured render, elastomeric systems trap moisture and cause the coating to bubble and delaminate. Dulux Weathershield Smooth Masonry Paint is a widely used UK example: it is formulated for the British climate, offers a 15-year guarantee against cracking and peeling (when applied correctly), and is available in a broad colour range.
Timber
Use a 100% acrylic exterior wood paint over a compatible acrylic primer. For tannin-rich timbers such as oak or iroko, apply a shellac-based or binding primer first — standard primers bleed through. Dulux Weathershield Stabilising Primer is the go-to for porous, powdery, or previously painted surfaces that need consolidating before topcoat. It penetrates and binds the surface rather than sitting on top of it, which is exactly what a chalky or friable substrate needs.
Metal
Bare metal needs a rust-inhibitive primer before any topcoat. Do not skip this step on ferrous surfaces — surface rust under paint expands and lifts the coating within a season.
UPVC
Standard exterior paints will not adhere to UPVC without the right preparation. Use a specialist acrylic formulated for UPVC, or consider professional UPVC spraying for a factory-smooth finish. Abrushwithgus offers a dedicated UPVC spraying service for windows and doors across Cornwall and the South West.
Sheen and VOC
Use a satin or semi-gloss finish on trim and metalwork — it is more durable and easier to clean than flat. Walls generally suit a smooth or textured masonry finish. Check VOC ratings on the label: 100% acrylic latex offers superior flexibility, UV resistance, and colour retention compared with oil-based alkyd systems, which are also increasingly restricted under UK VOC regulations.
Pro Tip: Read the label’s surface-temperature limits before you open the tin. Most exterior paints require a surface temperature of at least 10°C and no more than 35°C. Painting on a surface that has been baking in direct sun can cause the paint to skin over before it bonds properly, leading to blistering within weeks.
For a broader look at long-lasting exterior paint options suited to UK homes, the Abrushwithgus blog covers specific product systems in more detail.
When is the best time to paint outside in the UK?
The UK climate gives you a narrower painting window than most product labels suggest. Aim for late spring through early autumn — roughly May to September — when temperatures are reliably above 10°C and rainfall is less frequent.
Key conditions to check before you start each day:
Air temperature: 10°C minimum, ideally 15–25°C
Surface temperature: same range — check with a surface thermometer, not just the air reading
Relative humidity: below 85%; above that, moisture interferes with film formation
No rain forecast for at least 24 hours after application
Dew point: avoid painting in the evening if overnight temperatures will drop close to the dew point — dew settling on fresh paint causes a milky, uneven finish
Early autumn evenings are a particular trap. Daytime temperatures feel fine, but dew can form on painted surfaces by 9 or 10 PM, especially after a warm day followed by a clear night.
Drying and recoat guide
Product type | Touch dry | Recoat time | Full cure |
Acrylic masonry paint | 1–2 hours | 4–6 hours | — |
Acrylic exterior wood paint | 2–4 hours | 6 hours | — |
Rust-inhibitive metal primer | 1–2 hours | 4–6 hours | 7 days |
Stabilising primer | 2–4 hours | 4–6 hours | 24 hours |
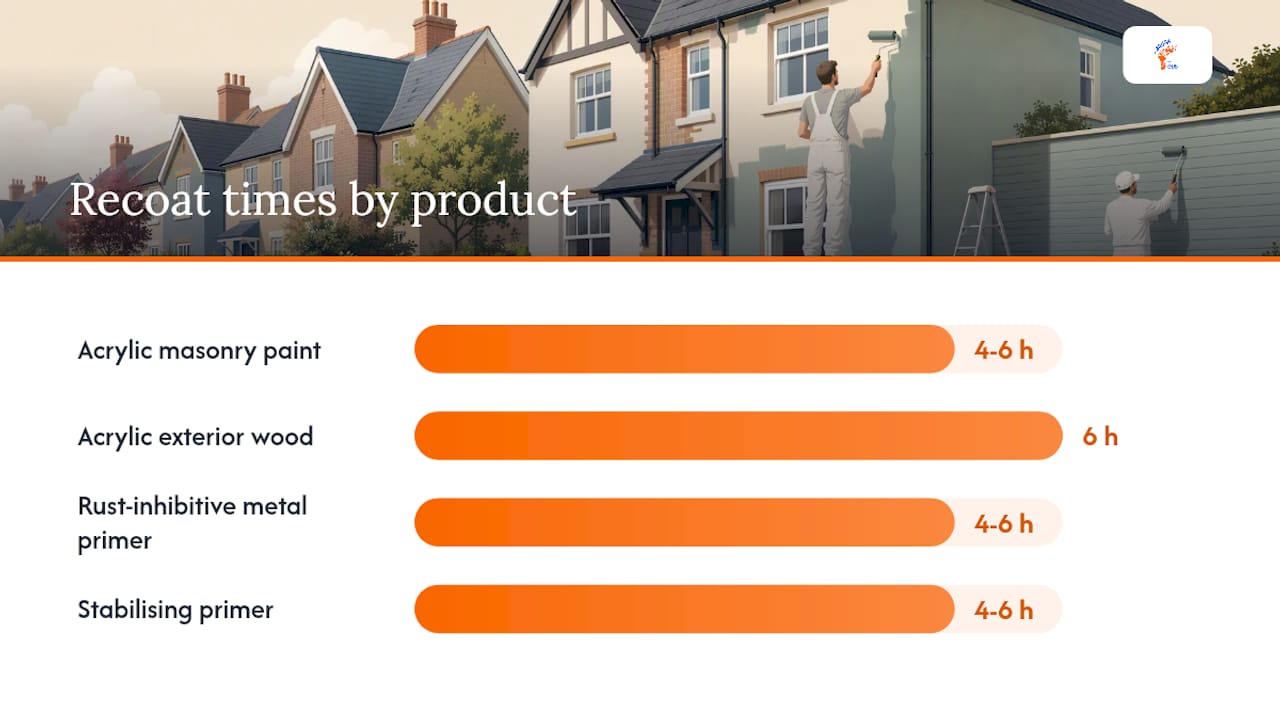
These are typical ranges; always defer to the specific product label, which accounts for the formulation’s exact chemistry.
Pro Tip: Paint in shade wherever possible. Direct midday sun heats the surface and causes the paint to dry at the surface before the lower layers have bonded, which leads to blistering. Move around the house to follow the shade, or plan your schedule so you are always working on the shaded elevation.
Manufacturer guidance consistently recommends working in shade and avoiding hot, direct sunlight — not just for comfort, but because rapid surface-drying is a direct cause of blistering and poor adhesion.
How do you work safely at height on an exterior painting job?
Falls from height are among the most serious risks in any home improvement project. The HSE’s working at height guidance is clear: every job at height requires a risk assessment, the right equipment, and a plan for what happens if something goes wrong.
Ladder basics
Use a Class 1 (industrial-rated) ladder, not a domestic stepladder, for any work above 2 metres
Set the ladder at a 75° angle (one unit out for every four units up)
Never overreach — keep your belt buckle between the stiles at all times
Have a second person foot the ladder on uneven or soft ground
Do not carry heavy paint tins up a ladder; use a paint kettle and make multiple trips
When to use scaffold or a MEWP
A ladder is not appropriate for continuous work above 4–5 metres, for painting large areas of a two-storey elevation, or for any work where both hands need to be free. Hire a mobile elevating work platform (MEWP) for a day or two, or arrange scaffold for longer projects. Scaffold hire from a certified contractor typically costs £500–£1,500 for a standard semi-detached house, depending on height and duration — a cost worth factoring into your budget before you start.
PPE for exterior painting
Safety goggles when pressure washing or sanding overhead
P2 respirator when sanding, scraping, or spraying
Chemical-resistant gloves for fungicidal washes and solvent-based primers
Non-slip footwear on any elevated platform
Site protection
Cover paths and driveways with dust sheets. If working near a pavement or road, use cones or barriers to warn pedestrians. Protect neighbouring gardens from overspray and falling debris.
Pro Tip: If you are hiring scaffold, ask the contractor for their CISRS (Construction Industry Scaffolding Record Scheme) card. Certified scaffolders are trained to erect structures that meet the Working at Height Regulations 2005 — an uncertified structure is a liability risk as well as a safety one.
What are the most common DIY exterior painting mistakes?
Most exterior paint failures trace back to a handful of avoidable errors. Here is what goes wrong and what to do instead.
Painting over loose paint. The new coat bonds to the old loose layer, not the substrate. Result: peeling within two to three years. Fix: scrape until every edge is firmly adhered, then feather and prime.
Inadequate cleaning. Pressure washing removes surface dirt but leaves chalk and mildew residue if you do not follow up with a fungicidal wash and rinse. Paint applied over chalk has nothing solid to grip. Fix: wash, treat, rinse, and allow full drying time before priming.
Not allowing enough drying time. Priming over damp masonry or painting a second coat before the first has cured traps moisture and causes blistering. Fix: check the label’s recoat time and add buffer time in cool or humid weather.
Over-caulking. Sealing the bottom horizontal edge of lap siding traps moisture behind the cladding. Fix: caulk vertical joints and around windows and doors, but leave bottom edges open.
Painting in direct sun or wrong temperatures. Rapid surface-drying causes blistering and poor adhesion. Fix: follow the shade around the house and check surface temperature before starting each session.
Skipping primer on bare areas. Topcoat applied directly to bare timber or masonry absorbs unevenly and fails faster. Fix: spot-prime every bare area, or full-prime if more than 30% of the surface is bare.
Pro Tip: Before priming, run a quick adhesion check on any area you are unsure about. Press a strip of masking tape firmly onto the surface, then pull it off sharply. If paint comes away with the tape, that area needs more scraping. Do this across several spots — it takes two minutes and catches the three most common failure causes before you commit a coat of primer.
DIY projects in other areas of the home carry similar risks when preparation is underestimated. Common pitfalls in DIY door replacement follow the same pattern: skipping prep steps creates problems that cost more to fix than the original job.
How do you finish properly and keep the paint looking good?
Once the final coat is dry, the job is not quite done.
Immediate finishing steps
Remove masking tape while the paint is still slightly tacky — pulling it off fully cured paint can lift edges
Inspect in raking light (hold a torch at a low angle to the surface) to spot thin areas, runs, or sags
Tighten any screws or fixings that were painted over, and touch up the exposed metal with rust-inhibitive primer
Refit any fixtures, light fittings, or downpipe brackets removed before painting
Annual maintenance routine
Inspect all painted surfaces each spring, before the main painting season
Look for early signs of cracking, peeling, or mould growth — catching these early means a scrape-and-touch-up rather than a full repaint
Clean painted masonry with a soft brush and mild detergent annually; avoid pressure washing painted surfaces more than once every two to three years, as repeated high-pressure washing gradually erodes the paint film
Repaint timber trim every 4–6 years; masonry can go 8–12 years with good prep and a quality paint system
Trade guidance is consistent on this point: proper surface preparation accounts for roughly 70% of a long-lasting exterior finish. A well-prepped surface with two coats of quality paint will outlast a poorly prepped surface with premium paint every time.
For a detailed look at the factors affecting exterior paint longevity, the Abrushwithgus guide covers UV exposure, substrate movement, and moisture management in practical terms.
When should you hire a professional instead of doing it yourself?
Some exterior painting jobs are genuinely within DIY reach. Others are not — and knowing the difference saves money, time, and risk.
Decision checklist: consider hiring a professional if:
The job involves sustained work above 4–5 metres (two-storey elevations, gable ends)
There is active rot, structural damage, or failing render that needs specialist repair
The substrate is complex (stucco with hairline cracks, failing pebbledash, or multiple paint layers with unknown composition)
You have a firm deadline and cannot afford weather delays
You want a workmanship guarantee and written warranty
UPVC windows or doors need spraying to a factory-smooth finish
What a reputable contractor should deliver:
A written quote that itemises prep, materials, and labour separately
A clear scope covering surface preparation, priming, number of coats, and masking
Evidence of public liability insurance and, for scaffold work, certified access provision
A workmanship guarantee (typically 2–5 years for a quality exterior job)
A post-job walkthrough so you can inspect the finish before signing off
Questions to ask before you book:
What preparation do you include in the price?
Which specific products and systems will you use?
How do you handle weather delays?
Can I see examples of similar exterior jobs you have completed locally?
Abrushwithgus handles the full scope of exterior painting in Cornwall and the South West — from pressure washing and surface preparation through to priming, topcoating, and UPVC spraying. For jobs where access, substrate complexity, or finish quality make DIY a risk, getting a professional assessment is the practical next step.
Pro Tip: Ask any contractor you are considering to walk you through their prep process specifically. A contractor who talks about prep in detail — scraping, feathering, priming bare areas — is doing the job properly. One who jumps straight to “two coats and done” is likely cutting the step that determines whether the finish lasts three years or twelve.
Key takeaways
Surface preparation is the single most important factor in exterior paint longevity — two thin coats of quality paint over a well-prepped surface will always outperform heavy single coats on a poorly prepared one.
Point | Details |
Prep is the priority | Proper scraping, feathering, washing, and priming accounts for roughly 70% of a lasting finish. |
Match paint to substrate | Use acrylic masonry paint, 100% acrylic wood paint, rust-inhibitive primer for metal, and specialist UPVC acrylic for each surface type. |
Weather windows matter | Paint between 10–25°C, below 85% humidity, with no rain forecast for 24 hours; avoid direct sun and evening dew. |
Two thin coats always win | Apply two coats over a primed surface; always follow the label’s recoat time between them. |
Abrushwithgus for complex jobs | For two-storey elevations, UPVC spraying, or guaranteed finishes in Cornwall and the South West, Abrushwithgus covers the full exterior scope. |
What professionals in the South West see most often
The mistake I see most consistently on exterior jobs across Cornwall is homeowners painting over surfaces that look clean but are not. A wall can look perfectly fine from the ground — no obvious peeling, reasonable colour — and still be covered in a thin layer of chalk or biological growth that will stop any new paint from bonding. The pressure washer gets the visible dirt off, but without a fungicidal treatment and a proper rinse, you are painting onto a contaminated surface.
The single most useful thing you can do before priming is the tape test described in the common mistakes section above. Do it in five or six spots across the elevation. If paint comes away anywhere, keep scraping. It takes ten minutes and it is the difference between a finish that lasts a decade and one that starts lifting by the second winter.
One trade habit worth adopting: wet your brush before you dip it. A quick dip in water (for water-based paints) or white spirit (for solvent-based), then a firm shake, stops paint building up in the ferrule, improves flow from the first stroke, and extends the life of a good brush considerably.
Exterior painting in Cornwall and the South West? Abrushwithgus can help
If this guide has confirmed that your exterior job is more than you want to take on yourself, Abrushwithgus offers the full range of exterior home painting services across Cornwall and the South West. Brothers Gus and Rhys run a family-operated business built on thorough preparation, quality materials, and finishes that hold up to the South West’s coastal weather.

Services cover exterior masonry and timber painting, airless spraying for large surfaces, UPVC window and door spraying, and exterior cleaning before any painting work begins. To get a quote, have a few photos of the property ready, a rough measurement of the paintable area, and a note of the substrate types (brick, render, timber, UPVC). Get in touch via the domestic services page to start the conversation.
Useful sources
The following authoritative sources informed this guide. Always treat the paint tin label and current HSE guidance as the primary authority for safety and product use on your specific job.
HSE: Working at height — the UK’s primary regulatory guidance on safe access, risk assessment, and equipment selection
PCA Painted professional guidance — trade body guidance on preparation standards and expected finish longevity
How to paint the exterior of a house (Fix Up First) — practical step-by-step scheduling and timing guidance
Exterior painting complete guide (Build-Construct) — substrate-specific paint systems and VOC considerations
Brush, roll, or spray? (Rojas Painting) — application method comparison and combined-method best practice
Ask the Builder: exterior painting tips (Seattle Times) — label-following and shade-working guidance
Common painting mistakes (CertaPro) — adhesion failure causes and practical fixes
Abrushwithgus: exterior home painting — local South West exterior painting and spraying services
Abrushwithgus: how to prepare surfaces for painting — detailed homeowner preparation guide
Recommended
Comments