
Top residential painting tools for UK homeowners
- WM Creative Designs Limited
- 1 day ago
- 8 min read

The right tools make the difference between a patchy afternoon and a finish you’re genuinely proud of. For UK homeowners, the top residential painting tools come down to a focused set: high-quality brushes, rollers with the correct sleeve, extension poles with adjustable lengths to suit various ceiling heights, masking tape, dust sheets, sandpaper, filling knives, and a sturdy step ladder. Each one earns its place.
High-quality brushes for cutting-in around edges, trim, and architraves
Rollers with appropriate sleeves for covering large wall and ceiling areas efficiently
Extension poles to reach ceilings without constant ladder repositioning
Masking tape for crisp, clean lines along skirting boards and coving
Dust sheets to protect floors and furniture from drips
Sandpaper (various grits) to smooth surfaces between coats
Filling knives and filler to repair cracks and holes before painting
Step ladder for corners and areas poles cannot reach
UK industry practice leans heavily on extension poles over ladders wherever possible. Fewer ladder moves means fewer accidents and a more consistent stroke across large surfaces.
Table of Contents
Why surface preparation tools matter more than you think
Paint applied over a poorly prepared surface will fail, regardless of how much you spend on the paint itself. Surface preparation is where most DIY paint jobs go wrong, and the fix is straightforward once you have the right kit.
Cleaning comes first. Sugar soap, diluted and applied with a sponge or cloth, removes grease, grime, and old residue that would otherwise prevent adhesion. For heavily soiled exterior walls, a specialist masonry cleaner works better. Once the surface is clean and dry, sandpaper does the next job: smoothing down rough patches, feathering old paint edges, and giving the new coat something to grip. A filling knife and ready-mixed filler handle cracks, nail holes, and any surface damage before you open a single tin of paint.
Essential prep tools at a glance:
Sugar soap or specialist wall cleaner
Sandpaper in multiple grits (80, 120, 180)
Filling knife (a 4-inch and a 6-inch cover most jobs)
Ready-mixed filler or flexible exterior filler for outside walls
Sanding block or electric detail sander for larger areas
Clean cloths and a bucket
Pro Tip: Spend significant time on preparation to ensure a smooth finish. A wall that looks smooth before you paint will look smooth after. One that doesn’t, won’t.
Why professional-grade brushes and rollers outperform budget tools
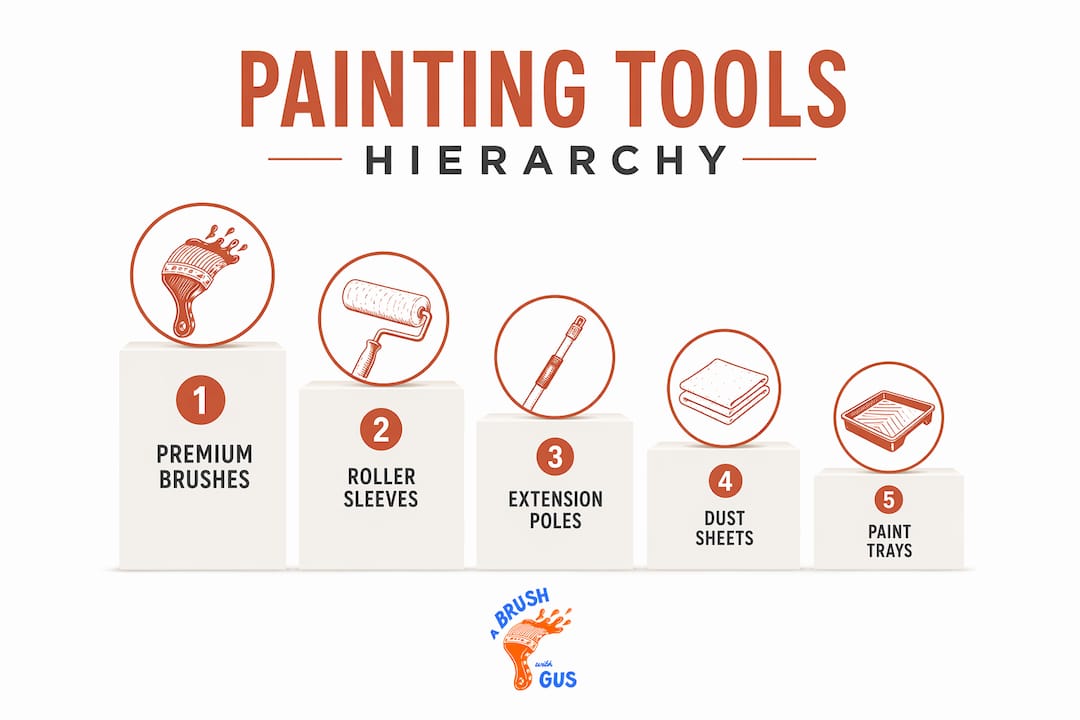
Cheap brushes shed bristles into wet paint and leave drag marks. Budget roller sleeves spit flecks across the room and compress unevenly after a single use. The difference between a professional finish and a frustrating one often comes down to the tools in your hand, not the paint in the tin.
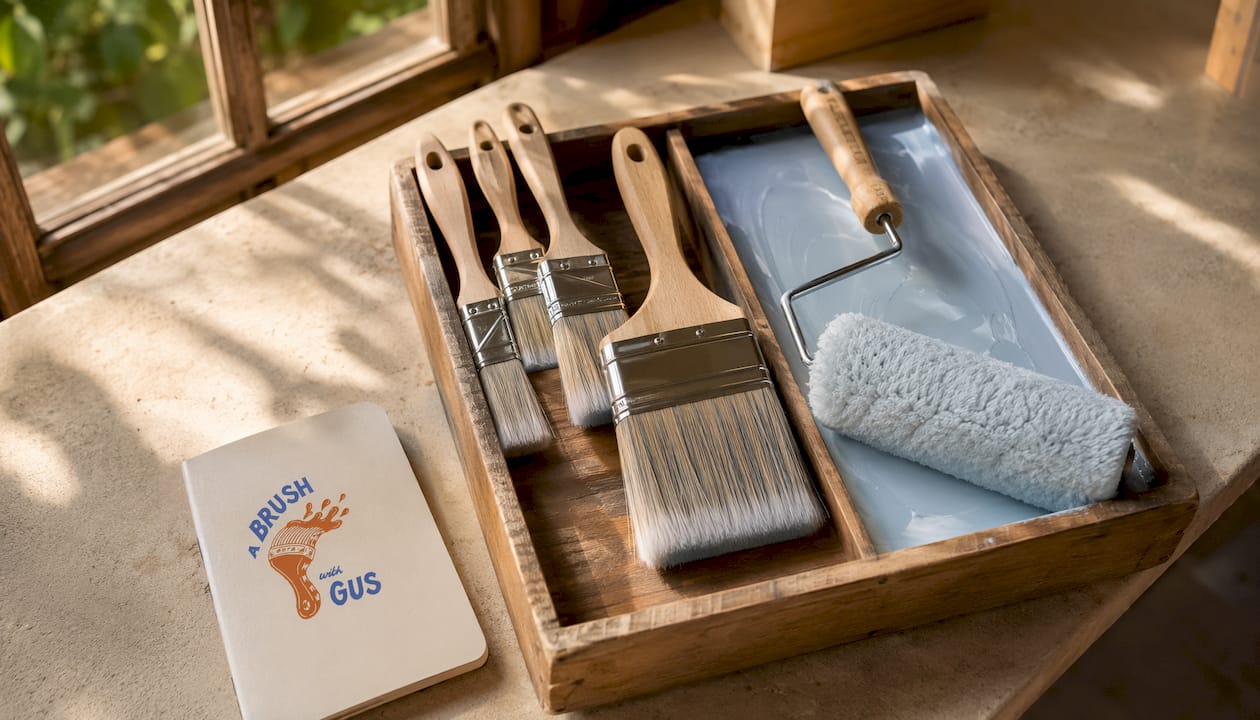
Professional-grade brushes offer consistent paint release, higher paint-holding capacity, and better spring, which is the brush’s ability to return to shape after each stroke. That spring is what gives you control when cutting-in along a ceiling line or around a window frame. Bristle type matters too: synthetic bristles (nylon or polyester) suit water-based paints, while natural bristles are the better choice for oil-based paints. Using the wrong type reduces cutting-in quality noticeably.
Roller sleeve selection follows a similar logic. Pile length should match surface texture: short pile (6mm) for smooth plaster or new drywall, medium pile (10–12mm) for most interior walls, and long pile (19mm or more) for textured or masonry surfaces. Getting this wrong is one of the most common beginner mistakes, producing either poor coverage or excessive splatter.
Key brush and roller attributes worth paying for:
Bristle spring for control and reduced fatigue
Flagged bristle tips for smoother paint release
Woven roller covers for lint-free, even application
Sturdy roller cage frames that don’t flex under pressure
Investing in one or two premium brushes plus a solid roller set beats buying a large kit of low-quality items every time. The premium tools last longer, perform better, and make the job more enjoyable.
How to use extension poles safely for ceilings and high walls
Standard UK ceiling heights generally fall within typical residential ceiling ranges. An extension pole in the 1–1.8 metre range covers most of that comfortably without a ladder. For rooms with higher ceilings or stairwells, telescoping poles with adjustable lengths suitable for most high ceilings give you adjustable reach and far better ergonomics than repositioning a ladder every few minutes.
The safety benefit is real. Fewer ladder moves means fewer opportunities for a slip or an awkward stretch. Extension poles also produce a more consistent stroke across large ceiling areas because you maintain a stable, upright posture throughout.
When using a pole, pair it with a no-drip roller frame. These frames include a guard or internal feed mechanism that significantly reduces splatter when the roller is overhead.
Tips for effective pole use:
Choose a pole with a universal thread fitting to match most roller frames
Keep strokes long and overlapping to avoid lap marks
Reduce roller paint load slightly when working overhead
Check the pole lock mechanism before each session
Pro Tip: Store extension poles horizontally or hang them vertically. Leaning them at an angle warps the shaft over time and affects the straightness of your stroke.
How to clean and store painting tools so they last
Cleaning brushes and rollers thoroughly after each use is the single most effective way to protect your investment. A brush left to dry with paint in the ferrule is effectively ruined.
For water-based paints, rinse brushes under warm running water, working the bristles gently until the water runs clear, then reshape and hang to dry. Rollers used with emulsion can be rinsed similarly, though a roller spinner speeds the process considerably. For oil-based paints and solvent-based primers, white spirit is the correct cleaner. Work it through the bristles, then follow with warm soapy water to remove the solvent residue.
Storage matters as much as cleaning. Wrap clean brushes in their original packaging or a brush keeper to preserve the bristle shape. Store rollers upright or suspended so the nap doesn’t flatten against a surface.
Dos and don’ts for tool maintenance:
Do clean tools immediately after use, before paint cures
Do reshape brush bristles before drying
Don’t leave brushes standing upright in water, which bends the bristles permanently
Don’t wring roller sleeves, which distorts the nap
Do use a brush comb to remove dried paint from bristles between uses
Pro Tip: Wrapping a roller sleeve tightly in cling film between coats keeps it workable for several hours, saving a full clean mid-project.
What Abrushwithgus recommends for residential painting tools
Abrushwithgus has been painting and decorating homes across the South West for years, and the advice from brothers Gus and Rhys is consistent: buy fewer tools and buy them well.
For detail work, an angled sash brush in a 50mm or 63mm size handles cutting-in, architraves, and window frames with precision. A flat brush in a wider size covers doors and panelling efficiently. When it comes to specialist tasks like UPVC spraying or airless application, the tool requirements shift entirely, and that is where professional equipment earns its keep.
Practical recommendations from Abrushwithgus:
Invest in a 50mm angled brush and a 100mm flat brush as your core set
Use a medium-size roller with a medium-pile sleeve for most interior walls
Always use dust sheets, even for small touch-up jobs
Wear nitrile gloves and safety glasses when working with solvent-based products
Keep a damp cloth nearby when using masking tape to clean up bleeds immediately
Which paint type works best with which tools?
Paint type and tool compatibility is a pairing that trips up many DIYers. The types of paint finish you choose directly affects which tools will give you the best result.
Water-based emulsions, now the standard for most UK interior walls and ceilings, work best with synthetic bristle brushes and synthetic or woven roller covers. They clean up easily and dry quickly. Oil-based paints, still common for woodwork and metal, require natural bristle brushes and natural-fibre roller covers for proper application and a smooth finish. Using a synthetic brush with an oil-based paint produces a streaky, uneven result.
Masonry paint for exterior walls needs a long-pile roller sleeve (19mm or more) and a stiff-bristled masonry brush for cutting-in. The texture of brick or render demands a tool that can push paint into the surface rather than skim over it.
Budget-friendly tools versus premium options: where to spend
Not every tool in your kit needs to be top-of-the-range. The sensible approach is to spend where it affects the finish and save where it doesn’t.
Spend more on: brushes, roller sleeves, and extension poles. These directly affect the quality of your finish and how long the tools last. A quality angled brush from a brand like Purdy or Hamilton will outlast five budget alternatives.
Save on: dust sheets (canvas over plastic is worth it, but mid-range canvas is fine), paint trays (a basic metal tray with disposable liners works perfectly), and step stools for low-level work.
Essential painting tools for beginners do not need to cost a fortune. A focused kit of quality core items, bought once and maintained properly, is far better value than repeatedly replacing cheap tools.
Choosing tools based on the surface you’re painting
Surface type should drive your tool selection before anything else.
Wood (doors, skirting boards, architraves): use an angled sash brush for cutting-in and a flat brush for larger panels. Sand between coats with 180-grit paper for a smooth finish. Oil-based gloss or water-based satinwood both work, but match your brush bristle type to the paint.
Masonry (exterior brick, render, pebbledash): a long-pile roller sleeve pushes paint into the texture effectively. A stiff masonry brush handles edges and reveals. Exterior masonry paint is thick, so avoid foam rollers entirely.
Drywall (new plaster or plasterboard): prime first with a diluted mist coat. Use a medium-pile woven roller for the main coats and a quality synthetic brush for edges. New plaster is thirsty, so expect to use more paint than on a previously decorated wall.
Matching your professional painting techniques to the surface underneath is what separates a finish that lasts from one that peels within a season.
When a project goes beyond what your toolkit can handle, Abrushwithgus offers domestic painting and decorating services across the South West, from full interior refreshes to specialist exterior work. Get in touch for a no-obligation quote.

Key takeaways
The most effective residential painting results come from matching quality tools to the right surface, maintaining them properly, and investing in brushes and rollers rather than cutting corners on the items that touch the paint.
Point | Details |
Match bristle type to paint | Synthetic bristles for water-based paints; natural bristles for oil-based products. |
Pile length determines coverage | Short pile for smooth surfaces; long pile (19mm+) for textured walls and masonry. |
Extension poles improve safety | Poles ranging from 3 to 20 feet reduce ladder reliance for ceilings and high walls. |
Preparation is non-negotiable | Skipping prep causes poor adhesion regardless of paint or tool quality. |
Clean tools immediately after use | Prompt cleaning after each session preserves bristle shape and roller nap for future projects. |
Recommended
Comments