
Airless spraying workflow: a practical 2026 guide
- WM Creative Designs Limited
- Jun 18
- 9 min read
TL;DR:
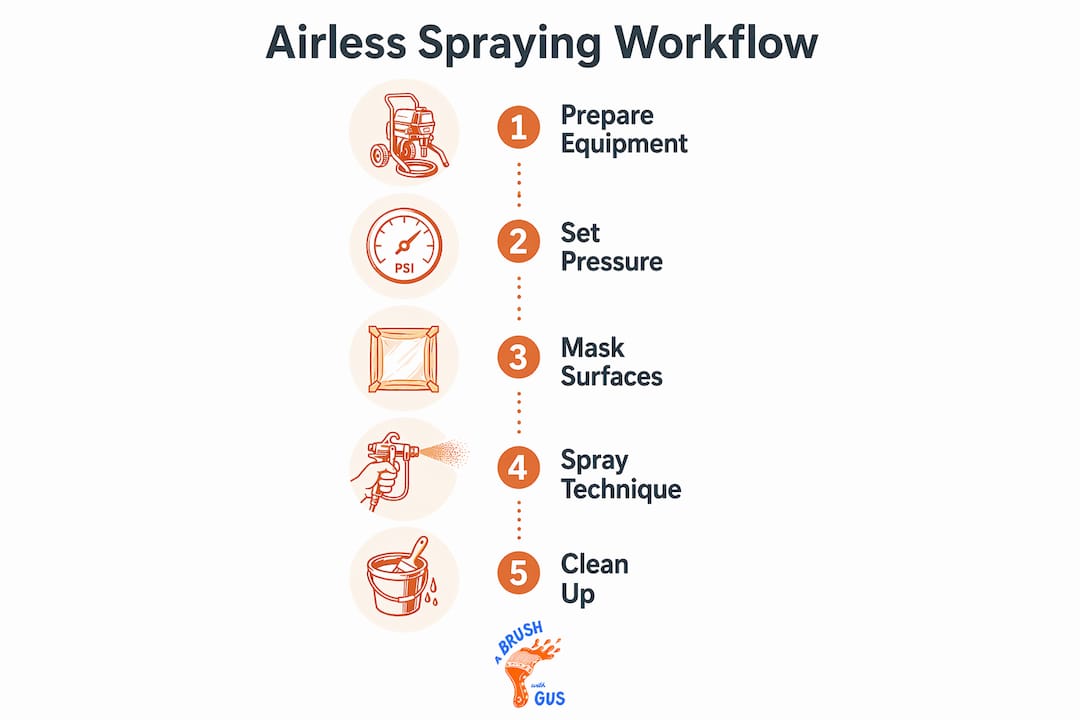
A professional airless spraying workflow is a structured process that ensures fast, even coating with minimal waste on large surfaces. Proper equipment setup, thorough surface preparation, and disciplined technique account for the majority of successful spray finishes. Operator skill and preparation habits, such as masking and spray testing, are critical to achieving a flawless result.
A professional airless spraying workflow is defined as a structured, high-pressure paint application process that delivers fast, even coverage with minimal material waste across large and detailed surfaces. Unlike air-assisted methods, airless systems force paint through a small tip at pressures between 1,500 and 3,000 PSI, atomising the coating without compressed air. The result is 50–70% faster application than traditional methods, with material waste kept below 20%. Air-based systems, by contrast, waste over 40% of material. Brands like Graco and Wagner have made this technology accessible to contractors and serious DIY enthusiasts alike, but the workflow behind the equipment is what separates a flawless finish from a costly mess.
What does an airless spraying workflow require?
A reliable airless spraying workflow starts with the right equipment, set up correctly before a single drop of paint leaves the tip. Getting this stage wrong costs you time, material, and finish quality.
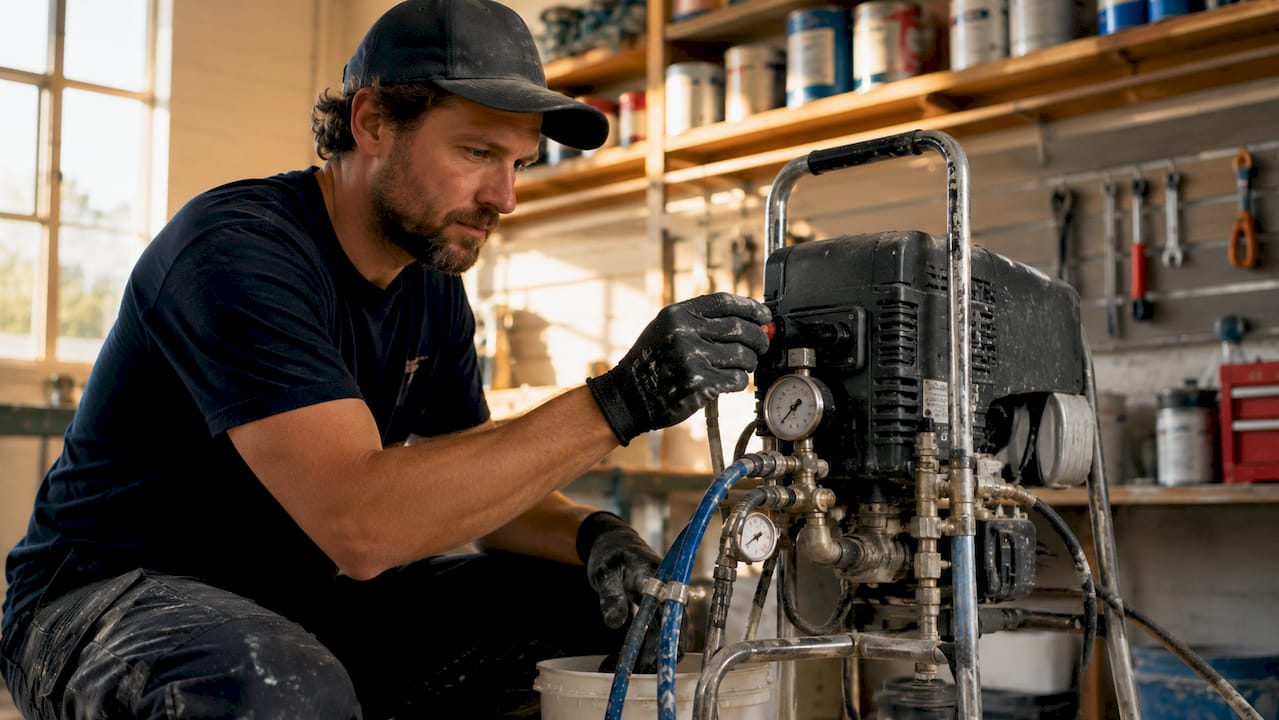
Choosing the right pump and tip
Airless sprayers operate at 1,500–3,000 PSI, and selecting the correct pressure range for your coating type is the first decision you make. Thick materials like masonry paint need the upper end of that range. Thin lacquers and stains work well at lower pressures. The tip size controls both fan width and flow rate, so matching tip to material is not optional.
The Graco X5 is a well-regarded entry point for contractors and advanced DIYers, handling most latex and oil-based paints without modification. Wagner systems offer comparable performance at a slightly lower price point, making them popular for residential projects. Both require a 100-mesh filter fitted at the inlet to catch debris before it reaches the tip.
Equipment setup checklist
Before you prime the pump, run through this list:
Hose length: Use hoses up to 50 ft, grounded properly to prevent static build-up
Filter: Fit a 100-mesh filter at the pump inlet and check it is clean
Tip size: Match tip orifice to your coating viscosity
Prime cycle: Run the prime cycle with the return hose in the paint bucket until flow is steady and bubble-free
Flush: If switching coatings, flush the system with the appropriate solvent before reloading
Pro Tip: Prime the pump with the gun safety engaged and the tip removed. This prevents accidental discharge and lets you confirm clean, consistent flow before you begin spraying.
Setting | Typical Range | Purpose |
Operating pressure | 1,500–3,000 PSI | Atomises coating correctly |
Tip orifice size | 0.011–0.021 inch | Controls flow rate and fan width |
Hose length | Up to 50 ft | Maintains pressure at the gun |
Filter mesh | 100-mesh | Prevents tip blockages |
How should you prepare surfaces before spraying?
Surface preparation is the single biggest determinant of finish quality. A perfectly calibrated sprayer applied to a poorly prepared surface will still produce a poor result.
Start with sanding. Work through a progression from 80-grit to 220-grit, removing old paint, rust, or loose material at the coarser end, then refining the surface at the finer end. Moisture content in timber must sit below 12% before you apply any coating. Paint applied over damp timber will peel within months regardless of how well it was sprayed.
Follow this preparation sequence for consistent results:
Sand progressively from 80-grit to 220-grit, working with the grain on timber surfaces
Check moisture using a moisture metre; do not proceed if readings exceed 12%
Clean thoroughly with a tack cloth or vacuum to remove all dust and debris
Seal porous surfaces with an appropriate primer to prevent uneven absorption
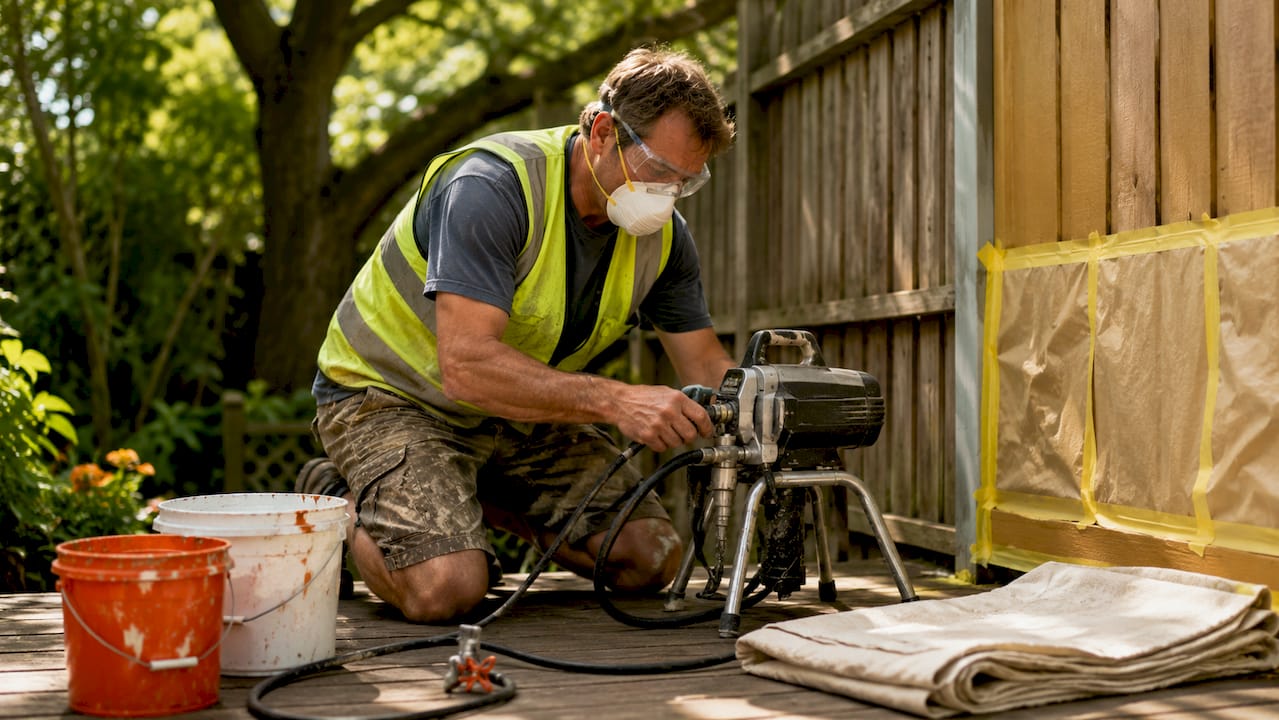
Mask carefully using quality masking tape along all edges, trim, and fixtures
Batch your prep work by completing all preparation on day one before any spraying begins
Poor masking tape quality is one of the most common causes of jagged lines and costly rework. Cheap tape bleeds paint underneath and tears unevenly when removed. Use a professional-grade tape such as 3M ScotchBlue or Frogtape on all edges.
Pro Tip: Batch all your surface preparation into a single day. This approach means you only clean the pump once before spraying begins, saving solvent, time, and wear on your equipment.
Batching prep work reduces equipment cleaning cycles and keeps your workflow moving without interruption. Professional contractors on multi-room projects use this method consistently to protect their margins.
What is the correct airless paint spraying technique?
Technique accounts for more of your final result than most people expect. Operator skill drives 80% of coating quality, which means even a mid-range Graco or Wagner unit will outperform an expensive sprayer in untrained hands.
Spray distance and overlap
Maintain a distance of 12–14 inches (300–400 mm) from the surface at all times. Too close and you get runs. Too far and you get dry spray, where paint particles lose velocity and land as a rough, sandy texture. This range is where atomisation is correct and the fan pattern is fully formed.
Use a 50% overlap on every pass. Each stroke should cover half the width of the previous one. This eliminates thin strips and builds an even film thickness across the entire surface. Skipping this step is the fastest route to visible banding in the dried finish.
Arm movement and trigger control
Move your arm from the shoulder, not the wrist. Wrist movement causes the gun to arc, which changes the distance from the surface mid-stroke and produces an uneven coat. Keeping the gun at 90° to the surface, with your body parallel to the wall, is the correct body position throughout.
Start moving your arm before you pull the trigger. Release the trigger before you stop moving at the end of each pass. This prevents paint build-up at the edges of each stroke, which is a common cause of runs and heavy spots.
Vertical surfaces: Spray top to bottom in overlapping vertical passes
Horizontal surfaces: Spray with the grain where applicable, using horizontal passes
Corners and edges: Spray into the corner at a slight angle, then fill the flat face
Pro Tip: Test your spray pattern on a piece of scrap board before touching the actual surface. Adjust pressure up or down in small increments until the fan is even with no tails at the edges.
How do you fix common airless spraying problems?
Even experienced painters encounter problems. Knowing what each symptom means lets you fix it in seconds rather than ruining a surface.
Diagnosing spray pattern faults
‘Tails’ on the spray pattern signal a pressure or tip size mismatch. The fan develops heavy, elongated edges instead of a clean, even distribution. Increasing pressure alone can resolve this, but pushing pressure too high accelerates pump wear and increases overspray. The better fix is to check whether your tip size is correct for the coating viscosity first.
Problem | Likely Cause | Fix |
Runs and drips | Too close to surface or excessive pressure | Increase distance; reduce pressure |
Dry spray | Too far from surface or pressure too low | Reduce distance; increase pressure |
Tails on pattern | Tip size or pressure mismatch | Check tip size; adjust pressure gradually |
Sputtering | Blocked filter or worn tip | Clean or replace filter; inspect tip |
Uneven coverage | Inconsistent arm speed or overlap | Practise consistent stroke speed |
Sputtering or an irregular sound from the sprayer signals a filter or tip blockage. The sprayer’s rhythmic hiss is your primary diagnostic tool. A steady hiss means the system is running correctly. Any change in that sound warrants stopping and inspecting the filter and tip before continuing.
Overspray is reduced by lowering pressure to the minimum needed for clean atomisation. Higher pressure does not always mean better results. It means more paint in the air, more waste, and more cleaning.
How to improve spraying efficiency on larger projects
Efficiency in a professional airless spray application comes from workflow design, not just speed. These strategies separate contractors who finish on time from those who spend half their day cleaning equipment.
Batch by day: Dedicate day one entirely to preparation. Begin spraying on day two. This approach minimises pump flushing cycles and keeps solvent consumption low.
Preheat your paint: Warming paint by 10°F improves flow consistency and can save up to 15% of material. This is particularly useful in cooler workshop or exterior conditions.
Use vertical spray racks: Hanging doors and cabinet fronts vertically on a spray rack lets you coat both faces in a single session without waiting for one side to dry.
Add quick-dry additives: Products like Floetrol for water-based coatings extend open time and improve levelling without thinning the film excessively.
Listen to your equipment: A change in the sprayer’s sound pattern is an early warning. Address it immediately rather than finishing the coat and discovering a blocked tip has left a strip of uneven coverage.
Pro Tip: Select your tip based on the coating, not habit. A tip that is too small produces dry spray; one that is too large causes sagging and wasted material. Check the manufacturer’s tip chart for every new coating you use.
Proper tip selection is one of the most overlooked efficiency decisions. Contractors who standardise their tip selection by coating type reduce setup time and produce more consistent results across projects.
Key takeaways
A professional airless spraying workflow depends equally on correct equipment setup, thorough surface preparation, and disciplined technique, with operator skill accounting for 80% of the final result.
Point | Details |
Equipment setup matters first | Match tip size to coating viscosity and fit a 100-mesh filter before every job. |
Surface prep drives finish quality | Sand to 220-grit, confirm moisture below 12%, and use professional-grade masking tape. |
Technique beats equipment cost | Move from the shoulder, maintain 12–14 inches distance, and use 50% overlap on every pass. |
Diagnose by sound | A change in the sprayer’s rhythmic hiss signals a blockage; stop and inspect immediately. |
Batch work to save time | Complete all preparation on day one to reduce pump cleaning cycles and solvent use. |
What i have learnt after years of airless spraying
After working on hundreds of residential and exterior projects across the South West, the lesson that keeps proving itself is this: the equipment is rarely the problem. I have seen painters with top-of-the-range Graco rigs produce patchy, run-marked finishes, and I have seen excellent results from a mid-range Wagner on a well-prepped surface. The difference is always preparation and movement discipline.
The thing most people underestimate is masking. Spending an extra 30 minutes getting your tape lines perfect saves you hours of cutting in, touching up, and explaining to a client why the skirting board has a stripe of ceiling white on it. Quality tape like Frogtape is not an extravagance. It is a time investment that pays back immediately.
My personal habit before every spray session is to test on scrap first and adjust pressure in small steps until the fan is clean. I also listen to the sprayer constantly while working. That steady hiss tells you everything is running as it should. The moment it changes, I stop. Catching a partial blockage early means a 30-second filter clean rather than a stripped tip and a resprayed wall.
The surface preparation guide we put together covers the prep side in full detail if you want to go deeper on that stage specifically.
— Angus
Professional airless spraying services in the south west
If you want these results without the learning curve, Abrushwithgus brings this entire workflow to your property.

Abrushwithgus provides professional spraying services for domestic and exterior properties across the South West, using the same structured workflow described in this guide. Every job begins with thorough surface preparation, correct tip selection, and careful masking before a single coat is applied. Whether you need interior rooms, exterior walls, or exterior home painting completed to a high standard, the team brings the equipment, the technique, and the experience to get it right first time. Get in touch with Abrushwithgus for a no-obligation quote on your next project.
FAQ
What pressure should i use for airless spraying?
Airless sprayers operate between 1,500 and 3,000 PSI. Start at the lower end and increase gradually until the spray fan is clean and even with no tails.
How far should i hold the spray gun from the surface?
Maintain 12–14 inches (300–400 mm) from the surface. Closer causes runs; further causes dry spray and a rough texture.
Why does my airless sprayer sputter during use?
Sputtering signals a blocked filter or worn tip. Remove and clean the 100-mesh inlet filter first, then inspect the tip for wear or debris.
What is the 50% overlap rule in airless spraying?
Each spray pass should overlap the previous one by 50% of the fan width. This builds an even film thickness and prevents visible banding in the dried finish.
Does surface preparation really affect the sprayed finish?
Surface preparation is the primary driver of finish quality. Moisture above 12% in timber, poor sanding, or low-quality masking tape will compromise the result regardless of sprayer quality.
Recommended
Comments