
Painting terms every South West homeowner should know
- WM Creative Designs Limited
- May 13
- 10 min read

TL;DR:
Using proper painting terminology helps homeowners communicate more clearly with professionals and avoid costly mistakes.
Understanding the differences between paint system layers, finishes, and application techniques empowers homeowners to make informed decisions and ask better questions.
Walking into a conversation with a professional painter feeling confident is harder than it sounds. You ask about your living room, and suddenly you’re hearing words like “primer,” “undercoat,” “cutting in,” and “feathering” fired at you like a test you never revised for. Most homeowners nod along, hope for the best, and end up with a quote they can’t fully evaluate. This guide changes that. By the time you’ve finished reading, you’ll have plain-English explanations for the most important painting terms, and you’ll know exactly what to ask your decorator before work begins.
Table of Contents
Key Takeaways
Point | Details |
Know your paint system | Understanding primer, undercoat, and topcoat helps you get the right prep and finish for your project. |
Finish choice matters | Picking matt, silk or gloss changes both the look and practicality of your newly painted space. |
Speak like a pro | Using terms like ‘cutting in’ and ‘feathering’ helps you set clear expectations with contractors. |
Proper prep equals quality | Surface preparation impacts how well high-sheen finishes look and last in your home. |
Why paint language matters for your home project
Miscommunication is the quiet villain of most painting projects. It rarely shows up as an argument. It creeps in as a missed detail: a wall painted directly over bare filler because nobody discussed priming, or a gloss finish applied to a surface that needed more preparation. These are costly mistakes, and they almost always trace back to a conversation where both sides thought they understood each other but didn’t.
Professional painters use precise language for very good reasons. When a decorator talks about a “paint system,” they mean the sequence of coats from bare surface to final finish. When they discuss “finish,” they mean sheen level. When they mention “application mechanics,” they’re talking about how the paint physically goes on. These are three completely different conversations, and mixing them up leads to misquoted jobs and disappointing results.
The good news is you don’t need to become an expert overnight. As the team behind understanding painting contractors knows well, homeowners who arrive with even a basic grasp of paint vocabulary get better quotes, ask sharper questions, and feel far more in control throughout the project.
A helpful way to frame these terms is to separate “paint system language” from “finish language” and “application mechanics” when talking to pros. It keeps the conversation focused, and it signals to the painter that you’re someone who expects detail and clarity.
Here’s a quick map of the three main vocabulary groups:
Paint system language: primer, undercoat, topcoat
Finish language: matt, silk, gloss, eggshell, satin
Application mechanics: cutting in, rolling, feathering, wet edge
Knowing which group a term belongs to instantly tells you what stage of the project is being discussed. That one insight alone makes conversations with professionals much clearer.
Now that you know why a little vocabulary goes a long way, let’s break down the basics.
Core painting terms: System, finish, and application explained
Every paint job, whether it’s a single bedroom or the full exterior of a home, follows a system. That system has three key layers, each with a specific job to do. Understanding them means you’ll never again accept a quote that skips a step without asking why.
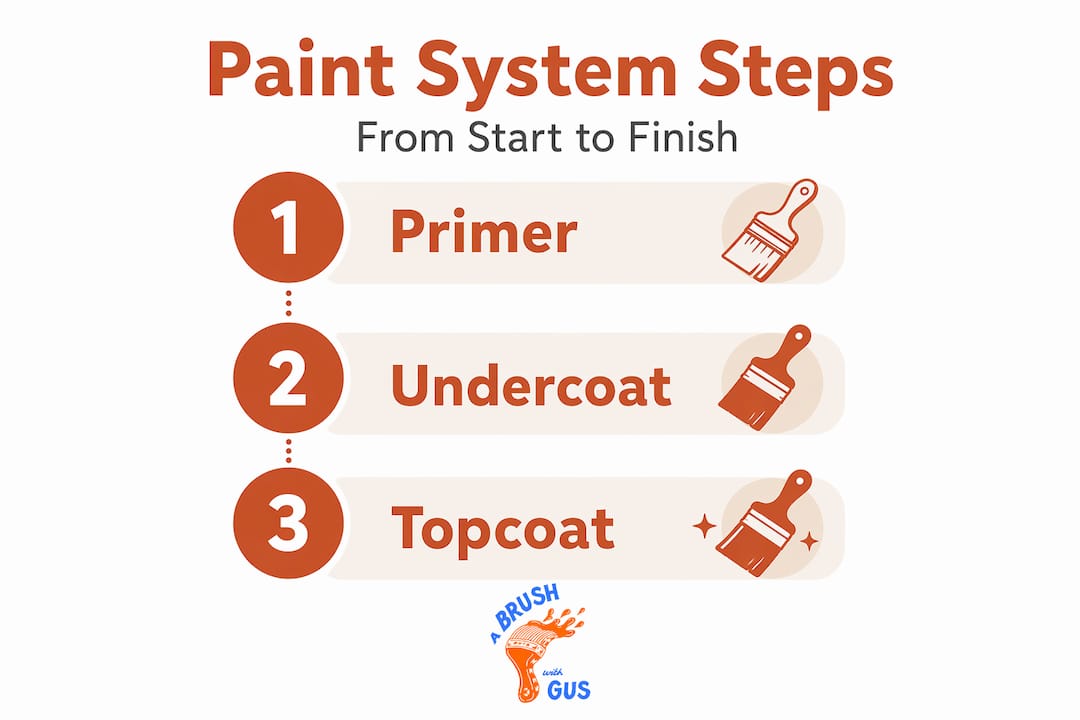
Primer is the first coat, and it’s applied directly to bare or newly repaired surfaces. Its job is to help the subsequent coats stick properly and to seal any absorbent or stained areas. Skip primer on fresh plaster, for instance, and the topcoat will soak in unevenly, leaving a patchy finish that no amount of extra paint will fix. Undercoat comes next, sitting between the primer and the topcoat, and it’s most commonly used on wood and metal surfaces. It builds depth, evens out the base colour, and gives the topcoat something solid to grip. The topcoat is the final coat: the colour and sheen level you actually see and live with every day.

For walls and ceilings, interior emulsion-based work uses water-based emulsion paints, whereas wood and metal surfaces typically follow a primer, undercoat, and oil-based or water-based topcoat sequence. Both are “paint systems,” but they’re not interchangeable.
This professional painting guide breaks down what a full professional approach looks like, which is helpful if you’re comparing quotes and want to know whether a painter is cutting corners.
Once the system is clear, finish language is the next hurdle. Here’s a straightforward comparison:
Finish type | Sheen level | Best use | Durability |
Matt | Very low | Ceilings, low-traffic walls | Marks easily, hard to wipe |
Eggshell | Low to mid | Living rooms, hallways | Better than matt, cleanable |
Silk | Medium | Bedrooms, family rooms | Good, wipes clean easily |
Satin | Medium to high | Woodwork, doors | Strong, slight sheen |
Gloss | High | Skirting boards, exterior wood | Very durable, shows flaws |
Application mechanics are the third group, and these are the terms that most homeowners find confusing because they describe actions rather than products. Cutting in means painting the edges and corners of a wall with a brush before the roller goes on. Done well, it creates sharp, clean lines where walls meet ceilings or skirting boards. Feathering is the technique of blending the outer edge of a freshly painted area so it merges smoothly with the adjacent section. Wet edge refers to keeping the leading edge of your paint coat wet so that the next stroke or section blends into it without a visible seam.
Pro Tip: When you’re getting quotes for interior work, ask whether the painter includes “full cutting in on every coat.” Some decorators only cut in on the final coat, which can leave earlier coats looking ragged under natural light.
You can explore more about these painting techniques in detail, especially if you’re planning a multi-room project where consistency matters.
With terminology grouped, let’s clarify each typical paint word you’ll meet, starting at the base and working upwards.
Beyond the basics: Practical painting terminology in action
Knowing a term in theory is one thing. Hearing it on the job, mid-conversation with a painter who’s rattling through their process, is quite another. Here’s how these words show up in real South West homes, and what they actually mean for your results.
When a painter says they’ll “keep a wet edge” or “feather the join,” they’re working to prevent a visible line where the brush work meets the roller work. That line appears when one section of paint dries before the next section is applied beside it. The two sections don’t merge, and you’re left with a faint ridge or colour band that becomes much more obvious under raking light, such as from a window or ceiling fitting.
Understanding this tells you something important: it’s not just about how quickly the painter works, but about how they sequence their work. A professional who mentions wet edge maintenance unprompted is telling you they care about the finish. That’s a quality signal worth noting.
Here’s a practical checklist of phrases you’re likely to hear, and what they mean for your project:
“We’ll apply a mist coat first” means the painter will dilute emulsion paint for the first coat on fresh plaster. This is essential. Raw plaster is extremely absorbent and will pull moisture from undiluted paint too quickly, causing it to flake.
“That needs a full prime” means the surface has exposed or bare areas that require a dedicated primer coat before anything else goes on.
“We’ll back roll that” means after the paint is sprayed or applied, they’ll lightly run a roller over it to even out texture and improve adhesion.
“The sheen might not match if we spot-fill” means patching small areas with filler and repainting just those spots often looks different to the surrounding wall, especially with silk or gloss finishes.
“We’ll need to feather that edge” means the painter will blend a repair or new paint section into the surrounding area rather than leaving a hard edge.
Qualities like patience, precision, and honest communication are what separate a competent decorator from an excellent one. This breakdown of qualities of a good painter outlines exactly what homeowners should look for when hiring.
Research consistently shows that preparation accounts for the majority of a paint job’s overall quality. A well-prepared surface with good primer and undercoat will hold a topcoat far longer than a poorly prepared one. That’s why the system language matters: skipping or rushing the earlier coats saves the painter time but costs you years of finish life.
Let’s make this concrete: here’s what those words and strategies look like for everyday homeowners.
Choosing the right finish: How terms like ‘matt’, ‘silk’ and ‘gloss’ influence your home
Once you understand the paint system and application techniques, finish language becomes the final piece of the puzzle. It’s also the area where homeowners are most likely to be swayed by aesthetics alone, without considering the practical consequences.
Matt finish is flat, non-reflective, and very good at hiding imperfections in plaster or older walls. That makes it popular for ceilings and period properties where walls have texture and character. The trade-off is that it marks relatively easily and doesn’t respond well to being wiped clean. In a hallway or kitchen, matt paint will show every grubby fingerprint.
Silk and satin finishes sit in the middle ground. They have enough sheen to reflect a little light and enough durability to wipe down without damage. In family homes across the South West, these are often the practical choice for high-traffic rooms. Gloss is at the other end of the spectrum: highly durable, easy to clean, and very unforgiving of poor preparation.
This is the critical insight that many decorating guides skip over: the same “finish” terms affect both appearance and cleaning practicality. Higher sheen finishes are more durable, but they amplify every imperfection in the underlying surface. A wall with minor ripples or filler patches painted in silk will look worse than the same wall painted in matt, because the sheen catches the light and throws those variations into relief.
This is why finish selection cannot happen independently of preparation quality. When you’re discussing your project with a professional, the finish you choose should prompt a conversation about how thorough the prep work will be.
Room type | Recommended finish | Key reason |
Bedrooms | Matt or soft silk | Low traffic, hides minor imperfections |
Living rooms | Eggshell or silk | Balanced look and practicality |
Hallways | Silk or satin | Wipes clean, handles scuffs better |
Kitchens | Satin or gloss | Moisture resistance, easy to clean |
Skirting boards | Gloss or satin | Maximum durability against knocks |
Ceilings | Matt | Non-reflective, softens the overhead plane |
Pro Tip: Before confirming your finish choice, ask your painter to show you the proposed paint in its actual sheen on a sample board. Sheen levels can look quite different on a chip card versus a full wall under natural light. Good decorators will always offer this step.
Understanding paint finish types in relation to specific rooms is one of the best ways to have a really productive initial conversation with your painter.
What homeowners really miss when talking painting with the pros
Here’s something most painting guides won’t tell you directly. Homeowners typically spend the most energy on colour and brand, going back and forth over shades, debating whether to try a premium tin or stick with a trusted name. Those choices matter, but they’re not where projects go wrong.
The real vulnerabilities are in the system and the prep-to-finish match. We’ve seen it repeatedly across South West homes: a beautiful topcoat that starts lifting within a year because the primer stage was skipped on a replastered section. Or a client who chose a high-gloss finish for their newly boarded walls, only to find every screw dimple and joint visible as a shadow on a sunny day.
The questions that separate careful homeowners from those who end up disappointed are not about colour. They’re about process. When talking to any painter, try asking: “How many coats are included, and what does each coat do?” or “What prep work is included before the first coat goes on?” or “Which primer are you using on this surface, and why?”
A professional will answer these without hesitation and with genuine explanation. They’ll also welcome the conversation, because it tells them you’re engaged, informed, and serious about the result. If a painter becomes vague or dismissive when you ask about the system, that’s useful information too.
This hiring a painter guide covers exactly how to vet a decorator before you commit, with specific questions that surface quality and professionalism quickly.
The finish-to-prep match-up is the clearest quality signal you have as a homeowner. If your painter recommends a silk finish but isn’t planning to fill and sand thoroughly before priming, that mismatch should prompt a direct conversation.
How our local team can help simplify your next painting project
Armed with your new painting vocabulary, you’re ready for the next step.
At A Brush With Gus, Gus and Rhys work with South West homeowners every week who come armed with questions, and that’s exactly how we prefer it. A homeowner who understands primer from undercoat, and matt from silk, gets a more accurate quote and a more precise result. We’re always happy to walk you through the system we’re proposing for your specific surfaces, and to explain why each coat is going on before it does.

Whether you’re thinking about refreshing interiors, updating your woodwork, or exploring a full exterior transformation including UPVC spraying for tired frames and fascias, our team offers honest advice before any work begins. Browse our full range of domestic painting services or explore everything we offer across our all painting and decorating services page. Get in touch to request a quote or simply have a no-pressure chat about your project. We’ll speak your language, whatever level you’re starting from.
Frequently asked questions
What is the difference between primer and undercoat?
Primer is applied to bare or repaired surfaces to improve adhesion and prevent staining, while undercoat sits between primer and topcoat to even out colour and build thickness, most commonly on wood or metal.
What does ‘cutting in’ mean and why is it important?
Cutting in is painting the edges and corners with a brush before rolling the main area, and it’s important because it creates sharp, professional lines at every junction. When done correctly, feathering the join ensures no visible ridge forms between the brush and roller work.
Which finish is best for family homes: matt, silk, or gloss?
Silk is often the most practical all-round choice for family living rooms and bedrooms, as it balances appearance with the ability to wipe clean. For durability in high-traffic areas, higher sheen finishes like satin or gloss are more resistant, though they require better surface preparation to look their best.
How does ‘feathering’ affect the final result?
Feathering blends the wet edge of one painted area into the next, preventing harsh visible lines from forming as the paint dries. Without it, even good quality paint can show joins that become obvious under natural light or raking light from windows.
Recommended
Comments