
Expert kitchen painting tips for a modern home refresh
- WM Creative Designs Limited
- Mar 28
- 8 min read
Replacing a kitchen can cost anywhere from £8,000 to £30,000, yet a professional respray or a carefully hand-painted finish can deliver a genuinely modern look for a fraction of that price. Kitchen spraying costs £800 to £3,000 in the South West UK, saving homeowners up to 90% compared with full replacement. The catch? Results depend almost entirely on how well you prepare and which method you choose. Get those two things right and your kitchen can look showroom-fresh for a decade or more. Get them wrong and you will be peeling paint within months.
Table of Contents
Key Takeaways
Point | Details |
Proper preparation | Degreasing and priming are essential to ensure paint lasts and looks professional. |
Method choice matters | Hand-painting allows easier touch-ups; spraying creates a flawless modern finish but requires specialist skills. |
Save thousands | Kitchen spraying can cost up to 90% less than full replacement and lasts nearly a decade. |
Use quality tools | Choose paints and brushes made for cabinetry to achieve durable and attractive results. |
Maintenance is simple | Regular gentle cleaning and keeping leftover paint for touch-ups extends your kitchen’s fresh look. |
How to prepare your kitchen for painting
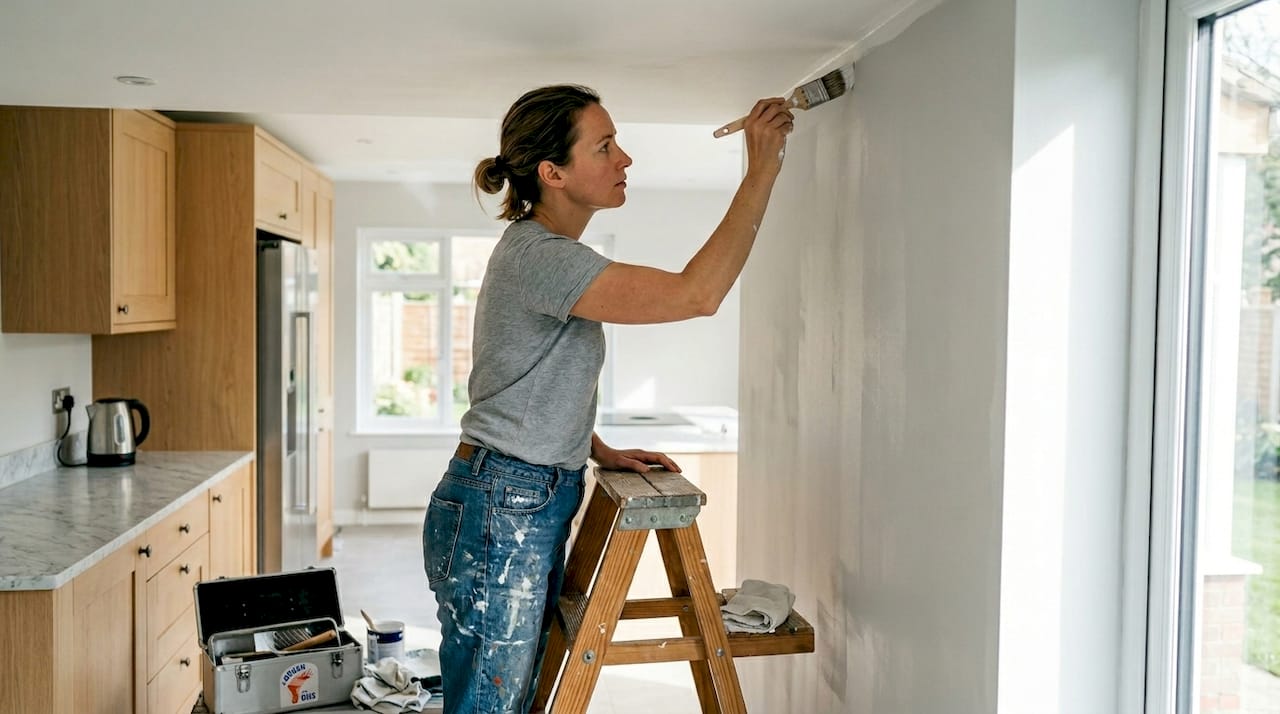
Preparation is not the exciting part, but it is the part that separates a finish that lasts from one that flakes off by Christmas. Before you pick up a brush or a spray gun, you need to strip the kitchen back to basics.
Start by removing all door handles, hinges, and any other hardware. Label each piece so reassembly is straightforward. Protect worktops, appliances, and flooring with dust sheets and masking tape. This step alone saves hours of cleaning later.
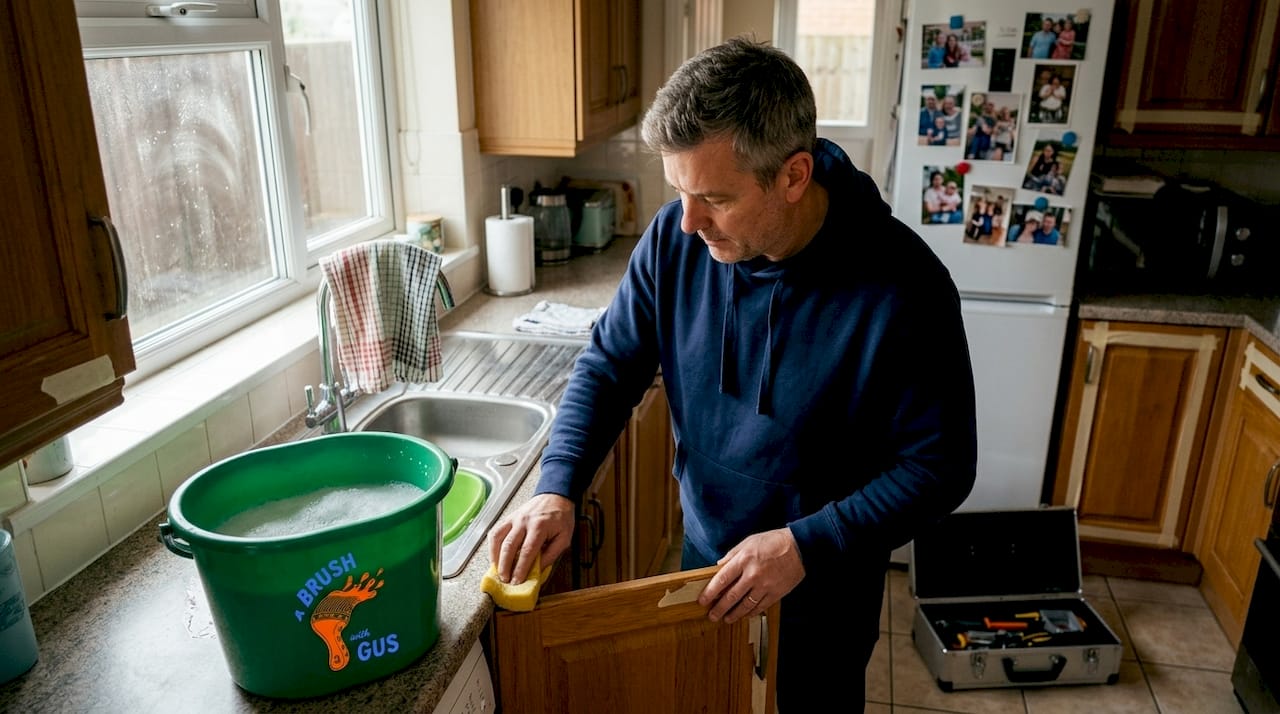
Next comes degreasing. Kitchen cabinets accumulate years of cooking residue, and paint simply will not bond to a greasy surface. Following expert painting cabinet advice, use sugar soap or TSP (trisodium phosphate, a powerful degreasing agent available at most DIY stores) to scrub every surface thoroughly. Rinse well and allow to dry completely.
‘Thorough degreasing is the single most important step to ensure a lasting painted finish.’
Once clean, sand lightly with 120 to 180 grit sandpaper. You are not trying to strip the surface, just scuffing it so the primer has something to grip. Wipe away all dust with a tack cloth before applying a good quality primer. Primer creates an even base and dramatically improves how the topcoat looks and lasts. For more detail on professional painting prep techniques, it is worth reading up before you start.
Here is a quick checklist to work through before you open any paint:
Remove all doors, drawers, and hardware
Degrease with sugar soap or TSP
Sand lightly with 120 to 180 grit paper
Wipe down with a tack cloth
Apply a suitable primer and allow to cure fully
Consider professional kitchen cleaning if grease build-up is severe
Rushing any of these steps is the most common reason DIY kitchen paint jobs fail. The quality finish steps that professionals follow are not complicated, but they do require patience.
Choosing the right painting method for your kitchen
With your surfaces properly prepared, the next decision is how you are going to apply the paint. The two main options are hand-painting and spraying, and each suits a different type of kitchen and homeowner.
Hand-painting with a brush or roller gives a more traditional or rustic look. You apply multiple thin coats, typically between two and eight depending on the colour and coverage, and finish each coat by laying off (drawing the brush lightly in one direction to minimise brush marks). It takes longer but is far easier to touch up later.
Spraying, on the other hand, delivers a smooth, factory-like finish that looks genuinely modern. Spraying is faster and smoother but touch-ups are harder to blend invisibly. Hand-painting can leave visible marks if technique is poor, but it is more forgiving for the average homeowner.
Here is a side-by-side comparison to help you decide:
Feature | Hand-painting | Spraying |
Speed | Slower | Faster |
Finish quality | Good, traditional | Excellent, ultra-smooth |
Cost (DIY) | Lower | Higher (equipment costs) |
Durability | Good with correct paint | Excellent with proper prep |
Ease of touch-up | Easy | Difficult |
Best for | Rustic or shaker styles | Modern, handleless kitchens |
Think about the style of your kitchen before committing. A shaker-style cabinet with visible grain can look beautiful hand-painted. A flat, handleless modern door almost always looks better sprayed. Understanding the types of kitchen paints available will also help you match the product to the method.
Pro Tip: If your cabinets are MDF (medium-density fibreboard), spraying is usually the better choice because MDF absorbs paint unevenly when brushed. Solid wood or timber-effect doors can go either way depending on the look you want. Check the homeowner painting guide for material-specific advice.
Paint types, tools, and professional tricks
Choosing the right products makes a significant difference to the final result. Not all paints are created equal, and using the wrong one on kitchen cabinets is a recipe for chips and scuffs within months.
For cabinets, you want a paint specifically formulated for hard surfaces. The main options are:
Acrylic water-based paints: Easy to clean up, low odour, and fast drying. Modern formulations are very durable and a solid choice for most kitchens.
Two-pack (2K) paints: Used by professionals, these are extremely hard-wearing and give a near-perfect finish. They require specialist mixing and application but last significantly longer.
Chalk or mineral paints: Popular for a matte, vintage look but need a protective topcoat on kitchen surfaces to handle moisture and cleaning.
For hand-painting, invest in a good quality synthetic brush and a short-pile mini roller (around 4 inches). Cheap brushes leave bristle marks in the finish. For spraying, professional airless spray equipment produces far superior results compared with consumer-grade models, which is one reason many homeowners opt for a professional service.
Pro Tip: The South West UK is known for its damp, humid climate, particularly in autumn and winter. Humidity slows paint curing significantly. Even if paint feels dry to the touch after a few hours, allow cabinet doors to cure for at least 48 to 72 hours before rehanging them. Hanging doors too early causes the paint to stick and peel at the edges. Check the painting tool tips on our blog for more guidance on working in UK conditions.
Always apply thin coats rather than one thick one. Thick coats sag, take longer to dry, and cure unevenly. Two or three thin coats will always outperform one heavy application.
Cost comparison: Spraying vs replacement for South West UK kitchens
Understanding the numbers makes the decision much clearer. Here is how the main options stack up for a typical South West UK kitchen:
Option | Typical cost | Time to complete | Expected lifespan |
Professional spraying | £800 to £3,000 | 1 to 3 days | 8 to 10+ years |
Hand-painting (professional) | £400 to £1,500 | 2 to 4 days | 5 to 8 years |
Full cabinet replacement | £8,000 to £30,000 | 1 to 3 weeks | 15 to 25 years |
Kitchen spraying can save up to 90% compared with full cabinet replacement, based on current pricing for spraying in the South West UK. For most homeowners, that saving is transformative.
Several factors influence where your quote will land within those ranges:
Number of cabinet doors and drawers: More units mean more time and materials.
Kitchen layout: Open-plan kitchens with island units take longer to mask and protect.
Prep quality: If surfaces need significant repair or filling before painting, costs increase.
Finish type: Specialist finishes such as two-pack or textured coatings cost more than standard acrylic.
Colour change: Going from a dark colour to a very light one may require additional coats.
For homeowners exploring affordable painting options in the South West, spraying consistently offers the best balance of cost, speed, and finish quality.
Maintaining and touching up your painted kitchen
A freshly painted kitchen looks brilliant on day one. Keeping it that way requires a little ongoing care, but it is far less effort than most people expect.
For day-to-day cleaning, use a soft damp cloth and a mild washing-up liquid solution. Avoid abrasive sponges or harsh chemical sprays, which can dull or damage the paint film over time. Wipe up spills promptly, particularly anything acidic like lemon juice or vinegar.
Here is a simple maintenance routine to follow:
Wipe cabinet fronts weekly with a soft, damp cloth
Avoid steam from kettles or pots hitting cabinet surfaces directly
Check hinges and fixings annually to prevent doors from dropping and chipping edges
Address any chips or scuffs as soon as you notice them to prevent moisture getting underneath
For hand-painted kitchens, touching up small chips at home is straightforward. Use the same paint, apply a thin coat with a small artist’s brush, and feather the edges gently. The result will not be invisible up close, but it will be perfectly acceptable from a normal viewing distance.
Sprayed kitchens are trickier. The ultra-smooth finish is harder to replicate with a brush, and colour matching can be difficult if the original paint has aged slightly. For significant repairs on a sprayed kitchen, it is usually worth calling in a professional to respray the affected doors rather than attempting a DIY patch.
Pro Tip: Keep a small, labelled tin of leftover paint stored somewhere cool and dry. Write the colour name, brand, and the date it was applied on the lid. When you need a touch-up in two or three years, you will have exactly the right product ready to go. This one habit saves a surprising amount of frustration. For more on preserving your finish, see our guide on how to transform your kitchen with respraying.
Professional painting and spraying services in South West UK
If reading through all of this has made you realise you would rather leave it to the experts, that is a completely sensible decision. A professional team brings the right equipment, the right products, and years of experience to your kitchen, which means a faster turnaround and a finish that genuinely lasts.

At A Brush With Gus, brothers Gus and Rhys have built a reputation across the South West for delivering high-quality results without the stress. Whether you are interested in our kitchen spraying services for that ultra-smooth modern finish, our domestic painting service for a hand-painted look, or even a thorough kitchen cleaning before the work begins, we handle every stage with care. Get in touch for a no-obligation quote and find out how quickly your kitchen could look completely transformed.
Frequently asked questions
What is the best way to clean kitchen cabinets before painting?
Use sugar soap or TSP to thoroughly remove grease and dirt from all surfaces before painting. This step is essential for proper paint adhesion and a long-lasting finish.
How long does painted kitchen cabinetry last?
With thorough preparation, professional spraying lasts 8 to 10+ years before a refresh is needed. Hand-painted finishes typically last five to eight years depending on the paint used and how well the surface was prepared.
Is spraying or hand-painting better for touch-ups?
Hand-painting is generally easier to touch up at home, while spraying gives a smoother finish but is harder to patch invisibly without professional equipment.
What factors influence the price of kitchen spraying in South West UK?
Cabinet size, layout complexity, prep quality, and the type of finish required all affect the final cost. Prices range from £800 to £3,000 for a typical South West UK kitchen, depending on these variables.
Recommended
Comments