
How to achieve a professional paint finish at home
- WM Creative Designs Limited
- 2 days ago
- 9 min read
TL;DR:
A professional-looking paint finish depends mainly on proper preparation, correct materials, and disciplined technique. Skipping steps like priming, sanding, and full drying causes streaks, patches, and uneven sheens, regardless of paint quality. Following a systematic process ensures a smooth, durable, and flawless interior or exterior wall finish.
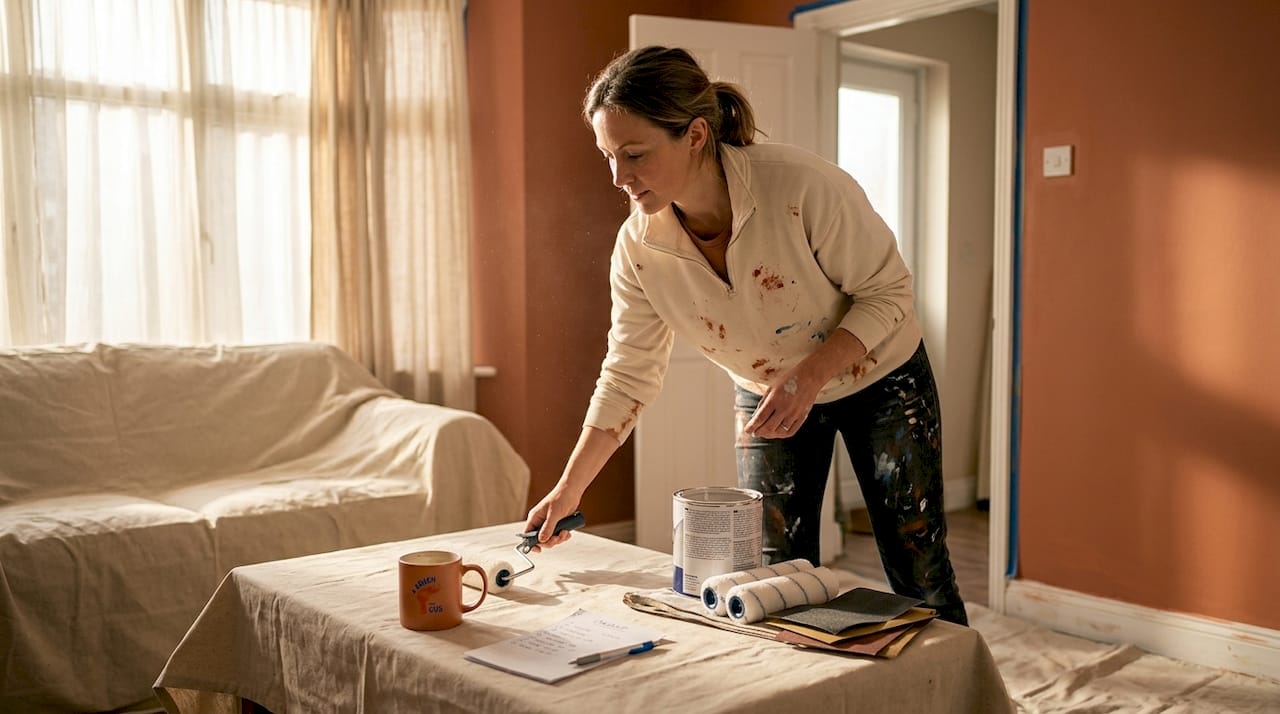
You spend a weekend painting a room, step back, and the walls look streaky, patchy, and nothing like the smooth finish you had in your head. It is one of the most common frustrations for homeowners across the South West, and almost always the result of skipped steps rather than a lack of ability. The good news is that a truly professional paint finish is achievable without specialist training, as long as you follow the right sequence, use the correct materials, and resist the urge to rush. This guide walks you through exactly how to do that.
Table of Contents
Key Takeaways
Point | Details |
Preparation is essential | A smooth, lasting finish depends more on preparatory work than paint choice. |
Choose the right primer | Matching primer to substrate ensures great adhesion and uniform appearance. |
Use systematic steps | Following each stage with care, from cleaning to coat layering, produces professional results. |
Check your work | Inspect finish under different lighting and touch up as needed to ensure quality. |
What you need for a flawless paint finish
Before you lift a brush, getting your tools and materials sorted is essential. Most DIY paint jobs fall apart not because of bad technique, but because the wrong products were used from the start. Knowing your types of house paint is the very first step, because sheen level, formulation, and finish type all affect the final result.
Here are the core supplies you will need:
Primer or undercoat suited to your surface (plaster, wood, previously painted, or bare masonry)
Quality topcoat paint in your chosen finish (matt, eggshell, satin, or gloss)
Brushes in a range of sizes, including a cutting-in brush
Short or medium pile rollers for flat walls and ceilings
Roller tray, extension pole, and spare sleeves
Fine-grit sandpaper (180 to 240 grit) for sanding between coats
Filler and flexible caulk for cracks and gaps
Masking tape and dust sheets to protect surfaces
Cleaning cloths, sugar soap, and buckets for surface preparation
Correct primer selection for the substrate and conditions is critical for adhesion and a uniform final appearance. A bonding primer on bare plaster behaves very differently from a shellac stain blocker on a nicotine-stained ceiling, so matching the primer to the problem saves you hours of frustration later.
Primer type | Best for | Key benefit |
PVA or bonding primer | New or bare plaster | Seals porosity, prevents patchy absorption |
Stain-blocking primer | Stains, watermarks, nicotine | Stops bleed-through on topcoat |
Stabilising primer | Chalky or flaky surfaces | Consolidates loose substrate |
Multi-surface primer | Previously painted walls | Adhesion on various finishes |
Flexible undercoat | Wood and trim | Allows movement without cracking |
Environment matters just as much as materials. The ideal painting temperature for most water-based paints is between 10°C and 25°C. Humidity above 80% slows drying dramatically and can cause surface defects. Keep the room ventilated, but avoid draughts that carry dust onto wet paint. Close windows in dusty or pollen-heavy conditions and use a damp cloth to wipe down surfaces just before you begin.
Pro Tip: If you are using two or more tins of the same colour, always mix them together in a large bucket before you begin. This is called “boxing” or decanting, and it eliminates the subtle batch-to-batch shade variations that can appear as a visible horizontal line mid-wall. Professionals never skip this step.
Basic health and safety should not be overlooked either. Water-based paints are much lower in VOCs (volatile organic compounds) than solvent-based products, but you should still ventilate well. Wear gloves, use a dust mask when sanding, and make sure ladders are stable before climbing.
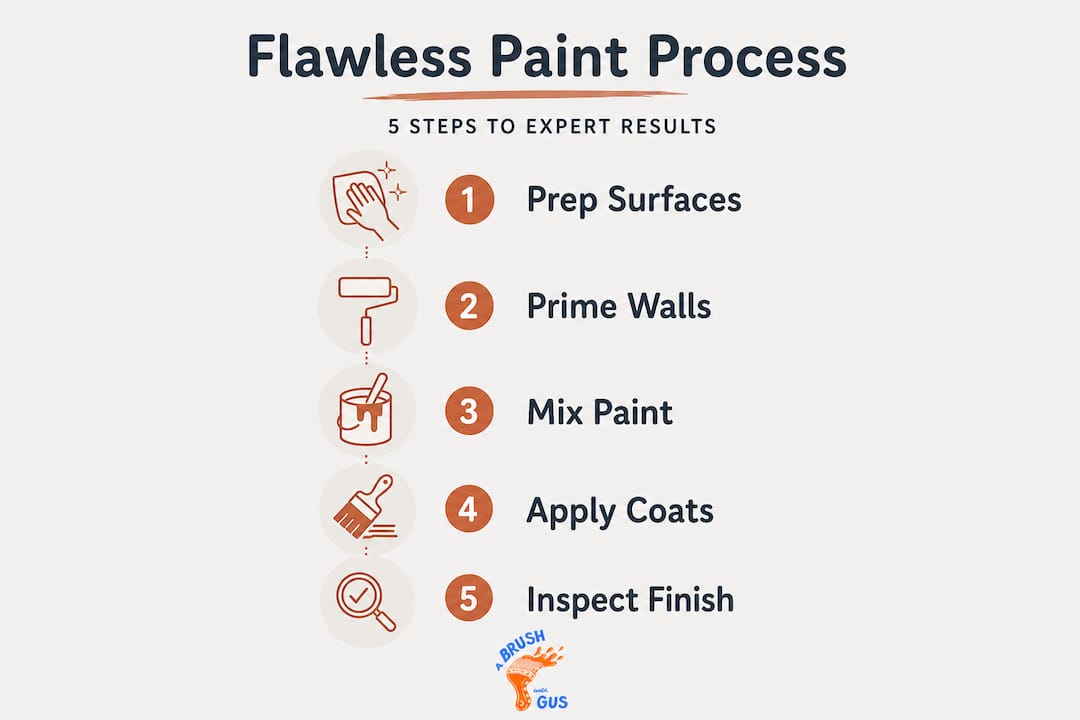
Step-by-step process for a professional finish
Now that you have all the right tools and materials, it is time to focus on the actual process. Structure is everything here. Rushing through the sequence is the single biggest reason DIY results disappoint, so follow each stage methodically.
Clean the surface thoroughly. Wash walls with sugar soap, rinse, and allow to dry completely. Grease, dust, and grime prevent paint from bonding and cause peeling later.
Fill cracks and imperfections. Use a fine filler for small holes and flexible caulk along skirting boards, coving, and architraves. Feather out filler edges and allow to cure fully.
Sand the surface smooth. Use 120 to 180 grit sandpaper on filled areas, working with the grain on woodwork. Wipe away all dust with a damp cloth and allow to dry.
Apply primer or undercoat. Brush primer into edges and corners first, then roll the broader areas. A systematic primer approach can improve uniformity and durability, especially with larger colour changes or patchy first-coat appearance.
Lightly sand between coats. Once the primer is fully dry, sand with 220 grit to knock back any raised grain or nibs. This is the step most DIY painters skip, and it makes an enormous difference.
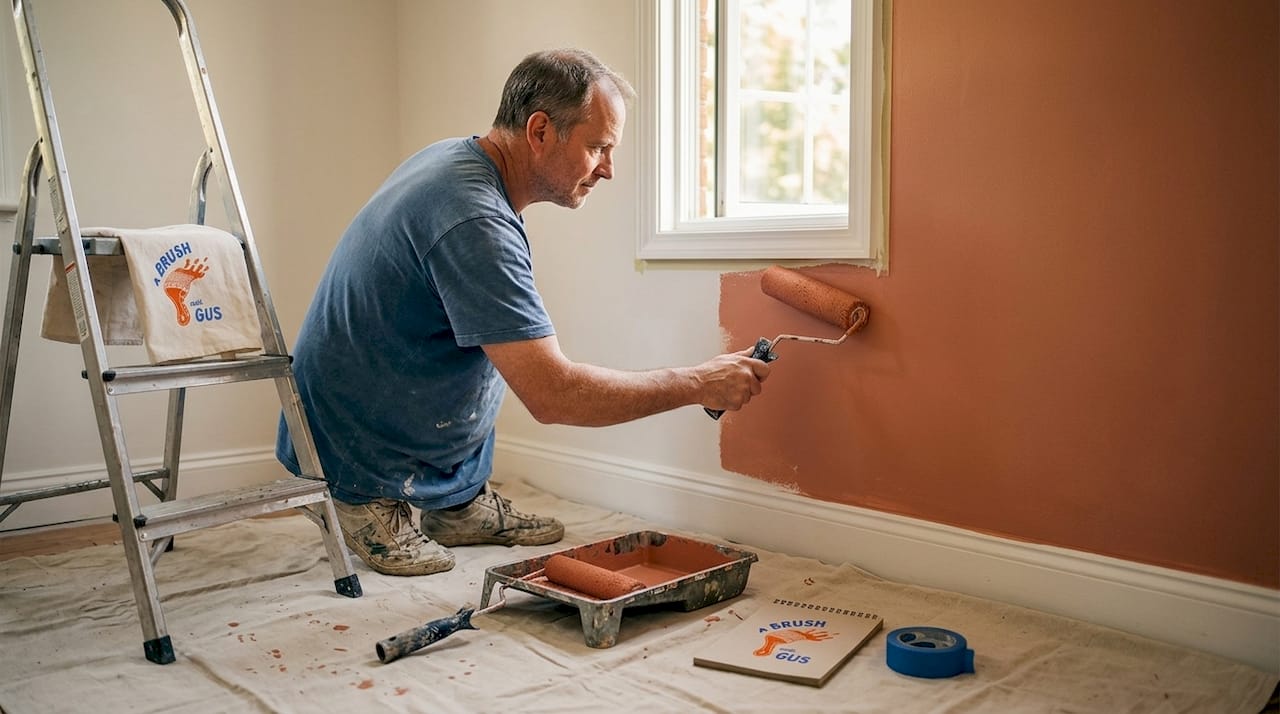
Apply your first topcoat. Cut in carefully around edges with a brush, then roll the main area using a W or M technique to distribute paint evenly. Work in sections and maintain a wet edge to avoid lap marks.
Allow full drying time before the second coat. Do not rush this. Even if paint feels dry to the touch in two hours, water-based paints need four to six hours before recoating in typical South West conditions.
Apply the second topcoat and inspect. Repeat the cutting-in and rolling process, this time inspecting carefully under a raking light to catch any misses or thin patches.
The residential painting process can be adapted for all interior and exterior surfaces, but the sequence above represents the foundation.
Method | Best surfaces | Pros | Cons |
Brush | Trim, details, cutting in | Precise, good control | Slower, brush marks possible |
Roller | Walls and ceilings | Fast, even coverage | Can’t reach tight corners |
Airless spray | Large flat areas, doors | Finest finish, very fast | Requires skill, masking prep time |
For more detailed advice on technique, the guide to painting walls professionally covers brush control, roller technique, and common pitfalls in greater depth.
Pro Tip: After each coat, sand lightly with 240 grit sandpaper once fully dry. The surface should feel silky rather than rough. This fills any minute surface texture and is exactly what gives premium paint jobs that glass-smooth appearance.
Important: Always respect manufacturer drying and recoating times. Painting over a coat that has not fully cured traps solvents and moisture beneath, leading to soft, tacky paint or blistering weeks later. If in doubt, wait longer rather than rushing.
How to avoid common paint finish mistakes
With the process established, it is vital to consider where things most commonly go wrong. Even experienced DIY decorators can fall into predictable traps, and recognising them in advance gives you a major advantage.
The most frequent paint finish problems include:
Patchiness or uneven sheen: Usually caused by inconsistent surface absorption, skipped primer, or applying topcoat too thinly. Porous surfaces drink paint unevenly without primer, leaving some areas looking flat and others more shiny.
Streaks and roller lines: Often the result of overworking wet paint, using too little paint per pass, or letting the wet edge dry before returning to it. Keep a wet edge and work in manageable sections.
Visible brush marks: Caused by poor quality brushes, over-brushing, or using paint that is too thick. Good quality synthetic brushes and slightly thinned paint flow out far better on the surface.
Peeling or flaking paint: Almost always a preparation failure. Paint cannot bond to greasy, dusty, or non-primed surfaces. This is one of the most costly mistakes to fix after the fact.
Shade variation between tins: A classic batch-mixing failure. Always box your paint before starting.
Using more topcoat is not a substitute for addressing surface or primer issues. Preparation quality determines final results, and that principle holds whether you are using budget paint or a premium brand like Farrow & Ball.
For homeowners in the South West, additional environmental factors come into play. Coastal areas can have higher humidity, and older stone or lime-rendered properties often need specialist primers before any modern paint will adhere properly. Reading up on the best home painting practices in South West UK is worth doing before you start if your property has any unusual or period features.
Remember: Take your time with prep. It is genuinely what separates a DIY result from a professional finish. No amount of expensive paint compensates for poorly prepared walls.
What a professional paint finish should look and feel like
After the hard work, you should know precisely what defines a professional finish and how to assess whether you have achieved it. Many people judge their results in artificial light while paint is still fresh, which gives a very misleading picture.
A truly professional finish has these characteristics:
Even colour from every angle. Stand at different positions in the room and view the walls at a raking angle. Any thin or thick patches will show clearly under a sharp angle of light.
Consistent sheen across the surface. Glossy and matt patches on the same wall signal uneven absorption or primer failure.
No visible brush marks, roller stipple, or lap lines. Run your eye along the surface from a low angle. If you can see texture variation, the surface is not fully professional grade.
Clean, sharp edges at ceilings, skirtings, and architraves. Cutting-in quality is often what sets a professional job apart from a careful amateur one.
No missed patches, shadows, or holiday spots. “Holidays” is the trade term for areas that were skipped during rolling or brushing.
Pro Tip: Always wait for full dry time before making your final judgement, and inspect walls in natural daylight. Artificial lighting, especially warm yellow bulbs, masks a surprising number of imperfections that stand out clearly in morning light.
If your result does not meet the standard you were aiming for, do not apply another coat immediately. Identify the root cause first. Is it a prep issue? A primer problem? Or a technique issue with the application itself? Addressing the cause, rather than layering more paint on top, is always the right call.
For surfaces where brush and roller results simply are not giving you the quality you want, exploring paint spraying for flawless finishes may be worth considering. Airless spraying in particular delivers an exceptionally smooth result on doors, cabinetry, and large feature walls.
Why preparation, not just paint, is the secret to professional finishes
Here is the honest truth that most paint guides avoid saying plainly: the difference between a professional finish and a disappointing DIY job has almost nothing to do with the brand of paint you buy or whether you spent £18 a litre or £45 a litre. It comes down to preparation and process discipline, almost every single time.
Over years of working on homes across the South West, we have seen the same story repeatedly. A homeowner spends good money on premium paint, skips the primer because the walls “look fine,” rushes the first coat because it is drying, and then wonders why the finish is patchy and the colour looks uneven. More paint gets applied. The problem worsens. By the time someone calls us in, there are sometimes four or five poorly bonded coats to deal with before proper work can begin.
The professionals who consistently produce exceptional results are rarely the ones with the most expensive tools or the most fashionable paint brand. They are the ones who do the same methodical sequence every single time without cutting corners, even on small jobs. Decanting and boxing paint across tins before starting. Sanding between every coat, even when it feels unnecessary. Waiting the full recoating time even when the schedule is tight.
Good painting techniques for professionals are not secret or complex. They are simply consistent. What separates a truly outstanding result from a passable one is the willingness to trust the process rather than try to shortcut it. If you take one thing from this guide, make it this: every hour you invest in preparation saves you three hours of re-work at the end.
Trust the professionals for quality and peace of mind
While many homeowners achieve great results by following the process above, some situations genuinely call for professional assistance.

If you are working with difficult substrates such as bare plaster, stained ceilings, or exterior masonry, or if you are facing tight deadlines or simply want a guaranteed flawless result, bringing in experienced decorators makes real sense. At A Brush With Gus, we serve homeowners across the South West with a full range of domestic painting services designed to deliver the kind of finish that holds up and looks exceptional for years. For surfaces where an ultra-smooth result is non-negotiable, our professional spraying solutions offer a level of quality that brushes and rollers simply cannot match. Get in touch for a no-pressure quote and let us show you what a genuinely professional finish looks like.
Frequently asked questions
What is the best primer for a patchy or stained wall?
A stain-blocking or bonding primer designed for your wall type will ensure good adhesion and a smooth, even topcoat, particularly on previously stained or porous surfaces.
How many coats do you need for a professional result?
Two topcoats over a well-primed and prepared surface is the standard for a uniform, durable finish in most residential situations.
Can I fix roller and brush marks after painting?
Lightly sand the affected area once fully dry, wipe away all dust, and apply another careful coat, making sure the paint is not applied too thickly.
Why does my paint look uneven after drying?
Uneven colour is mostly down to poor surface preparation or skipped primer steps. Preparation quality determines the final result far more than paint brand or price.
Is professional spraying better than brushes or rollers?
Spraying can deliver the smoothest results on many surfaces, particularly on doors, cabinetry, and large flat areas, but each method has genuine strengths when used correctly and skilfully.
Recommended
Comments