
Quick fix paint touch-up tips for a fresh home
- WM Creative Designs Limited
- 1 day ago
- 10 min read
TL;DR:
Quick home paint repairs can be completed effectively with the right tools, products, and preparation, even under tight time constraints. Proper surface cleaning, sanding, and priming are crucial for blending touch-ups seamlessly and preventing future damage. Regional conditions in South West UK, such as humidity and rainfall, influence product choice and timing for exterior repairs to ensure lasting results.
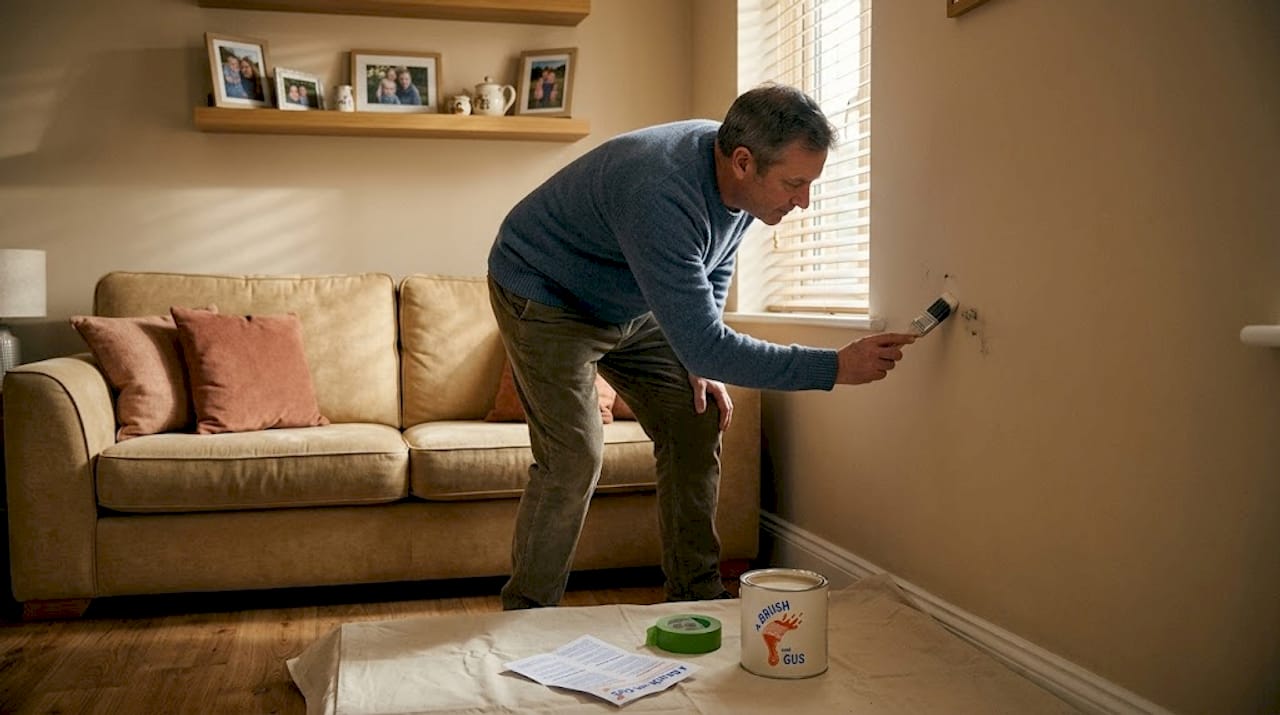
You’ve just noticed a scuff on the hallway wall. Guests arrive in an hour. The last thing you need is a full redecoration project, but that mark is staring at you like a neon sign. The good news is that fast, effective paint touch-ups are well within reach for any homeowner, and with the right tools, the right products, and a clear method, you can have walls looking freshly painted in the time it takes to put the kettle on. This guide walks you through everything you need to know about quick paint repairs for both interior and exterior surfaces across South West UK homes.
Table of Contents
Key Takeaways
Point | Details |
Essential tools matter | Having the right brushes, paint, and applicators on hand makes quick fixes seamless and effective. |
Preparation is vital | Proper cleaning and sanding before painting prevents visible patches and extends the life of your repairs. |
Method fits the problem | Match your touch-up technique to the type of damage—scuffs, chips, or stains require different approaches. |
Avoid common errors | Test colour matches and never skip prep to avoid repeat jobs or visible spots. |
Know when to call experts | DIY works for most touch-ups, but larger or exterior jobs might need specialist help for lasting results. |
Essential tools and products for quick touch-ups
Every successful touch-up starts before you even open a tin of paint. Having the right kit on hand means the difference between a job done in twenty minutes and a frantic trip to the hardware shop while your guests are parking outside.
Your essential toolkit should include:
Mini foam rollers (four-inch size is ideal for small patches) for a smooth, even finish on larger scuffed areas
Artist’s brushes in fine and medium sizes for precision work around skirting boards, window frames, and doorways
Paint pens for hairline scratches and tiny chips, particularly useful on glossy surfaces and trim
Colour-matched sample pots sourced from your original supplier or mixed from a chip of your existing paint
Sponge applicators for awkward angles, cornices, and tightly trimmed spaces where a brush leaves obvious strokes
Touch-up paint sticks which combine paint and applicator in one unit, great for quick repairs on gloss woodwork
Specialised products have improved remarkably in recent years. Touch-up sticks, for instance, are no longer the gimmicky items they once were. Modern versions from reputable brands deliver real coverage with a finish that blends convincingly, especially on satin and silk surfaces. Sponge applicators with a fine-pore surface are particularly useful for stippling paint into textured walls, mimicking the original application method.
Choosing the right paint type and finish is crucial to seamless touch-ups. A matt emulsion touch-up on a wall originally painted in silk will never blend, no matter how careful you are. Always confirm the original finish before purchasing any product.
Pro Tip: Decant a small amount of your home’s current paint into an airtight glass jar immediately after decorating. Label it with the room and date. This small habit saves enormous time and frustration when a scuff appears months later.
If you are unsure about products or need guidance between projects, the home improvement blog is a reliable resource for up-to-date advice tailored to South West homeowners.
How to prepare surfaces for touch-ups
With your toolkit ready, proper preparation is the next step for achieving results that truly blend in. Skipping this stage is the single most common reason touch-ups look patchy and obvious. The wall might be dry, but the surface underneath holds onto grease, dust, and invisible contaminants that prevent fresh paint from bonding properly.
Follow these steps for reliable preparation:
Clean the area thoroughly. Use a damp cloth with a small amount of sugar soap for general walls, or a degreasing cleaner in kitchens and bathrooms where grease and steam have settled into the surface.
Allow the surface to dry completely. Do not rush this step. Even slight moisture beneath the paint will cause lifting and bubbling later.
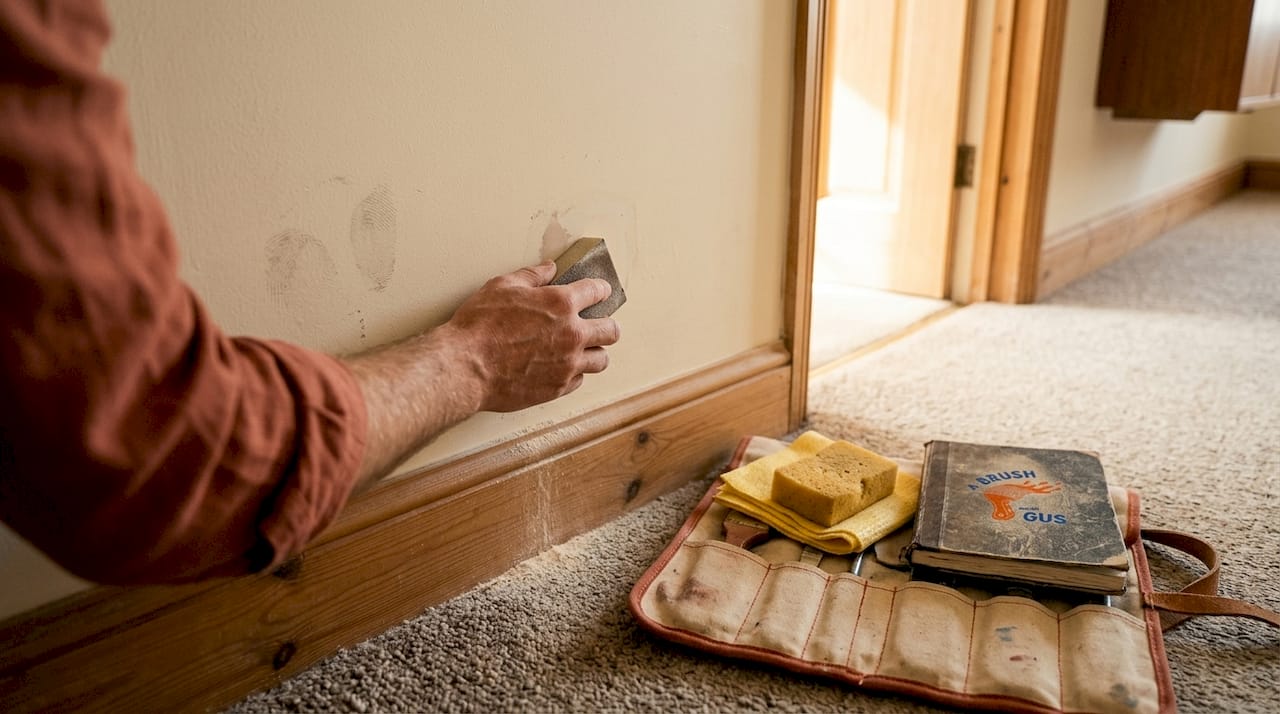
Lightly sand any raised edges. If the existing paint has a chip with a raised lip, sand it gently with 120 to 180 grit sandpaper until it sits flush with the surrounding surface.
Apply a spot primer if needed. For stained areas, repaired plaster, or bare wood, a quick-drying primer prevents the touch-up from looking dull or patchy compared to the rest of the surface.
Feather the primed area. Keep the primer application small and slightly tapered at the edges so the transition to unprimed surface is gradual rather than abrupt.
Allow the primer to dry fully before applying any top coat paint.
Surface preparation for painting is key to a lasting and invisible touch-up. Proper prep is what separates a repair you can see from one that genuinely disappears into the wall.
Pro Tip: After sanding, wipe the area with a tack cloth rather than a damp rag. Tack cloths are slightly sticky and lift fine dust particles that a damp cloth simply spreads around. You can buy them in multipacks from any decorating supplier for very little cost.
Pay particular attention to high-traffic zones like hallways, kitchens, and children’s rooms. These areas accumulate invisible layers of grease and grime that dry cloths miss entirely. Dedicated painting techniques for these spaces make a real difference to how long your touch-up lasts. Regional conditions also matter, and South West painting practices address the unique challenges posed by coastal humidity and damp climates.
Step-by-step quick fixes for common paint problems
Once preparation is complete, you can tackle any mark or damage with the right rapid technique. Here are the most common problems and the fastest ways to address each one.
Scuffed emulsion walls: Clean the scuff, sand any raised fibres flush, and apply a small amount of matched emulsion with a sponge or mini roller. Use a stippling motion rather than a stroke to blend the texture into the surrounding paint. Two thin coats dry faster than one thick one.
Chipped gloss woodwork: Sand the chip edges smooth, apply a micro-thin layer of quick-dry gloss with a fine brush, and allow it to dry between coats. Applying kitchen painting techniques to woodwork around doors and cabinets enables rapid fixes with minimal downtime.
Stained patches: Spot-prime with a stain-blocking primer first, or the stain will bleed through fresh emulsion within days. Once sealed, apply your top coat in thin layers.
Paint problem | Best method | Time required |
Wall scuff (emulsion) | Sponge stipple with matched emulsion | 20 to 30 minutes |
Chipped gloss trim | Fine brush, two thin coats of quick-dry gloss | 45 to 60 minutes |
Hairline scratch | Paint pen or fine artist’s brush | 10 to 15 minutes |
Stained patch | Stain-block primer, then matched emulsion | 60 to 90 minutes |
Peeling exterior paint | Scrape, sand, prime, then touch up | 90 to 120 minutes |
Pro Tip: Use a feathering technique when finishing the edges of any touch-up. Load very little paint onto your brush or sponge and stroke outward from the repaired area with decreasing pressure. This eliminates the hard edge that makes touch-ups visible under raking light.
Interior vs exterior touch-ups: What every homeowner should know
Not all paint touch-ups are created equal. Your approach should change depending on whether you are working inside or outside your home, because the conditions, products, and preparation differ significantly.
For interior touch-ups, the priority is matching sheen levels and allowing adequate ventilation to speed drying. Low VOC (volatile organic compound) emulsions are ideal for bedrooms and living rooms, as they dry faster and produce fewer fumes in enclosed spaces. Interior repairs are generally more forgiving because you control the environment, temperature, and humidity.
Exterior touch-ups are a different matter entirely. South West England’s coastal and rural landscape brings high humidity, salt air in many areas, and frequent rainfall that creates a genuinely challenging environment for exterior paintwork. Using standard interior paint on an exterior surface will lead to flaking within months.
Key points for exterior repairs:
Always use a weather-resistant masonry or exterior wood paint rated for the specific substrate you are working on
Check the forecast before starting. Most exterior paints need at least four hours without rain to cure properly
Apply during the warmest, driest part of the day, typically between 10am and 3pm
In coastal areas, choose paints with added resistance to salt and moisture
“Working in the South West means our team encounters some of the most demanding exterior painting conditions in the UK. Coastal humidity, sudden showers, and temperature swings mean that product selection and timing are every bit as important as technique. What works in a dry climate may fail here within a season.” — Gus, A Brush With Gus
Painting for the South West climate requires products suitable for local weather conditions, which is especially important for exterior touch-ups that need to last.
Factor | Interior touch-up | Exterior touch-up |
Paint type | Low VOC emulsion or eggshell | Weather-resistant masonry or exterior wood paint |
Primer needed? | Spot prime for stains or repairs | Almost always needed for bare surfaces |
Ideal conditions | Controlled temperature, good ventilation | Dry day, above 10°C, no rain forecast |
Drying time | 1 to 2 hours per coat | 2 to 4 hours per coat minimum |
Main challenge | Matching sheen and texture | Adhesion, weather resistance, colour fade |
Avoiding common touch-up mistakes
With your methods in place, awareness of the usual pitfalls can make touch-ups virtually invisible. Even experienced DIYers repeat these mistakes, and each one risks making a repair more noticeable rather than less.
Poor colour matching. This is the most frequent error. Paint fades over time, so even the original paint from the tin may look slightly different after a year on the wall. Always test on a small, hidden area before committing to the visible patch.
Skipping surface preparation. Painting over a greasy or dusty surface might look fine for a week, but the paint will lift or peel soon after. Preparation is never optional, even for the tiniest repair.
Applying too much paint in one coat. Thick coats sag, crack, and dry unevenly. Two or three thin coats always produce a smoother result than one heavy application.
Rushing the drying time. Opening windows helps, but do not point a fan heater directly at fresh paint. Rapid forced drying causes surface cracking on emulsion finishes.
Using the wrong applicator. Brush strokes on a wall originally painted with a roller look completely different under light. Match the tool to the original application method wherever possible.
Consulting pro painting tips helps you become aware of frequent mistakes, which prevents the need for rework and frustration.
Pro Tip: Before any visible touch-up, test your paint on the inside of a wardrobe door or behind a piece of furniture. Compare the dried result in natural light. Dried paint almost always looks different from wet paint, and a test patch spares you an obvious mismatch on the main wall.
Why fast touch-ups are an essential homeowner skill
Here is a perspective that most decorating guides skip over entirely. Fast paint touch-ups are not just about aesthetics. They are a form of maintenance that actively protects the financial value of your home.
Many homeowners fall into a cycle of neglect followed by overhaul. A scuff here, a chip there, and before long the entire hallway looks tired. At that point, the only solution feels like a full repaint at significant cost. But homeowners who address small repairs promptly rarely reach that tipping point. A twenty-minute job done today prevents a two-day project next year.
There is also a confidence factor that rarely gets discussed. When you master a quick touch-up technique and see it actually work, your relationship with your home changes. You stop feeling helpless in the face of minor damage. You notice problems earlier and fix them before they spread. That confidence builds over time and extends into other areas of home maintenance.
The South West context adds another layer. Homes here face more moisture, coastal exposure, and temperature variation than properties further inland. That means exterior surfaces degrade faster, and a crack or chip left untreated becomes a water ingress point quickly. A two-minute repair job in October can prevent damp damage worth hundreds of pounds in winter.
Mastering these skills does not mean you never need a professional. It means you know the difference between a job you can handle and one that genuinely needs expert attention.
Take your touch-ups to the next level with local painting specialists
Even with the best tips, sometimes an expert touch is the ideal solution. Small fixes are empowering, but there are times when a scuff is deeper than it looks, when exterior paintwork has deteriorated across an entire elevation, or when you simply want the reassurance of a flawless, professional finish.

At A Brush With Gus, we understand that South West homeowners want results that last, not just results that look good on the day. Whether you need help with a tricky exterior, a full interior refresh, or specialist work on UPVC windows and doors, our team brings years of regional experience to every job. Browse our full painting services to see how we can help, explore dedicated exterior painting help for those challenging outdoor surfaces, or learn about our UPVC painting solutions for a cost-effective alternative to full replacement. We are always happy to discuss your project and provide a no-obligation quote.
Frequently asked questions
How do I match paint colour for a touch-up?
Take a paint chip or photograph to your local supplier and ask for a colour match, or use any leftover paint you have stored. Always match paint types and finishes as well as colours, then test on a discreet spot before applying to the visible area.
What is the fastest way to fix a wall scuff?
Clean the area with a damp cloth, lightly sand if the surface is raised, and apply colour-matched emulsion using a sponge or paint pen. Quick fix techniques like stippling and feathering make the repair blend convincingly in under thirty minutes.
Can I touch up exterior paint in damp weather?
It is best to wait for dry conditions, as moisture in the air and on surfaces prevents proper adhesion and can cause the paint to peel within weeks. Weather conditions in South West UK make this particularly important given the region’s high humidity and frequent rainfall.
Is surface preparation really necessary for small touch-ups?
Yes, even for the tiniest repair. Cleaning and light sanding remove the invisible grease and dust that prevent paint from bonding, ensuring your touch-up stays in place. Proper surface prep leads to repairs that are genuinely invisible rather than obvious patches.
Recommended
Comments