
Oak Kitchen Spraying for UK Homes: Respray Not Replace, Lasts 10 Years
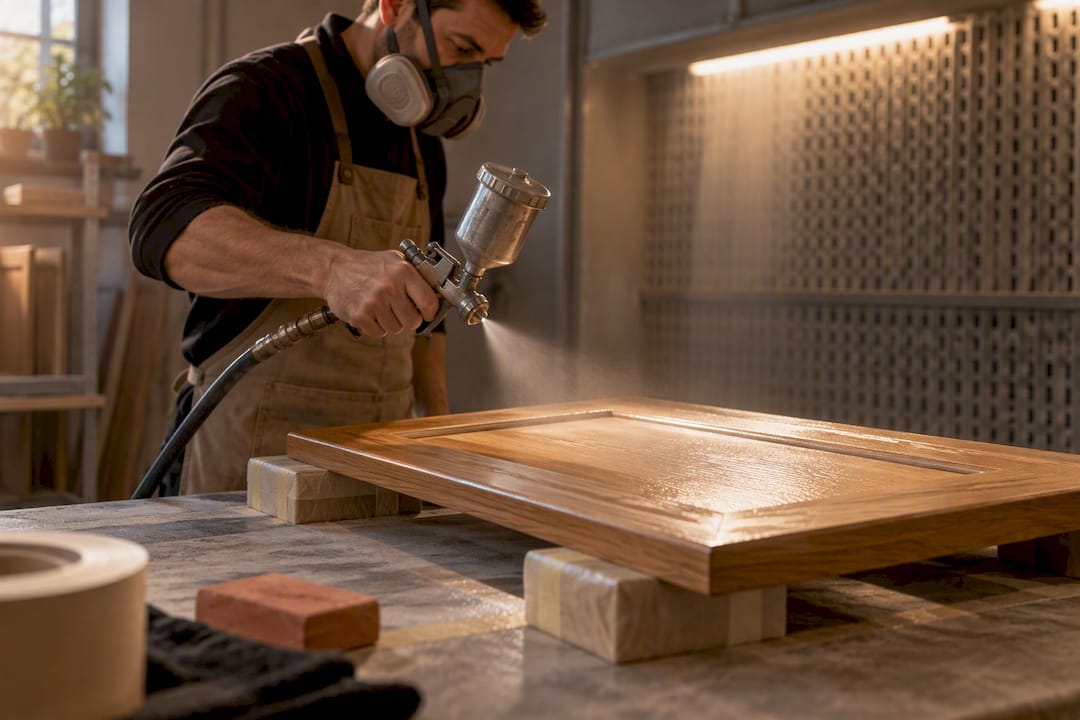
Yes, spraying is a viable and often the smartest option for oak kitchen cabinets, provided the doors are structurally sound. Done properly, oak kitchen spraying gives you a smooth, factory-style finish that resists chips and wipes clean far more easily than a brushed repaint, and a professionally sprayed finish typically lasts 10 years or more. If your cabinets are solid but tired, read on for the process, realistic costs and how to pick a contractor who won’t cut corners on prep.
TL;DR:
Spraying is most effective for structurally sound oak cabinets, offering a smooth, durable, factory-like finish that lasts at least a decade.
Proper preparation, including degreasing, sanding, and using tannin-blocking primer, is essential for long-lasting results and to prevent early failure.
Costs vary based on door count, grain filling, and topcoat choice, with most jobs taking 3 to 5 days and involving detailed on-site and shop spraying.
Warped or damaged doors, or cabinets needing a style change, are better replaced than sprayed, which cannot fix structural faults or severe hardware issues.
Choosing a reliable sprayer involves insisting on a detailed quote, specific product names, a sample door, and a site visit, avoiding vague estimates and unverified providers.
Table of Contents
What oak kitchen spraying achieves, and where it hits limits
Spraying changes the texture of a finish more than most homeowners expect. Instead of the ridges and stipple a brush or roller leaves behind, spray equipment lays down an even, self-levelling coat that dries flat and consistent across every door and drawer front. That’s the “factory” look people mean when they ask for a respray rather than a repaint.
The practical gains go beyond looks. A properly sprayed finish, using a stain-blocking primer and a cabinet-grade topcoat such as a waterborne alkyd or two-pack furniture coating, holds up to daily kitchen abuse. Grease, steam, and constant handling wear out a brushed finish fast. A sprayed one shrugs most of that off.
There are limits worth knowing before you commit:
Spraying won’t hide warped, swollen, or delaminating doors. If the substrate has failed, no coating fixes that.
Oak’s grain stays visible under a standard sprayed finish. If you want a completely flat, MDF-like surface with no texture at all, you need grain filling, which adds cost and time.
Heavily damaged hardware, cracked frames, or cabinets that need a total style change are better candidates for replacement than a respray.
Spraying dramatically simplifies day-to-day cleaning compared with a brushed finish, since there’s no texture for grease to cling to.
Most oak kitchens fall into the first category rather than the last. Structural soundness is the real gatekeeper, not age or outdated colour.
Is your oak kitchen a good candidate for spraying?
Before you call anyone out for a quote, walk your own kitchen with a critical eye. A five-minute check saves you from wasting a contractor’s time, or your own.
Start with structure. Open and close every door and drawer. Do they hang square, or do any doors bow, twist, or catch on the frame? Warping usually means moisture damage, and spraying over a warped door only highlights the flaw once it’s glossy. Check hinges, runners, and handles too. Worn hardware is cheap to replace during a respray, but it needs factoring into the quote.
Then think about grain. Do you like the texture of oak, or does it read as dated to you? This is entirely a style call. Plenty of homeowners keep the grain for warmth and character; others want the flat, painted look of a new kitchen and go for grain filling to get it.
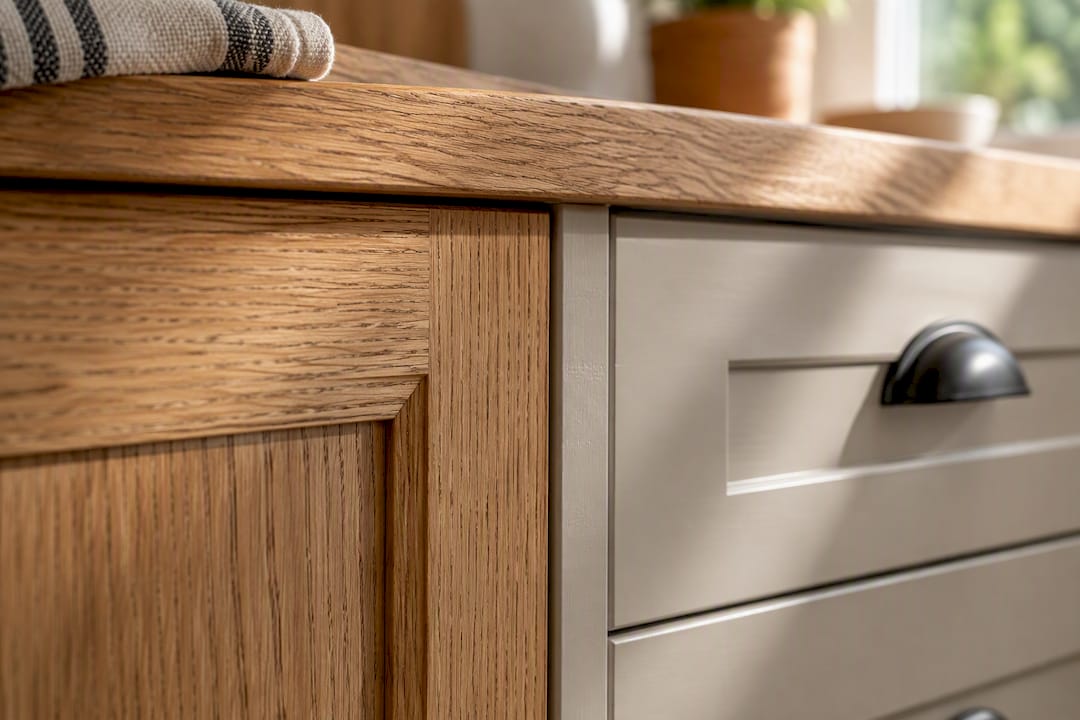
Prior finishes matter more than people assume. Previously varnished or painted oak, especially anything with years of kitchen grease baked into the surface, needs aggressive degreasing before anything else touches it. Skipping that step is the single biggest reason DIY resprays fail early.
Door style also affects the outcome:
Shaker doors and simple flat-panel profiles respray beautifully. Clean lines, minimal detail, even coverage.
Heavily moulded, ornate, or raised-panel doors are harder to spray evenly and show any inconsistency more readily.
Doors with existing chips, cracked veneer, or exposed MDF edges need repair work before spraying, not instead of it.
If your kitchen passes these checks, you’re a strong candidate. Our essential kitchen spraying checklist covers the same ground in more depth if you want to go through it room by room.
What happens during a professional oak respray?
A genuine professional job follows a fairly predictable sequence, and knowing it helps you read a quote properly and spot corners that shouldn’t be cut.
Survey and sample door. A contractor should visit your kitchen in person or at minimum request detailed photos, before quoting. Many will spray a sample door first so you can see the actual colour and sheen on your own oak before committing to the whole kitchen. Skip this step and you’re guessing.
Labelling, removal and transport. Doors, drawer fronts, and often handles get labelled and removed to travel to a controlled spray booth. Shop spraying reduces contamination risk compared with spraying everything in your kitchen, where dust, temperature swings and airflow are harder to manage.
Degreasing. Oak kitchen doors accumulate a surprising amount of invisible grease, even ones that look clean. A thorough degrease using a TSP substitute or equivalent cleaner is non-negotiable, because paint and primer won’t bond properly over residual oils.
Scuff-sanding and repairs. Sanding keys the surface for adhesion and levels out minor imperfections. Any cracked veneer, loose joints, or damaged edges get repaired at this stage, before a drop of primer goes on.
Priming. Oak contains natural tannins that can bleed through standard paint and leave yellow-brown staining months later. Professionals use shellac-based or dedicated tannin-blocking primers specifically to lock that in. Our guide on preparing kitchen surfaces for spraying goes into why this step gets skipped so often, and what it costs you later.
Grain filling, if chosen.** For a flat, painted look, grain filler goes on before priming continues, adding a day or two to the schedule.
Spraying. Multiple thin coats go on rather than one heavy one, with drying time between each. This is what produces the even, self-levelled finish spraying is known for.
Curing. Curing is different from drying. A coating can feel dry to the touch within hours but still needs days to fully harden before it can handle heavy use.
On-site spraying of fixed elements. Frames, end panels, and anything that can’t be removed usually get sprayed in place, carefully masked off from the rest of the kitchen.
Reassembly and inspection. Doors and drawers go back on, hinges are realigned, and a final check catches any missed spots or uneven sheen before the job is signed off.
Pro Tip: Ask whether the first coat of primer is brushed or rolled on rather than sprayed straight away. Forcing primer into the grain by hand before switching to spray equipment helps prevent tiny pinholes, sometimes called “black dots,” that trapped air can leave in a sprayed finish over open oak grain.
What does spraying an oak kitchen cost, and how long does it take?
Price depends on far more than door count, though that’s the starting point for most quotes. The main drivers are how many doors and drawer fronts you have, whether you want grain filling, how far the contractor has to travel, how complex the on-site elements are, and which topcoat you choose.
A furniture-grade two-pack coating costs more upfront than a standard waterborne product but tends to outperform it on durability, which matters if you’re trying to avoid touch-ups within a couple of years.
Statistic to weigh against replacement: a professionally sprayed respray using proper materials and preparation can deliver a finish lasting 10 years or more, a lifespan that puts real pressure on the case for a full kitchen rip-out when your existing carcasses and layout are perfectly fine.
On timeline, most straightforward oak respray jobs are completed within 3 to 5 days, covering removal, booth spraying, curing and reassembly. Grain filling extends that, since the filler itself needs drying and sanding time before priming can continue.
When comparing quotes, check you’re comparing the same scope:
Does the price include hardware, or just doors and drawer fronts?
Is grain filling included or quoted as an optional extra?
What primer and topcoat are specified, by name, not just “premium paint”?
Is spraying done in a booth, on-site, or a mix of both?
A cheap quote missing half these details usually means missing prep, not a genuine bargain. For a deeper breakdown of what drives price up or down, see our guide to cost factors in kitchen spraying.
How long does a sprayed oak finish last, and how do you look after it?
A correctly prepared and sprayed oak kitchen can hold up for many years, but longevity depends on thorough preparation and proper application. Skip a step and you’re gambling with the finish, not just the timeline.
Most premature failures trace back to the same handful of causes:
Inadequate degreasing before priming, leaving oils trapped under the coating.
The wrong primer, or none at all, allowing oak’s natural tannins to bleed through and discolour the surface months later.
Heavy wear concentrated around handles and pull points, where hands make contact dozens of times a day.
Rushed curing, where doors go back into daily use before the coating has fully hardened.
Maintenance itself is straightforward once the finish is right. Wipe surfaces with a soft cloth and a mild, non-abrasive cleaner rather than anything gritty or bleach-based, which can dull the sheen over time. Avoid scouring pads entirely. If a small chip or scuff does appear, a touch-up done early is far easier and cheaper than waiting until it spreads. Our maintenance tips for sprayed kitchens cover product recommendations in more detail, and keeping cupboards tidy also helps protect the internal finish, something Kitchen Devotion’s organisation guide covers well if clutter is part of your problem too.
How do you choose a reliable oak kitchen sprayer?
The quote itself tells you most of what you need to know, if you read it properly. A vague one-line price with no breakdown is the first warning sign.
Ask what primer and topcoat they use, by name. “Premium paint” isn’t an answer. You want to hear specific product types, ideally a tannin-blocking primer and a furniture-grade or two-pack topcoat.
Ask where the spraying happens. Shop spraying in a controlled booth generally produces a more consistent finish than spraying everything in your kitchen, though fixed frames will need on-site work regardless.
Ask about warranty terms. A contractor confident in their materials and process should stand behind the finish for a defined period.
Request a sample door before full commitment. Any reputable sprayer should be willing to do this.
Check the written quote lists piece counts, grain-fill as an optional line, primer and topcoat types, and an expected timeline. If any of that is missing, ask for it in writing before signing anything.
Red flags to walk away from: no site visit or survey, reluctance to name materials, no sample door offered, and vague statements about “a few days” with no actual schedule. Portfolio photos of real completed kitchens and genuine customer reviews are worth more than any sales pitch.
Angus and A Brush With Gus: what we see on real oak jobs
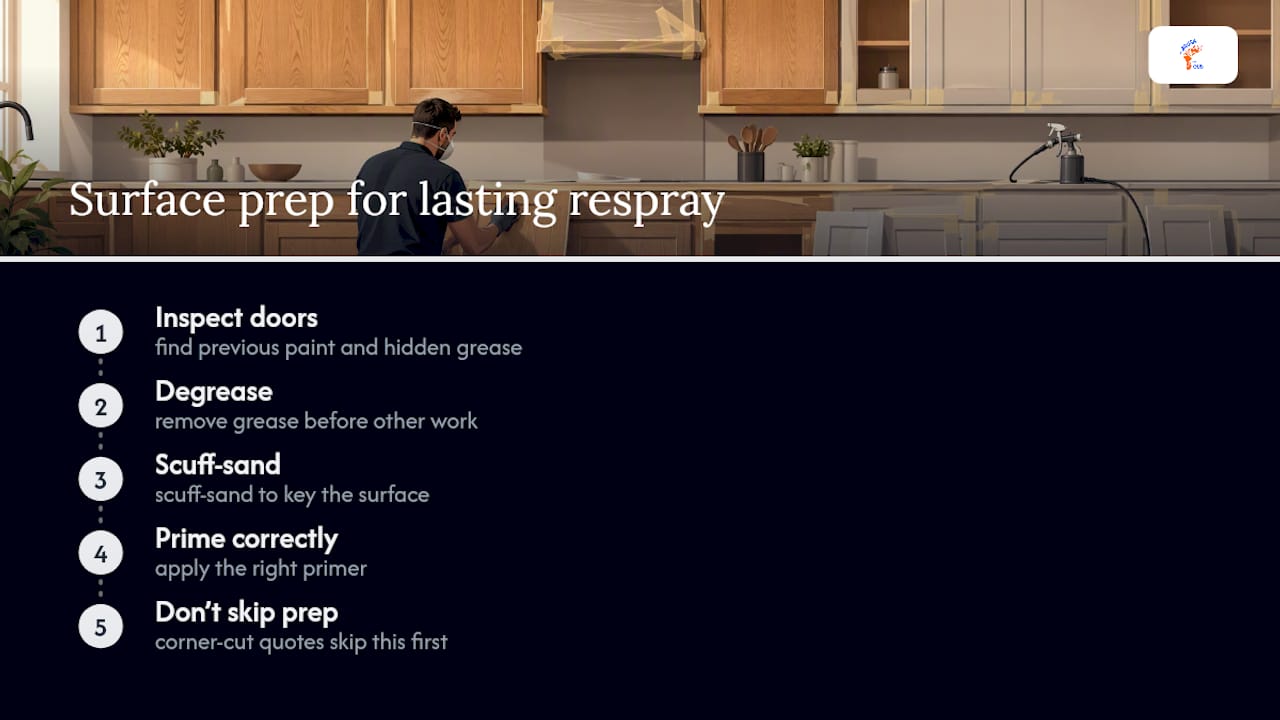
Running a family-operated painting and decorating business across Cornwall and the South West means seeing the same oak kitchens over and over, and the same mistakes. Previously painted doors are common, and they almost always hide a layer of grease nobody mentions when booking. Degreasing, scuff-sanding, and the right primer decide whether a respray lasts a decade or fails within a year. Spraying itself is the easy part. Getting the surface ready for it properly is where the job is actually won or lost, and it’s the step every corner-cutting quote skips first.
Why respraying is often the smarter route than a full rip-out
Replacing a whole kitchen generates waste and cost that a respray simply avoids when the carcasses and doors are sound. You’re paying for a new finish, not a new kitchen, and that difference matters more than most people budget for upfront. Replacement still makes sense when doors are warped or you want an entirely different layout or door style. Otherwise, weigh the look you want against your budget and how much disruption you can actually tolerate.
— Angus
Book a survey and quote with A Brush With Gus
If your oak kitchen is structurally sound and you want that factory-sprayed finish without the upheaval of a full replacement, Abrushwithgus offers a straightforward alternative to ripping the whole kitchen out: a controlled, shop-based respray with the doors removed, degreased and properly primed, backed by the same airless spraying technique used across our exterior and UPVC work.

Booking starts with a survey of your kitchen, where we’ll talk through door count, grain-filling options if you want that flat, painted look, and a realistic timeline based on what your kitchen actually needs. Many clients ask for a sample door first, and that’s always available before you commit to the full job. From there you get a written quote covering piece count, primer and topcoat types, and where the spraying will happen, so there’s no guessing what you’re paying for. Get in touch through our Airless Spraying page to arrange your survey and quote.
Sources
The technical claims on preparation, priming and finish durability draw on Spraying4You’s professional painter’s guide, SprayMasters UK’s cost and durability breakdown, and First4Spraying’s oak-specific respray guide. Each comes from tradespeople working directly with sprayed cabinetry, which is why their process detail and lifespan figures carry more weight than general decorating advice.
FAQ
Is spraying kitchen cabinets a good idea?
Yes, for cabinets that are structurally sound. Spraying gives you an even, factory-style finish that’s more durable and easier to clean than a brushed repaint, though it won’t fix warped doors or damaged substrates.
How much does it cost to spray a kitchen?
Cost depends mainly on door and drawer count, whether you choose grain filling, and the topcoat type, so quotes vary between kitchens of different sizes and finishes. Abrushwithgus provides a full written quote after a survey, with current pricing available on request through the Airless Spraying page.
How much does it cost to respray kitchen cupboards?
Respraying cupboard doors and drawer fronts is priced per piece in most professional quotes, with grain filling and premium topcoats adding to the total. Always check whether hardware, grain filling and travel are included before comparing two quotes side by side.
How long does kitchen spraying last?
A professionally sprayed kitchen finish, done with correct degreasing, primer and topcoat, typically lasts 10 years or more. Poor preparation, the wrong primer, or heavy wear around handles are the usual reasons a finish fails well before that.
Recommended
Comments