
UK: Contractor Rules to Avoid Pressure Washing Render Damage
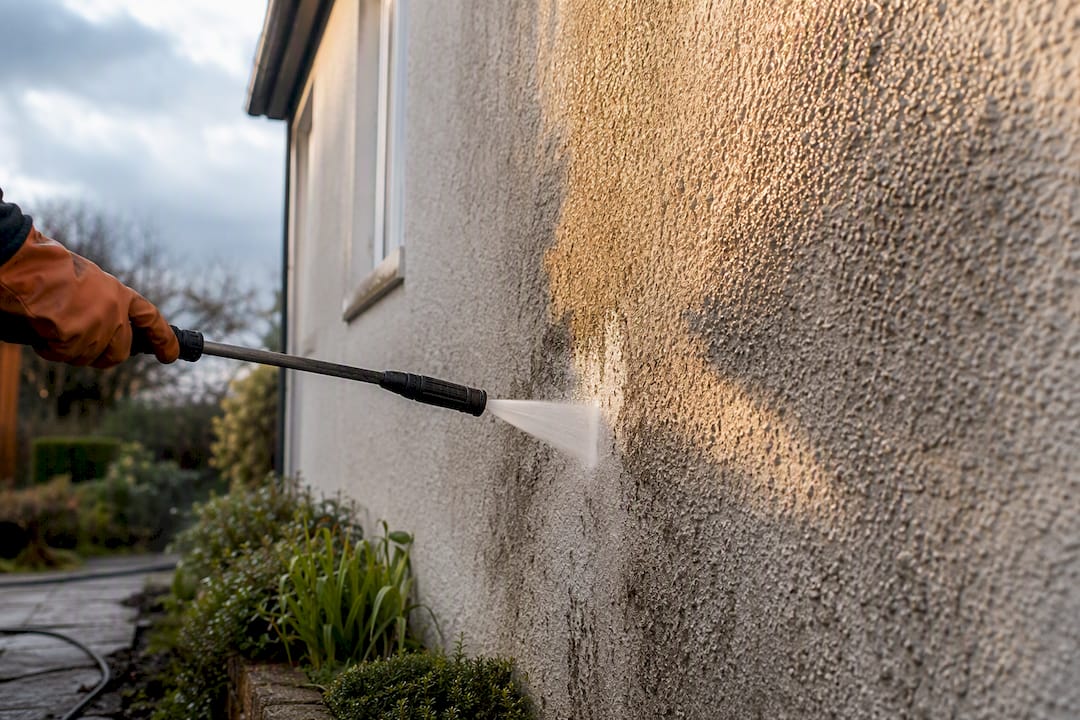
Pressure washing can strip texture, etch coloured finishes, and force water behind render that then never dries out properly. The safer default is a soft wash: a diluted biocide, dwell time, then a gentle rinse. Always trial a hidden patch first and check your render manufacturer’s guidance before touching any machine. If you’re unsure what render type you have or the staining looks stubborn, calling a specialist costs far less than re-rendering a wall.
TL;DR:
High-pressure jet washing can strip fragile textures and etch coloured finishes, often causing irreversible damage that requires costly repairs.
Manufacturers recommend gentle, low-pressure cleaning with a wide fan spray at least 300mm from the surface, avoiding turbo nozzles entirely.
Soft-wash methods using diluted biocides and gentle rinsing effectively remove algae without damaging the render, with a typical cycle every 3 to 5 years.
Signs of render damage include etched lines, patchy discolouration, or flattened textures, indicating cleaning has gone too far.
Small damage can be patched locally, but extensive texture loss may require full re-rendering, which typically costs significantly more than careful cleaning.
Table of Contents
How pressure and technique damage different render types
Water at high pressure behaves less like a wash and more like a chisel. It doesn’t just lift dirt, it can break the mechanical key that holds textured coatings onto the wall, which is why so many render disasters start with someone confident that “a quick blast” will sort out a green wall.
Tyrolean and popcorn-style textures are the most fragile. They depend on a mechanical bond rather than a chemical one, and a jet washer aimed too close snaps that bond off in seconds. Once the texture’s gone, it doesn’t grow back. Coloured thin-coat systems, including monocouche and some K-Rend finishes, face a different problem: the pressure etches the surface film and leaves a pale, patchy “ghost” mark that no amount of rinsing will fix.
A few practical numbers matter here:
Domestic pressure washers commonly run at pressures that manufacturers class as light duty but are still enough to strip fragile textures.
Turbo or rotary nozzles concentrate that force into a narrow, spinning jet, essentially the worst possible setting for render.
A wide fan spray held at distance spreads the same water pressure over a much larger area, cutting the risk of etching.
High-pressure jetting can strip render texture even when the operator thinks they’re being careful.
What do manufacturers and contractors recommend?
Render manufacturers are consistent on this, and their guidance is worth following to the letter rather than treating as a suggestion. PRB’s own maintenance guidance sets out a clear order of operations: start with the lowest possible pressure, test on a spot nobody will notice if it goes wrong, and never let the nozzle closer than 300mm to the finish.
Their checklist, in practice, looks like this:
Trial an inconspicuous area first, ideally somewhere low down or behind a shed.
Keep the nozzle at least 300mm from the render surface at all times.
Use the widest fan spray setting and the lowest pressure that shifts anything.
Never use a turbo or rotary nozzle on rendered walls.
Check the product data sheet for a named compatible biocide and follow its dilution rate precisely.
That last point catches people out constantly. A biocide diluted too strong doesn’t work faster, it just wastes product and sometimes leaves its own residue marks. Follow the ratio on the label, not a guess.
Safer alternatives: soft-wash, biocides, and manual cleaning
Soft-wash chemistry does the work that pressure used to do, minus the risk. It relies on the biocide killing algae and lichen spores at the root, not on brute force scrubbing them off. Soft-wash works by chemistry, not force, which is exactly why it preserves texture that a jet washer destroys.
The typical process runs in three stages:
Apply a diluted biocide at low pressure, working from the bottom of the wall upward to avoid streaking.
Leave it to dwell for 20 to 40 minutes, then rinse gently at garden-hose pressure rather than blasting it off.
Wait 48 to 72 hours and let the dead algae oxidise and fall away naturally rather than scrubbing at it.
Contractors sometimes use products such as Atlas Mykos Plus as an example of a soft-wash biocide that handles both green algae and the stubborn orange-red Trentepohlia strain in one application, though not every render or algae type responds the same way. Manual options exist too: a soft broom with a mild detergent, or a controlled trisodium phosphate mix, rinsed thoroughly afterwards. Skip the rinse and you risk leaving residue that feeds the next round of regrowth.
Pro Tip: If staining has already sunk into the pigment rather than sitting on the surface, no amount of cleaning will lift it. That’s a job for a tinted silicone topcoat, not a stronger hose.
How do you know if render has already been damaged?
Etched lines, patchy discolouration, or a texture that suddenly feels smoother than the rest of the wall are the classic warning signs. Exposed basecoat or visible aggregate poking through the finish means the cleaning went past the surface layer entirely.
Look closely for uneven sheen, pale streaks, or texture that’s noticeably flatter in one section.
Photograph the wall before and after any cleaning, and note the date, so you can compare if problems show up weeks later.
Persistent ghosting that doesn’t fade over a few weeks usually means pigment has been pulled from the render, not just surface dirt removed.
Large patches of stripped or missing texture point to mechanical damage that cleaning alone won’t fix.
If more than a small patch shows this kind of loss, it’s worth getting a contractor to look before you do anything else.
Repairing render damage: what’s involved and what it costs
Small etch marks or a single stripped patch can often be handled with local patching, feathering the new material into the old edge so the join isn’t obvious. The catch with coloured renders is matching the shade exactly, since a slightly off batch stands out for years.
Minor repairs: patching and feathering, cheapest option but risks a visible repair line on pigmented finishes.
Major repairs: full re-rendering or a silicone/tinted topcoat over the whole elevation once extensive texture loss has occurred.
Professional survey: checks adhesion, inspects the substrate underneath, and gives a realistic scope and cost before work starts.
Full re-rendering isn’t usually the first recommendation, but where damage covers a whole wall face, patching just creates a patchwork of mismatched panels. A proper survey tells you honestly which category you’re in before you spend money guessing.
A safe DIY cleaning checklist if you’re doing it yourself
If you’re set on tackling it yourself rather than calling someone in, keep the process slow and low-pressure throughout.
Check the guidance first. Read the product data sheet or manufacturer instructions and test a hidden patch before touching the main wall.
Use a garden sprayer or soft-wash kit under 5 bar. Work from the bottom upward to stop streaking, and never scrub hard at stains.
Rinse gently, then wait. Give it 48 to 72 hours before judging the result, and stop immediately if you spot etching or peeling.
Pro Tip: Patience beats pressure every time here. If a wall still looks patchy after three days, apply again rather than reaching for a stronger setting.
Keeping render in good condition after cleaning
Algae-prone walls, usually the shaded or north-facing elevations, tend to need a soft wash roughly every 3 to 5 years rather than annual attacks with a jet washer. An annual visual check in between catches early growth before it needs anything more than a light rinse.
Fix guttering or drainage issues nearby, since damp walls attract algae far faster than dry ones.
Trim back shrubs and climbing plants that keep render permanently shaded and moist.
Keep a copy of the product data sheet for your specific render, since it tells you exactly which cleaning products are safe to use again later.
Photograph the wall after each clean and log the date; it’s useful evidence if you ever need a warranty claim or a contractor quote.
PRB’s guidance specifically recommends keeping this paperwork with your property records, which sounds bureaucratic until you’re the one trying to remember what render you actually have five years later.
A contractor’s view from the South West
The most common mistake seen across Cornwall and the wider South West isn’t laziness, it’s overconfidence with a hired jet washer on a sunny Saturday. A wall that looked green on Friday looks stripped and patchy by Sunday, and by then the only fix is re-rendering a section that soft washing would have cleaned safely.
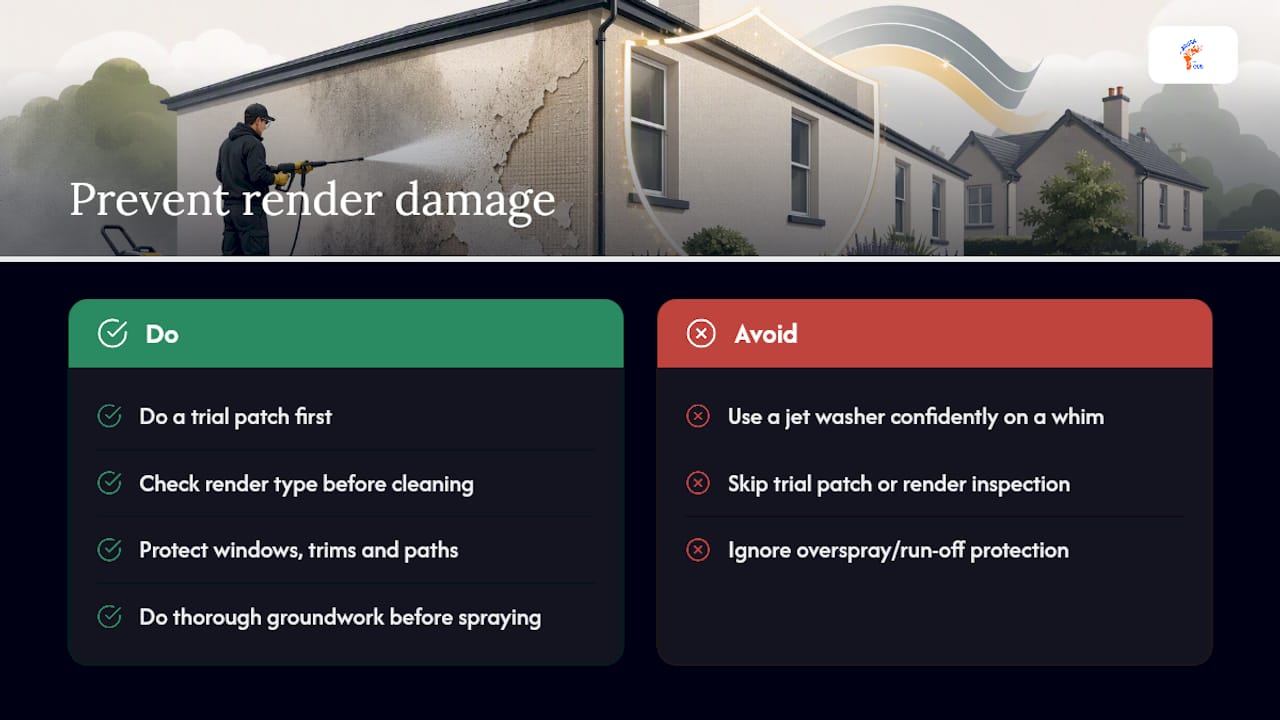
Professional painters and decorators often start with a trial patch and a close look at the render type before any cleaning begins, protecting windows, trims, and paths from overspray or run-off along the way. Gus and Rhys built the business on getting the boring groundwork right before anything gets sprayed or cleaned, which is usually the difference between a wall that lasts and one that needs redoing in three years.
— Angus
Get render cleaned or repaired properly the first time
A DIY jet wash might save an afternoon, but a stripped patch of render can cost far more to fix than it ever saved. A soft-wash-first approach is recommended by specialists in Cornwall and the South West, treating pressure washing as a last resort handled only by trained hands, never a default setting on a hired machine.

A survey before cleaning tells you exactly what render you’re dealing with, whether staining is surface-level or pigment-deep, and what it’ll cost to sort either way. That’s paired with a portfolio of finished jobs and client reviews showing the standard of finish you can expect. Where render has already been damaged, the same team handles the exterior cleaning alongside any repair prep and repainting needed to bring a wall back to a uniform finish, including airless spraying for a smooth, factory-level result once repairs are done. Get in touch through the exterior home cleaning page to book a survey and quote before your next clean.
Sources
For primary guidance beyond this article, PRB’s maintenance document sets the manufacturer standard, while the soft wash versus pressure wash primer explains the underlying method differences in plain terms.
FAQ
Is pressure washing safe for render?
It’s risky on most modern render types, particularly textured or coloured thin-coat finishes, because high pressure can strip texture and etch the surface. A soft wash at low pressure with a biocide is the safer default for almost every façade.
Can you jet wash render at all?
Only at very low pressure, with a wide fan nozzle, held at least 300mm from the wall as PRB’s guidance sets out. Turbo or rotary nozzles should never be used on render regardless of the machine’s rated pressure.
How do you remove algae from render without damaging it?
Apply a diluted biocide, leave it to dwell for 20 to 40 minutes, then rinse gently at garden-hose pressure rather than blasting it off. Dead growth typically oxidises and falls away within 48 to 72 hours.
What does it cost to repair pressure-washed render damage?
Costs vary widely depending on whether it’s a small-patched area or a full re-render, and pricing depends on the specific job and render type. Some professional painting and decorating companies offer free surveys and quotes so you can understand the scope before committing to any repair.
How often should render be cleaned to avoid damage?
Algae-prone walls usually need a soft wash every 3 to 5 years, with a quick annual visual check in between to catch growth early. Cleaning more often than that with high pressure raises the risk of damage without meaningfully improving the result.
Recommended
Comments