
Professional painting techniques for homeowners 2026
- WM Creative Designs Limited
- Mar 18
- 8 min read
Achieving a flawless paint finish on your home can feel impossible without professional expertise. Many homeowners struggle with peeling paint, uneven coverage, and surfaces that fail within months. This guide reveals the essential techniques professional decorators use to deliver durable, high-quality results. You will learn how to prepare surfaces correctly, select appropriate materials, apply paint with precision, and maintain your paintwork for years. Whether you are tackling interior rooms or exterior walls, these proven methods will help you avoid common mistakes and achieve the professional finish your home deserves.
Table of Contents
Key takeaways
Point | Details |
Surface preparation is critical | Proper preparation improves durability by 20-30% and prevents premature paint failure. |
Choose paint for your surface | Masonry paints protect exterior walls whilst emulsion suits interior rooms, each formulated for specific conditions. |
Apply in optimal conditions | Paint between 5°C and 25°C in dry weather to ensure proper adhesion and drying. |
Allow adequate drying time | New plaster needs 5-7 days to dry completely before painting to avoid adhesion problems. |
Maintain painted surfaces | Regular inspection and cleaning extends paint lifespan and catches early signs of wear. |
Understanding the importance of preparation
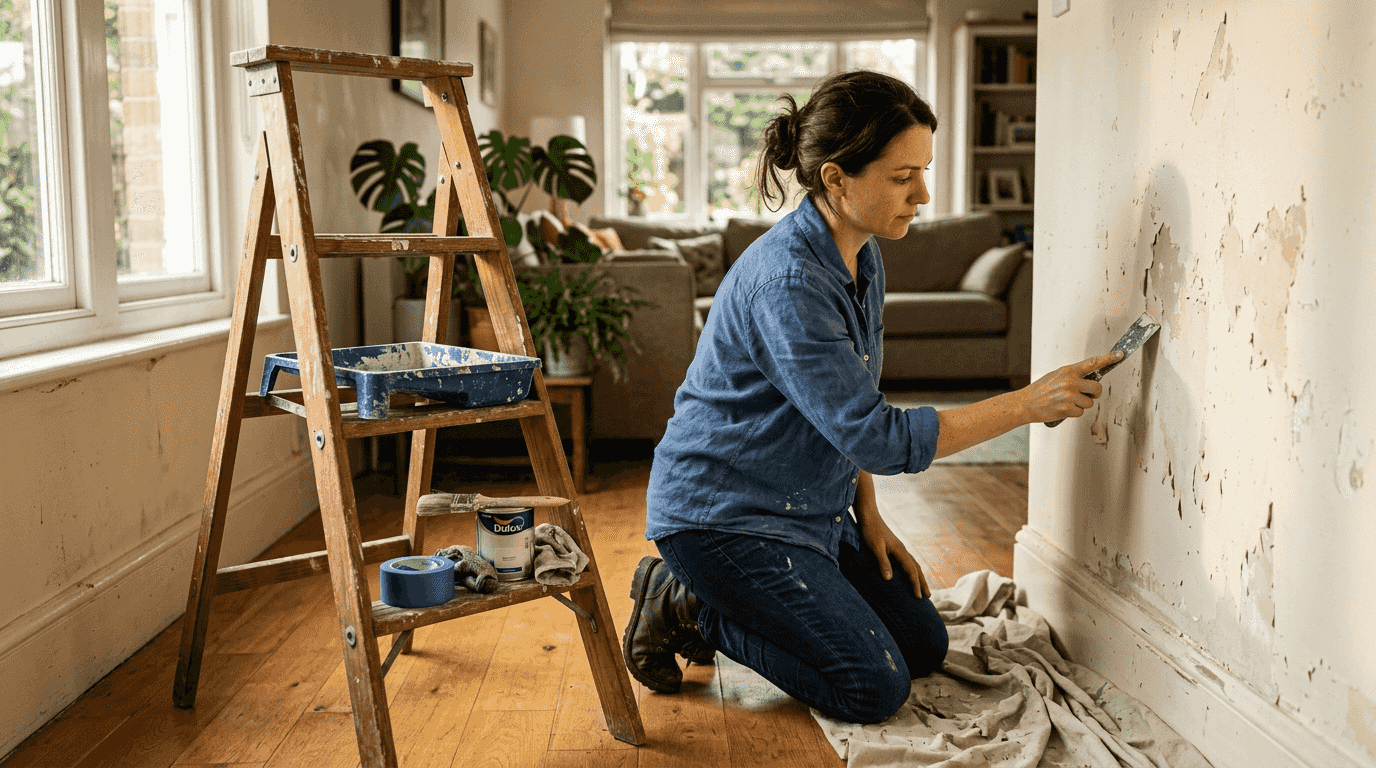
Professional decorators know that preparation determines the final result. Skipping or rushing this stage causes most painting failures homeowners experience. Surface preparation improves paint adhesion and durability by 20-30%, making it the single most valuable investment of your time. Clean, dust-free, grease-free surfaces create the foundation for paint to bond properly and last years longer than paint applied to unprepared walls.
Removing old, flaking paint is essential. Loose material underneath fresh coats will eventually pull away, taking your new paint with it. Fill cracks and holes with appropriate filler, then sand smooth once dry. Professional decorators typically spend around 20% of total project time on preparation alone because they understand this stage cannot be compromised. The surface must be completely dry before you begin painting. New plaster requires particular attention, needing 5-7 days to dry depending on temperature and humidity. Rushing this step causes 65% of paint adhesion failures, as moisture trapped beneath paint prevents proper bonding.
Pro Tip: Use sugar soap or a mild detergent solution to remove grease and dirt from surfaces before painting. Rinse thoroughly and allow complete drying. For stubborn stains or mould, consider professional cleaning methods to ensure surfaces are genuinely ready for paint.
Your preparation checklist should include:
Remove loose or flaking paint with scrapers or wire brushes
Fill all cracks, holes, and imperfections with suitable filler
Sand filled areas smooth once completely dry
Clean surfaces thoroughly to remove dust, grease, and contaminants
Allow new plaster or repairs to dry for at least 5-7 days
Prime bare surfaces according to manufacturer recommendations
Choosing the right paint and tools for your project
Selecting appropriate paint for your specific surfaces ensures longevity and proper protection. Masonry paints are designed for brick, stone, and render, providing breathability that allows moisture to escape whilst protecting against weather damage. Interior surfaces require different formulations. Emulsion paints suit most interior walls and ceilings, available in matt, silk, or satin finishes depending on your aesthetic preferences and room function.
Exterior paint quality matters significantly. Emperor Masonry Paint has 25-year proven performance from independent testing, demonstrating how premium products deliver exceptional value despite higher initial costs. Cheaper paints may require repainting every 3-5 years, ultimately costing more in labour and materials over time. Consider your home’s exposure to weather, surface porosity, and desired finish when selecting paint grades.
Paint finish selection affects both appearance and practicality:
Matt emulsion provides a non-reflective finish ideal for ceilings and low-traffic areas
Silk or satin finishes offer subtle sheen and easier cleaning for kitchens and bathrooms
Gloss paint delivers high durability for woodwork, doors, and window frames
Eggshell provides a low-sheen alternative to gloss for a more contemporary look
Pro Tip: Always purchase 10-15% more paint than your calculated coverage suggests. Surface texture, porosity, and application method affect actual coverage rates. Running short mid-project risks colour variation between batches.
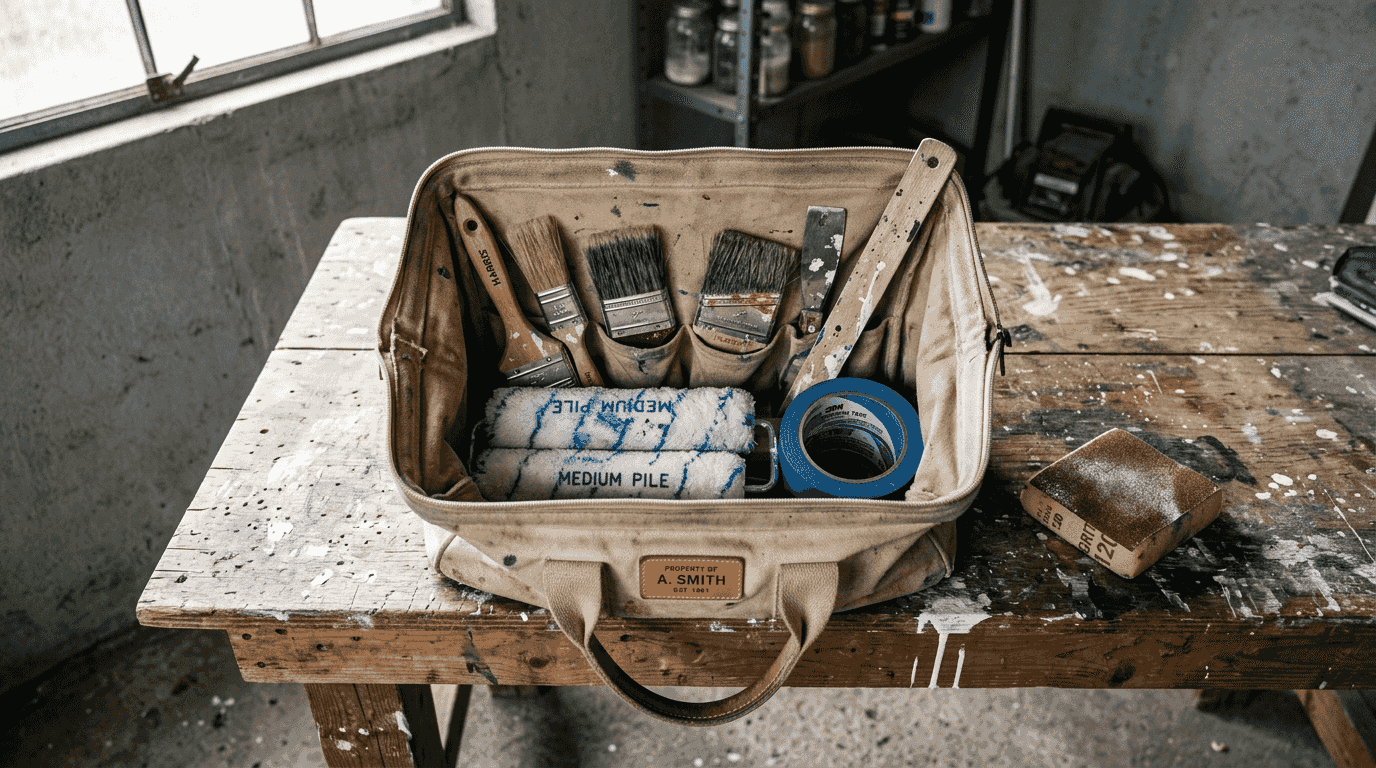
Essential tools for professional results include quality brushes in various sizes, medium pile rollers for smooth surfaces, long pile rollers for textured walls, painter’s tape for clean edges, dust sheets for protection, and paint shields for cutting in around fixtures. Investing in proper tools makes application easier and produces superior finishes. For larger projects, consider exterior painting services that include professional-grade equipment and expertise.
Surface Type | Recommended Paint | Expected Lifespan |
Exterior masonry | Breathable masonry paint | 15-25 years |
Interior walls | Matt or silk emulsion | 5-10 years |
Woodwork | Gloss or eggshell | 5-8 years |
Ceilings | Matt emulsion | 10-15 years |
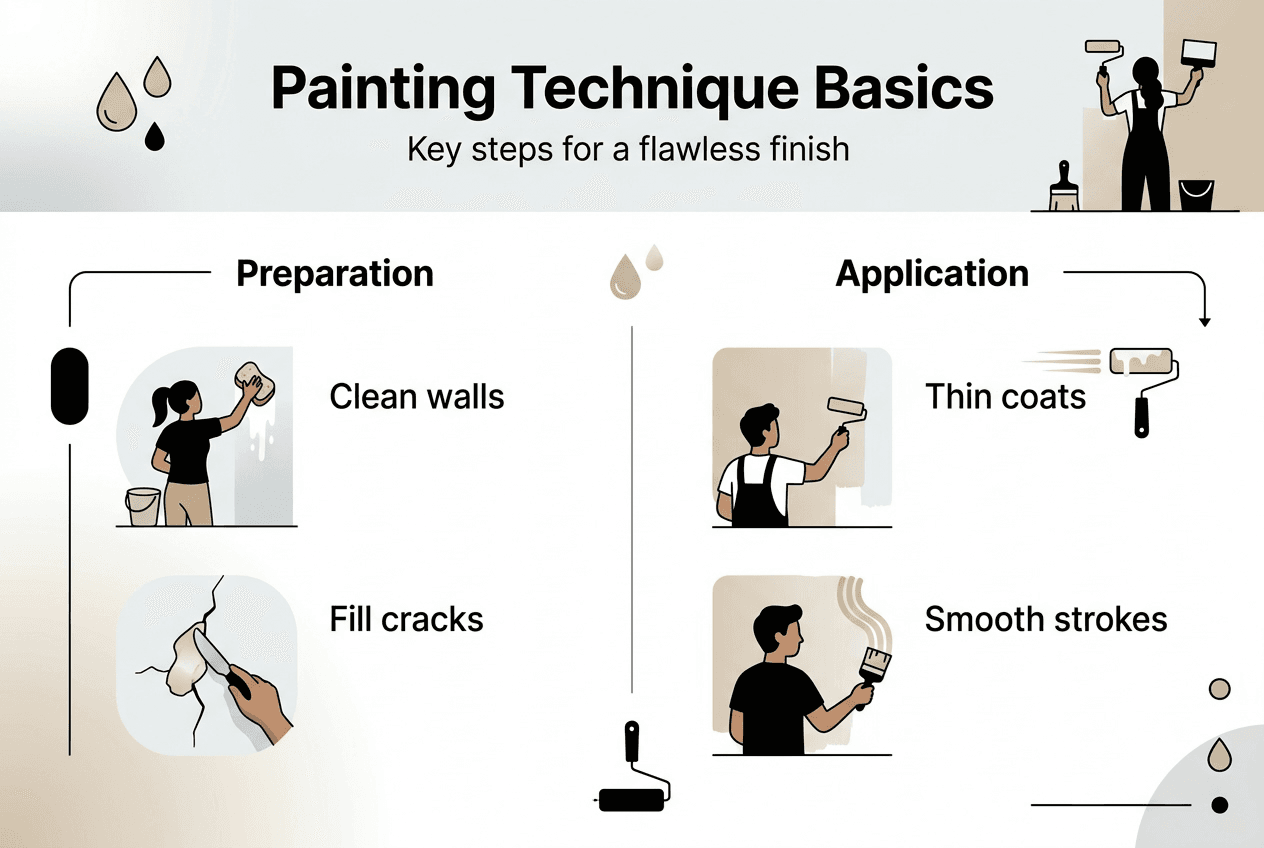
Mastering application techniques for quality finishes
Proper application technique transforms good preparation into exceptional results. Apply paint in thin, even coats rather than one thick layer. Thick application leads to runs, sags, and extended drying times that compromise the finish. Two or three thin coats deliver better coverage, smoother appearance, and superior durability compared to heavy single coats. Ideal painting conditions are between 5°C and 25°C to ensure proper drying and film formation. Avoid painting in extreme temperatures, high humidity, or direct sunlight, as these conditions affect how paint flows and cures.
Timing matters critically for new plaster. Rushing drying causes 65% of adhesion failures, as moisture trapped beneath paint prevents proper bonding and leads to bubbling or peeling within weeks. Wait the full 5-7 days minimum, testing moisture levels if uncertain. The plaster should feel cool to touch but not damp, and colour should be uniform without dark patches indicating residual moisture.
Follow this application sequence for best results:
Cut in edges and corners with a brush, creating a 5-8cm border around the room
Roll main wall areas whilst cut-in edges remain wet for seamless blending
Maintain a wet edge by working in sections, never allowing paint to dry mid-wall
Apply second coat only after first coat has dried completely, typically 4-6 hours
Inspect for missed spots or thin coverage before considering the job complete
Pro Tip: Load your roller properly by rolling in the paint tray until evenly coated but not dripping. Apply paint in a W pattern across the wall section, then fill in without lifting the roller. This technique ensures even coverage without roller marks.
Masking tape creates professional, clean lines around trim, windows, and colour boundaries. Apply tape carefully, pressing edges firmly to prevent paint bleeding underneath. Remove tape whilst paint remains slightly tacky rather than waiting until fully dry. This prevents paint film tearing and leaves crisp, sharp edges. For intricate areas, paint shields provide precise control when cutting in around fixtures, switches, and architectural details.
“The difference between amateur and professional results lies not in the paint itself but in the patience and technique applied during each stage of the process.”
Common mistakes that compromise finish quality:
Applying paint too thickly in an attempt to reduce coat numbers
Painting in unsuitable weather conditions or temperatures
Insufficient drying time between coats or before exposing to moisture
Poor quality or worn brushes and rollers that leave marks
Skipping primer on bare surfaces or dramatic colour changes
For large exterior projects or uniform finishes on textured surfaces, professional spray painting techniques deliver speed and consistency difficult to achieve with traditional methods.
Application Method | Best For | Skill Level Required |
Brush | Detailed work, cutting in, woodwork | Moderate |
Roller | Large flat surfaces, walls, ceilings | Beginner to moderate |
Spray | Exterior walls, uniform coverage, speed | Advanced |
Troubleshooting and maintaining your painted surfaces
Even with careful application, issues can arise. Peeling and cracking typically result from inadequate surface preparation or moisture problems within the substrate. If paint peels soon after application, moisture is usually the culprit. Identify and resolve the moisture source before repainting, otherwise the problem will recur. Bubbling during application indicates painting over damp surfaces or in excessive heat, causing rapid solvent evaporation that traps air beneath the paint film.
Regular maintenance extends paint lifespan significantly. Inspect painted surfaces annually for early signs of wear, particularly on exterior walls exposed to weather. Small areas of damage are easily repaired before they spread. Clean painted walls gently with mild detergent solution and soft cloths, avoiding abrasive cleaners that damage the paint film. For exterior surfaces, periodic washing removes dirt and organic growth that can degrade paint over time.
Maintenance schedule for optimal longevity:
Annual inspection of all painted surfaces for damage or wear
Gentle cleaning of interior walls every 6-12 months
Exterior wall cleaning every 1-2 years depending on exposure
Touch up minor chips or scratches promptly to prevent moisture ingress
Complete repainting when surfaces show widespread wear, typically 5-10 years for interiors, 10-20 years for quality exterior work
Addressing common defects:
Flaking paint: Remove loose material, prepare surface properly, prime if needed, and repaint affected area
Colour fading: More common on exteriors; use fade-resistant paints and consider repainting when colour shifts noticeably
Mould growth: Clean with fungicidal wash, improve ventilation, and use mould-resistant paint formulations
Cracking: Usually indicates substrate movement or paint applied too thickly; remove and repaint with flexible formulations
Knowing when to consult professionals saves time and prevents costly mistakes. Complex exterior work, extensive preparation requirements, or projects requiring specialist equipment benefit from expert input. Domestic painting solutions provide access to professional techniques, quality materials, and experienced application that guarantees results. If you encounter persistent problems like recurring dampness, extensive cracking, or finishes that fail prematurely despite correct application, professional diagnosis identifies underlying issues before further investment in materials and labour.
Professional painting services to ensure perfect results
Whilst this guide equips you with professional knowledge, executing these techniques to perfection requires practice and experience. Professional decorators bring years of expertise to every project, ensuring flawless finishes without the learning curve. They handle all preparation meticulously, select optimal materials for your specific surfaces, and apply paint with precision that comes from thousands of hours of practice.

Consider domestic painting services for interior projects that demand perfect results, or exterior home painting services for weatherproof protection that lasts decades. For rapid, uniform coverage on large areas, professional spray painting delivers efficiency and quality difficult to match with traditional methods. A Brush With Gus serves homeowners throughout the South West UK with reliable, high-standard painting that transforms properties and provides lasting value.
Frequently asked questions
What are professional painting techniques?
Professional techniques encompass thorough surface preparation, appropriate paint selection for specific substrates, controlled application in optimal conditions, and proper drying protocols between coats. These methods ensure durable, smooth, high-quality finishes that resist premature failure. Professionals also employ specialised tools and equipment for efficiency and consistency across large projects.
How long should plaster dry before painting?
New plaster typically requires 5-7 days drying before painting to avoid adhesion issues. The exact time depends on temperature, humidity, and ventilation. Plaster should feel cool but not damp to touch, with uniform colour throughout. Rushing this step causes the majority of early paint failures as trapped moisture prevents proper bonding.
Why is surface preparation important?
Clean, smooth surfaces promote better adhesion and significantly longer-lasting paint. Surface preparation improves durability by 20-30% compared to paint applied to unprepared surfaces. Skipping preparation leads to premature failure including peeling, flaking, and poor coverage. Professional decorators invest substantial time in this stage because it determines the quality and longevity of the entire project.
What paint is best for exterior walls?
Use masonry paint specifically formulated for brick, stone, and render to provide best exterior protection. These paints offer breathability that allows moisture to escape whilst resisting weather damage. High-quality masonry paints from reputable manufacturers can protect exterior walls for 15-25 years with proper application and maintenance, delivering exceptional long-term value despite higher initial costs.
Recommended
Comments