
Surface preparation in painting: the complete guide
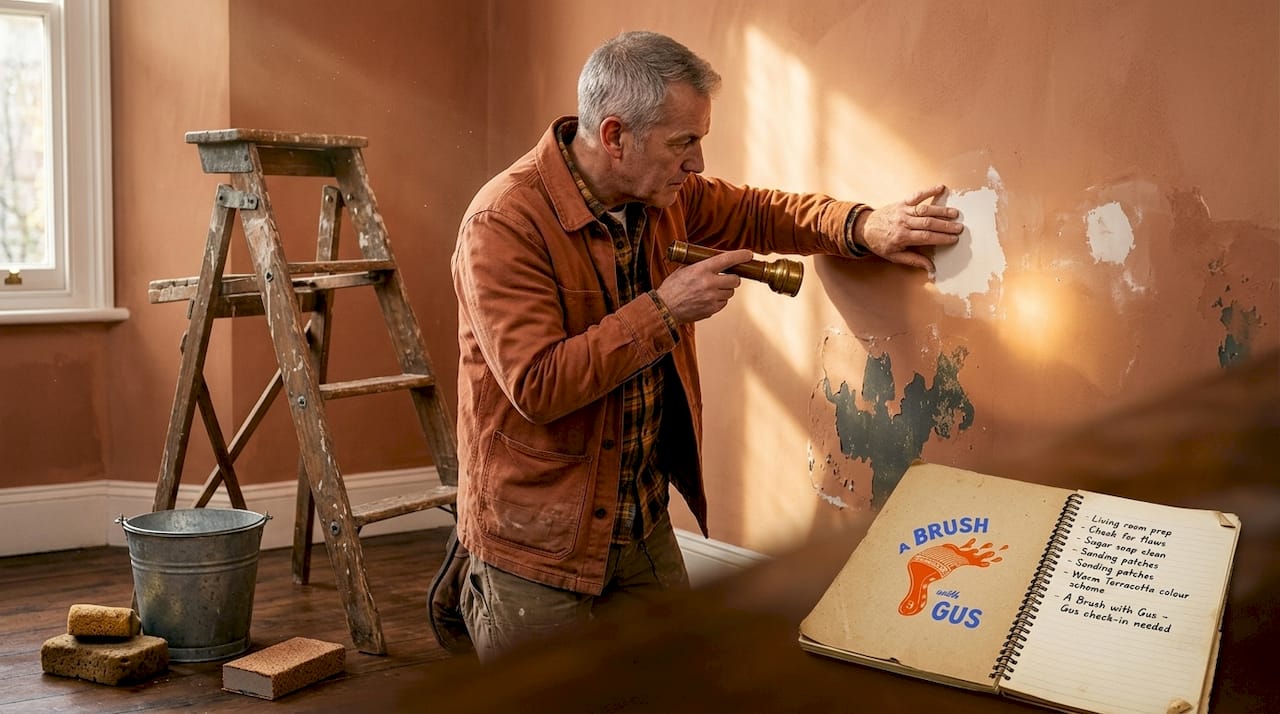
TL;DR:
Proper surface preparation accounts for 80% of a long-lasting paint finish, preventing peeling and failure. It involves cleaning, repairing, sanding, priming, and confirming dryness, especially regarding moisture levels. Investing time in thorough prep ensures better adhesion, durability, and a professional-quality result.
Most people spend weeks choosing the perfect paint colour, then ruin the result by skimping on what happens before the tin is even opened. Surface preparation in painting is the single biggest factor separating a finish that lasts a decade from one that starts peeling by spring. The truth is hard to argue with: 80% of premature coating failures are caused by poor surface prep, not poor paint. Whether you are refreshing a bedroom wall or repainting exterior render, what you do to the surface beforehand determines everything.
Table of Contents
Key takeaways
Point | Details |
Prep causes most failures | 80% of paint failures are linked to skipped or rushed surface preparation, not paint quality. |
Moisture is the hidden enemy | Always use a moisture meter before painting. Wood should read below 15% moisture content to avoid blistering and adhesion failure. |
Sanding does more than smooth | Sanding creates microscopic texture that allows paint to bond mechanically, not just sit on top of the surface. |
Priming is not optional | Primer is a bridge coat tailored to the substrate. Skipping it weakens adhesion and can cause uneven sheen and early failure. |
Pros invest time in prep | Professional painters allocate 60 to 70% of project time to surface preparation, not painting itself. |
Why surface preparation in painting matters
Surface preparation is the collective process of cleaning, repairing, abrading, and priming a substrate before any coating is applied. It is not simply wiping a wall down or filling the odd crack. Done properly, it assesses and addresses every factor that could prevent paint from bonding correctly, from contamination and moisture to surface texture and porosity.
The confusion arises because the consequences of poor prep are delayed. Paint applied to a poorly prepared surface can look excellent on day one. The problems appear months later: bubbles, flaking, uneven sheen, or staining bleeding through topcoats. By that point, homeowners often blame the paint brand.
“Most paint failures blamed on paint quality are actually caused by inadequate surface preparation. Cleaning and surface profiling are the two most commonly skipped stages.” — IMTS NY, industry analysis
Understanding the difference between cleaning, sanding, priming, and repairing is central to getting this right. Each serves a specific function, and cutting one out creates a weak link that no amount of expensive topcoat can compensate for. Moisture is a particularly deceptive problem in masonry and timber. A wall can look and feel dry while still holding enough moisture beneath the surface to cause blistering once paint traps it in. That is why visual dryness is insufficient as a readiness check.
Step-by-step surface preparation methods
The steps for surface preparation are not complicated, but they do require patience and the right sequence. Rushing any stage undermines everything that follows.
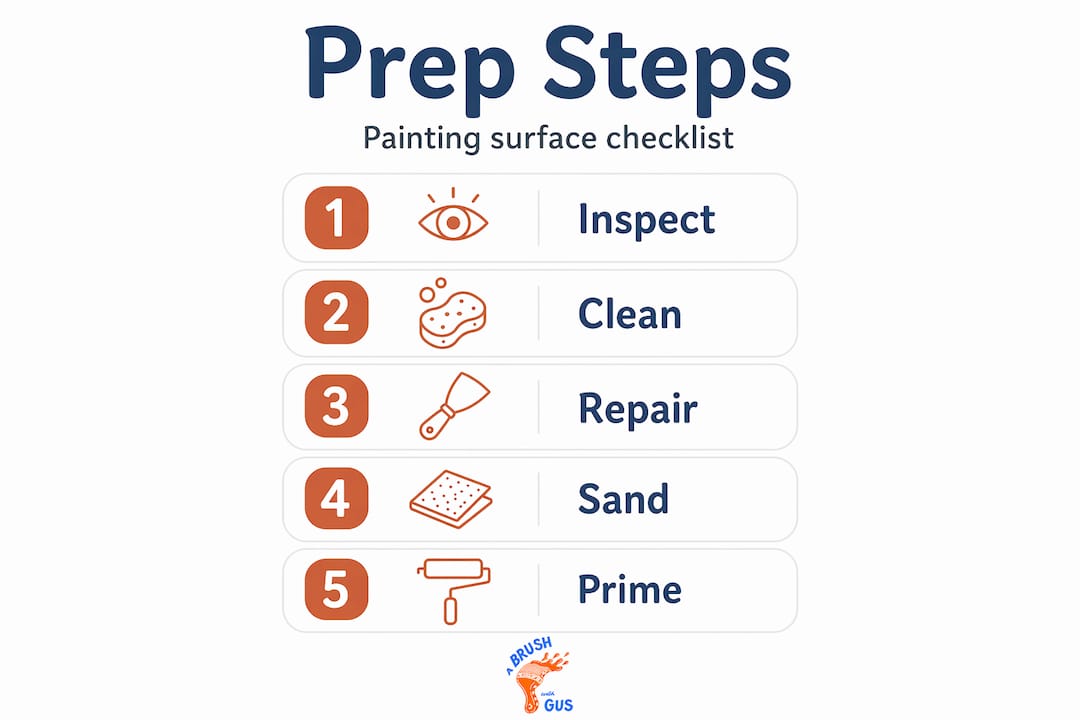
Step 1: Inspect and assess
Walk the entire surface before touching it. Look for cracks, efflorescence on masonry, rust on metal, rot in timber, mould, flaking paint, and staining. Note any areas that are damp to the touch. A moisture meter reading is your most reliable tool here, particularly for exterior timber and render. Wood siding should read below 15% moisture before any coating is applied.
Step 2: Clean the surface thoroughly
Surface cleaning before painting removes contaminants that physically prevent adhesion: grease, chalky residue, biological growth, and loose debris. For exterior masonry and render, pressure washing is the most effective method. For interior walls, a solution of sugar soap and warm water is standard, applied with a sponge and rinsed clean.
The key mistake most people make is not the cleaning itself but what happens next. After pressure washing, you must wait. Drying times range from 24 to 72 hours depending on conditions. On a warm, breezy day in the South West, exterior masonry may be ready in 24 hours. In cool, shaded, or humid conditions, that extends to three to five days. Painting too soon traps moisture and is a leading cause of premature blistering.
Step 3: Repair and strip
Once clean and dry, repair damaged areas. Fill cracks in plaster with appropriate filler and allow it to cure fully before sanding flush. On timber, address any rot before proceeding. Scrape away all loose and flaking paint using a scraper or heat gun. Leaving loose paint beneath a new coat is one of the most common and costly mistakes in residential repainting.
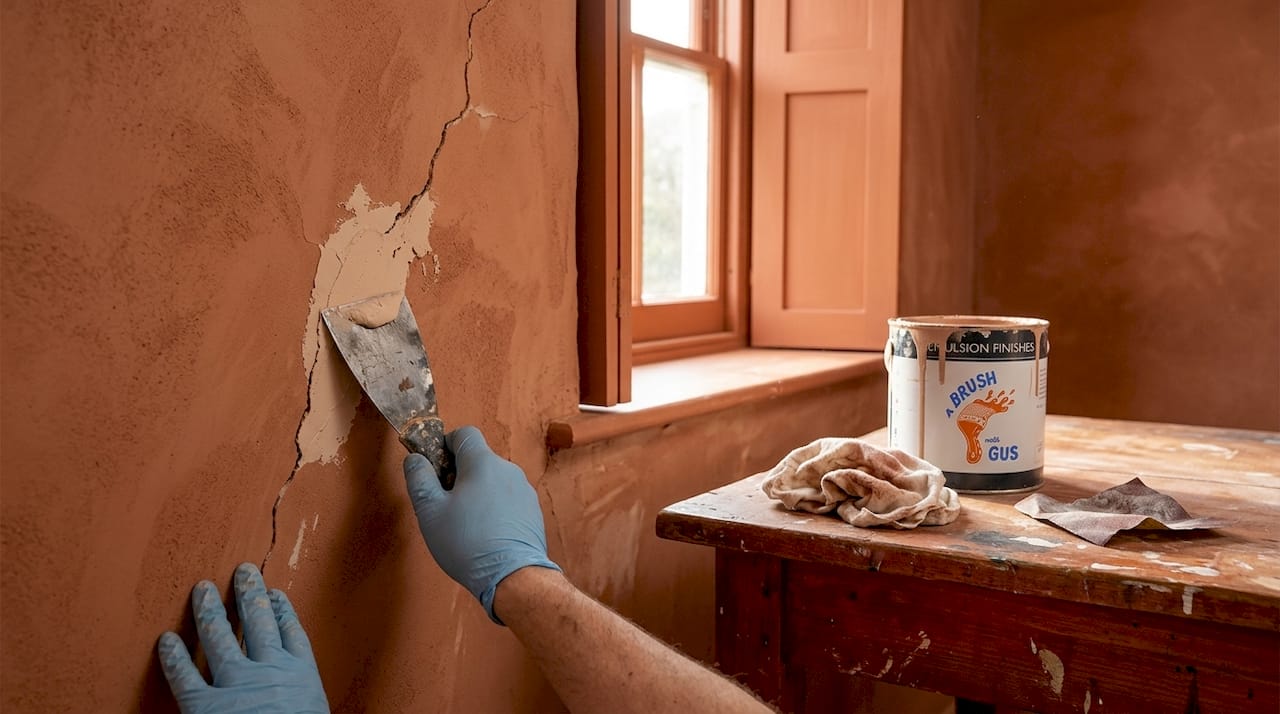
Step 4: Sand
Sanding does two jobs. It smooths uneven surfaces and removes minor imperfections. More critically, it creates microscopic texture, often called “tooth,” that allows paint to adhere mechanically rather than simply sitting on top. This matters most on previously glossed surfaces. Proper sanding profiles allow paint to resist peeling far longer than it would on a smooth, unscuffed surface.
After sanding, dust removal is non-negotiable. Vacuum with a HEPA filter, then wipe down with a tack cloth or slightly damp cloth. Allow the surface to dry for at least one to two hours, extending to three or four hours if humidity is above 60%. Pressing too hard with a tack cloth deposits resin on the surface, which can inhibit adhesion of subsequent coats. Light, even strokes only.
Pro Tip: On bare timber or new plaster, always use a light, circular sanding motion and work progressively through grits, finishing at 120 grit for topcoat surfaces and 180 grit for smoother finishes. Never sand in one direction along the grain only, as this can create grooves that show through paint.
Step 5: Apply primer
Primer is the most undervalued product in any painter’s toolkit. It seals porous substrates, neutralises staining, and creates a uniform base that topcoats bond to. On bare timber, use a wood primer formulated to penetrate the grain. On new or repaired plaster, a diluted mist coat is standard practice. On metal, use a rust-inhibiting primer. Applying a topcoat directly over bare or repaired surfaces without a primer dramatically shortens the life of the finish.
For best results on interior wall preparation, ensure primer is fully cured before applying your first topcoat, following the manufacturer’s recommended recoat time.
Industrial surface preparation standards explained
If you have ever seen a professional specification document or worked on a commercial project, you may have encountered SSPC standards. They are worth understanding, even for domestic work, because they define exactly what “clean” and “prepared” actually mean in measurable terms.
The SSPC (Society for Protective Coatings) standards range from SP-1 solvent cleaning through to SP-5 white metal blast, with various grades in between covering hand tool cleaning, power tool cleaning, and abrasive blasting. The most commonly referenced standard for high-performance coatings is SSPC-SP10 near-white metal blast, which requires 95% surface cleanliness with less than 5% residual staining permitted.
Standard | Method | Cleanliness level | Typical use |
SP-1 | Solvent cleaning | Removes oils and grease | Pre-treatment before mechanical prep |
SP-2 | Hand tool cleaning | Removes loose rust and paint | Light residential metalwork |
SP-6 | Commercial blast | 67% clean surface | General structural steel |
SP-10 | Near-white blast | 95% clean, max 5% staining | High-performance industrial coatings |
SP-5 | White metal blast | 100% clean, no staining | Immersion or chemical environments |
For a homeowner repainting garden railings or a metal gate, SP-2 hand tool cleaning is typically sufficient. For a professional applying high-build coatings to structural steel, SP-10 sets the benchmark. The lesson these standards offer to domestic painters is this: cleanliness is measurable, and “I wiped it down” is not a specification.
Adherence to SSPC standards in professional settings also involves anchor profile measurement using ASTM D4417 methods and contamination testing. While homeowners do not need to go to those lengths, the underlying principle applies: verify readiness rather than assume it.
Common pitfalls and how to avoid them
Knowing the steps is one thing. Avoiding the mistakes that derail them is where experience makes the difference.
Painting too soon after cleaning. Moisture trapped beneath paint causes blistering that no one catches until it is too late. Use a moisture meter. Trust the numbers, not the look.
Leaving loose paint beneath new coats. Any paint not firmly bonded to the substrate will eventually pull the new coat off with it. Scrape and sand until everything underneath is solid.
Sanding without removing dust. Dust particles left on the surface create a barrier between the paint and the substrate. They also cause texture defects and adhesion failures.
Skipping primer on bare or repaired areas. Filler, bare plaster, bare timber, and bare metal all require primer. Applying topcoat directly is a shortcut that costs far more in repairs later.
Misjudging moisture in porous materials. Render, brick, and concrete absorb and hold water longer than they appear to. Always use a moisture meter alongside a visual check.
Pro Tip: If you are working on an exterior project and rain is forecast within 48 hours, stop. Fresh paint and damp surfaces are a guaranteed path to adhesion failure. Plan your prep and painting schedule around the weather, not around your convenience.
Professionals know that 60 to 70% of total project time goes to preparation, not painting. If your prep is taking less time than your painting, you are almost certainly cutting corners.
Your pre-paint checklist
Before you open a tin of paint, work through this sequence:
Inspect the full surface for cracks, moisture, rot, rust, mould, and flaking paint.
Clean with appropriate method: sugar soap for interiors, pressure washing for exteriors.
Allow full drying time. Use a moisture meter to confirm. Do not rely on appearance alone.
Strip all loose and flaking paint by scraping and sanding.
Repair cracks and damaged areas with appropriate filler or sealant. Allow full cure time.
Sand repaired areas and any glossy surfaces. Work through progressive grits.
Remove all dust: vacuum with HEPA filter, then wipe with tack cloth.
Apply appropriate primer to bare or repaired areas and allow full cure.
Final visual check: run your hand over the surface. It should feel uniform, dust-free, and firm.
Apply paint only when all of the above are confirmed complete.
For a broader view of how professional painters approach the full workflow from assessment through to final coat, that step-by-step resource is worth reading before any major project.
Tools you will need: scraper, sanding blocks and sheets (80, 120, 180 grit), sugar soap, moisture meter, HEPA vacuum, tack cloths, filler, primer appropriate to substrate, and a good quality brush for cutting in primer to edges.
My honest take on prep work
I have walked into jobs where a homeowner spent serious money on premium paint and a professional applicator, only to watch the finish bubble and flake within a season. Every single time, the root cause was the same: a surface that was not ready.
What I have found is that most beginners underestimate prep not because they are lazy, but because the result of skipping it is not immediately visible. The paint goes on, it looks fine, and it feels like success. The problem is invisible until months later, and by then the connection between the skipped prep stage and the peeling finish is easy to miss.
In my experience, the projects that hold up best over time are never the ones with the most expensive paint. They are the ones where the person doing the work was genuinely patient with the preparation. I have seen beautifully prepared surfaces painted with mid-range trade paint outlast jobs where premium products were applied over inadequate prep by years.
My advice to any DIYer is this: budget more time for preparation than you think you need. If you think the cleaning and sanding will take a day, give it two. The painting itself will be faster, easier, and more satisfying when the surface is properly ready. And the finish will still look good in five years, which is the only result worth working towards.
— Angus
Let Abrushwithgus handle the hard part

Surface preparation is where most DIY projects either succeed or quietly fail. If your home needs exterior painting, rendering refresh, or a thorough clean before repainting, Abrushwithgus brings the experience, tools, and patience to do it properly. Their professional exterior cleaning service removes biological growth, dirt, and chalky residue from masonry before any paint is applied, giving you a surface that is genuinely ready. For interior and exterior painting with a finish that reflects thorough prep work, their domestic painting service covers the full process from assessment through to final coat. Get in touch with Gus and Rhys to discuss your project and receive a quote.
FAQ
What is surface preparation in painting?
Surface preparation in painting is the process of cleaning, repairing, sanding, and priming a substrate before applying paint. It removes contaminants, creates surface texture for adhesion, and seals porous materials to ensure the finish bonds correctly and lasts.
Why does surface preparation cause most paint failures?
80% of premature coating failures are caused by inadequate surface preparation. When surfaces are not properly cleaned, dried, or primed, paint cannot bond correctly and fails through blistering, peeling, or flaking.
How long should I wait after pressure washing before painting?
You should wait between 24 and 72 hours after pressure washing before painting. In cool, humid, or shaded conditions, allow three to five days. Always confirm dryness with a moisture meter rather than relying on visual inspection.
Do I always need to prime before painting?
Yes, primer is required on bare or repaired surfaces including bare timber, new plaster, filler patches, and bare metal. Primer seals the substrate, prevents staining, and provides a consistent base that topcoats adhere to. Skipping it shortens the life of the finish.
What tools do I need for surface preparation?
Core surface preparation tools include a scraper, sanding blocks and abrasive sheets in multiple grits, a HEPA vacuum, tack cloths, a moisture meter, sugar soap for cleaning, appropriate filler, and substrate-specific primer. For exterior work, a pressure washer is strongly recommended.
Recommended
Comments