
The role of paint primers: a homeowner's guide
TL;DR:
Paint primers create a bonding layer that improves adhesion, seals porous surfaces, and prevents stains. Using dedicated primers on raw drywall, bare wood, or stained surfaces ensures long-lasting, uniform paint applications and reduces the need for redoing the job. Selecting the right primer type and applying it properly significantly enhances the durability and appearance of painted surfaces over time.
A paint primer is a specialised undercoat that creates a bonding layer between a surface and the topcoat of paint. Without it, paint applied directly to bare wood, raw drywall, or stained walls lacks the grip it needs to last. The role of paint primers goes well beyond aesthetics. Primer seals porous surfaces, blocks stains, and gives your topcoat a uniform base to adhere to. A standard primer covers 200–300 square feet per gallon, dries to recoat in roughly one hour, and carries a pigment volume concentration of 35–50%. Those figures matter because they tell you primer is engineered for grip and sealing, not for colour or washability.
How do paint primers improve adhesion and finish quality?
Primer improves adhesion through two distinct mechanisms: chemical bonding and physical sealing. The binder resins in primer are selected specifically for grip rather than durability. That means primer binders grip surfaces rather than resist scrubbing, which is why primer must always be topcoated. It is not a finished surface on its own.
On porous materials like raw drywall or bare timber, paint without primer soaks in unevenly. Some patches absorb more than others, leaving a blotchy, inconsistent sheen known as “flashing.” Primer fills those pores first, creating a uniform surface for the topcoat to sit on. Failing to prime porous surfaces leads directly to peeling, flashing, and stain bleed-through, all of which require costly repainting.
Primers function as both sealers and bonding agents, and the distinction matters. A sealer fills porosity to stop uneven absorption. A bonding agent chemically attaches the paint film to the substrate. Good primers do both. On slick surfaces like gloss-painted walls, a bonding primer with higher resin concentration is the right choice. On new plaster or bare timber, a sealing primer takes priority.
Pro Tip: Sand the surface lightly before priming, even if it looks smooth. A fine abrasion gives the primer more surface area to grip, which improves the bond between primer and topcoat significantly.
Key consequences of skipping primer include:
Peeling paint within months, especially in humid rooms
Flashing, where patches of wall show different sheen levels
Stain bleed-through from tannins, smoke, or water marks
Higher topcoat consumption because the surface keeps absorbing paint
When do you need traditional primer vs. paint-and-primer-in-one?
Paint-and-primer-in-one products have become popular, and they work well in the right situation. For straightforward repainting on similar surfaces, a combined product can save time and money. If you are repainting a previously painted wall in a similar colour with no stains or damage, a quality combined product is often sufficient.
Traditional primer remains the correct choice in these situations:
Raw drywall or new plaster: The surface is too porous for a combined product to seal properly.
Bare wood: Timber absorbs paint aggressively and unevenly without a dedicated primer.
Stained surfaces: Water marks, smoke, or tannin stains bleed through combined products.
High-contrast colour changes: Going from dark to light requires a tinted primer to reduce topcoat layers.
Residual wallpaper paste: Combined products cannot bond reliably over adhesive residue.
Traditional primer is still recommended for bare or unusual surfaces like raw drywall, bare wood, and wallpaper paste residue, regardless of what the combined product label claims. The chemistry simply is not the same.
The table below summarises when each approach makes sense:
Situation | Best approach |
Repainting a previously painted wall, similar colour | Paint-and-primer-in-one |
Raw drywall or new plaster | Dedicated primer |
Bare timber or bare metal | Dedicated primer |
Stained or smoke-damaged surface | Shellac or oil-based primer |
High-contrast colour change | Tinted dedicated primer |
Previously painted wall, dramatic colour shift | Tinted dedicated primer |
The cost difference between a dedicated primer and a combined product is modest. The cost of repainting a wall that was not primed correctly is not.
What types of primers are there and how do you choose?
Choosing the right primer chemistry is more important than most homeowners realise. A single formulation does not suit every surface or problem. The three main categories are acrylic, oil-based, and shellac, and each has a specific job.
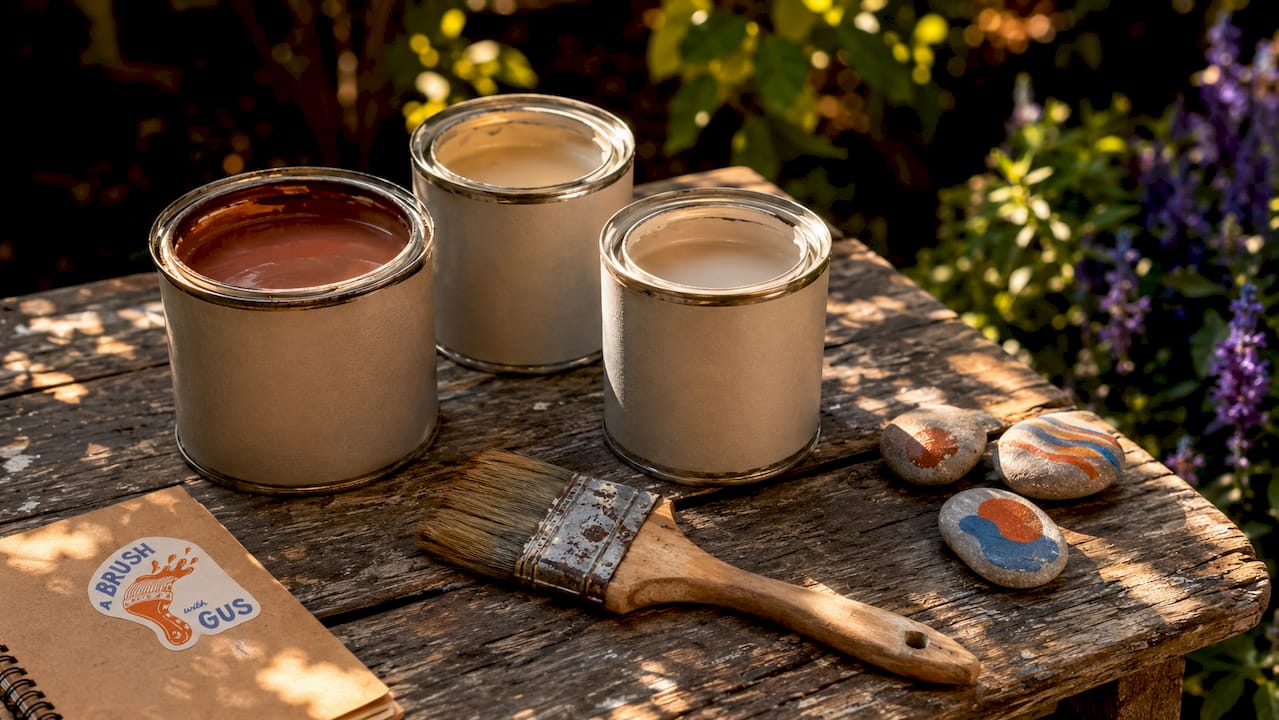
Acrylic (water-based) primers are the most common choice for interior walls, ceilings, and previously painted surfaces. They dry quickly, have low odour, and clean up with water. They work well on drywall, plaster, and timber that has no significant staining. However, standard acrylic primers cannot block water-soluble stains such as tannin from oak or smoke residue. Using one over a tannin-rich wood like pine will result in yellow bleed-through regardless of how many topcoats you apply.
Oil-based primers penetrate deeply into bare timber and metal, making them the traditional choice for exterior woodwork and ferrous metals. They take longer to dry (often 8–24 hours) and require white spirit for clean-up, but they provide excellent adhesion and stain blocking on difficult substrates.
Shellac primers are the most powerful stain blockers available. Products like BIN shellac primer form an almost impermeable film as the alcohol solvent evaporates, sealing in smoke, water stains, tannins, and even odours. They dry in under an hour and can be topcoated with any paint type. The trade-off is strong fumes and methylated spirit clean-up.
Specialist primers also exist for metal, plastic, and masonry. Metal primers contain rust-inhibiting compounds. Plastic primers use adhesion promoters because standard resins do not grip non-porous synthetic surfaces. Masonry primers are alkali-resistant, which matters because fresh cement and render are highly alkaline and will degrade standard primers over time.
Pro Tip: Tint your primer towards the colour of your final topcoat. Tinting primer reduces the number of topcoats needed and cuts material costs, especially on high-contrast colour changes.
For help matching primer to the right paint type, the guide on types of house paint covers compatible finishes in detail.
How to apply primer correctly for interior and exterior surfaces
Proper application determines whether your primer actually does its job. The best primer in the world will underperform on a poorly prepared surface.
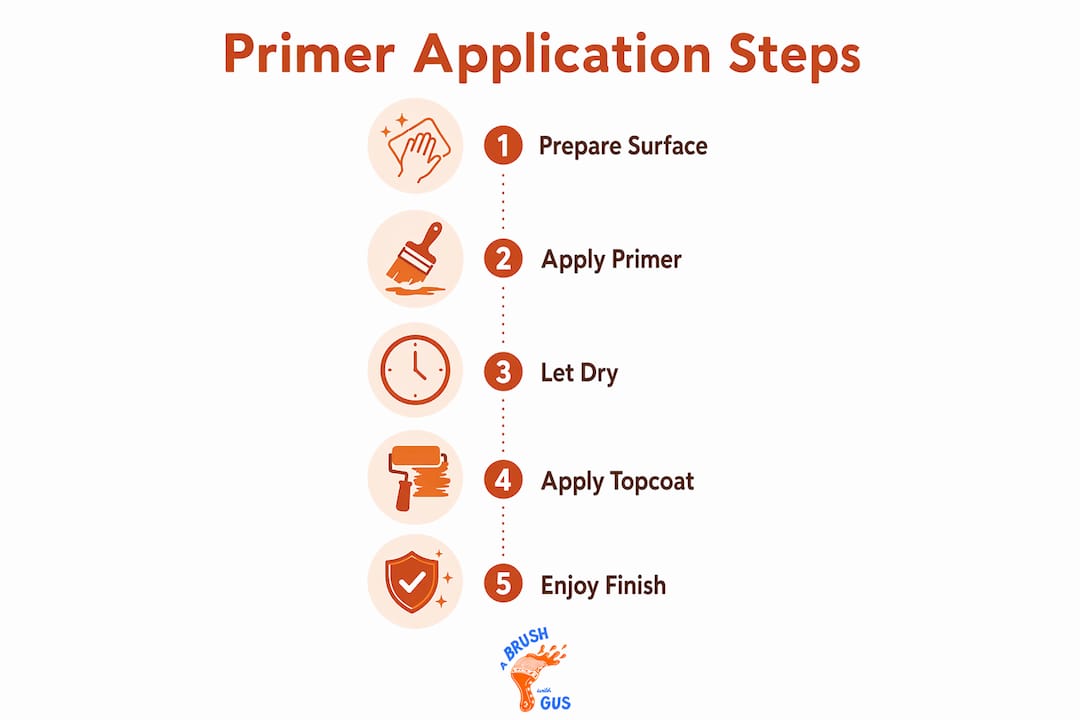
Clean the surface thoroughly. Remove dust, grease, mould, and loose paint. Grease in particular prevents primer from bonding. Use sugar soap on interior walls and a degreaser on metal or UPVC.
Sand where needed. Bare timber should be sanded with the grain. Glossy surfaces need a light key to give the primer something to grip. Remove all sanding dust before applying primer.
Apply primer in thin, even coats. A thick coat does not improve adhesion. It increases drying time and risks runs or sagging. Two thin coats outperform one thick coat every time.
Respect drying times before recoating. Most acrylic primers are ready to recoat in one hour under normal conditions. Oil-based primers need significantly longer. Check the tin and do not rush this step.
Sand lightly between coats if needed. On bare timber or new plaster, a light sand between primer coats produces a noticeably smoother finish for the topcoat.
Applying primer before wall putty on new builds or repaired surfaces ensures strong adhesion and moisture sealing beneath the filler layer. Getting the order right matters as much as the products you choose.
Pro Tip: On exterior surfaces, prime on a dry day with temperatures above 10°C. Cold or damp conditions slow curing and reduce adhesion. Check the forecast before you start.
The surface preparation guide from Abrushwithgus covers each step in more detail for both interior and exterior projects.
What are the long-term benefits of using primer?
The importance of paint primers becomes clearest over time. A properly primed surface holds its topcoat far longer than an unprimed one. High-use or humidity-variable environments like kitchens, bathrooms, and exterior walls benefit most from primer because the chemical bond resists the expansion and contraction caused by temperature and moisture changes.
The practical benefits include:
Fewer topcoats needed. A sealed, primed surface requires fewer coats of paint to achieve full coverage, saving both time and material.
Longer paint life. Primer prevents the peeling and flaking that forces early repainting. A well-primed exterior can extend the life of a paint job by several years.
Stain prevention. Primer stops tannins, water marks, and smoke from bleeding through, which means the colour you chose stays true.
Better colour vibrancy. Paint applied over a white or tinted primer appears brighter and truer to the tin colour than paint applied directly to a dark or uneven surface.
Cost savings over time. The upfront cost of primer is offset by reduced paint consumption and fewer repainting cycles.
High resin concentration in primer acts as a chemical bridge that is essential for durability, particularly under changeable environmental conditions. Skipping primer to save an hour is a false economy. For a closer look at what happens when primer is missed on exterior surfaces, the article on causes of paint peeling outdoors explains the failure patterns in detail.
Key takeaways
Primer is the single most important preparation step for achieving paint that adheres well, looks uniform, and lasts for years without peeling or fading.
Point | Details |
Primer improves adhesion | It bonds chemically to the substrate and seals porous surfaces before topcoat is applied. |
Choose primer by surface type | Acrylic suits most interiors; shellac blocks stains; oil-based works best on bare timber and metal. |
Traditional primer beats combined products | Use dedicated primer on raw drywall, bare wood, stains, and high-contrast colour changes. |
Application order matters | Clean, sand, prime, then topcoat. Rushing any step reduces the durability of the whole job. |
Primer saves money long-term | Fewer topcoats, longer paint life, and avoided repainting cycles outweigh the upfront primer cost. |
Why I think most homeowners underestimate primer
After years of working on homes across the South West, the pattern I see most often is this: a homeowner spends good money on quality paint, skips the primer to save time, and then calls us back six months later because the finish is peeling or the old colour is bleeding through. The paint was not the problem. The preparation was.
The misconception I hear most is that primer is just a cheaper version of paint. It is not. Primer and paint are engineered for completely different jobs. Paint is built for colour, washability, and protection. Primer is built for grip and sealing. Mixing up those roles is where most DIY paint jobs go wrong.
My honest advice: spend as much time choosing the right primer as you do choosing the right topcoat colour. If you are working on bare timber, do not reach for a standard acrylic primer. If you have a water stain on the ceiling, a shellac primer is the only thing that will stop it coming back. Getting that decision right at the start saves you from doing the whole job twice.
— Angus
Professional priming and painting in the South West
Getting primer right is the foundation of any paint job that lasts.

At Abrushwithgus, every project starts with proper surface preparation and the correct primer for the substrate. Whether you are dealing with bare timber, stained walls, or exterior surfaces that take a battering from the South West weather, the team selects the right primer formulation before a drop of topcoat goes on. Our domestic painting services cover interior and exterior projects of all sizes, with surface preparation included as standard. If you want a finish that holds up and looks right from day one, get in touch with Abrushwithgus for a no-obligation quote.
FAQ
What does primer actually do to a wall?
Primer seals the surface, fills porosity, and creates a bonding layer for the topcoat to adhere to. Without it, paint soaks in unevenly and is far more likely to peel.
Can I skip primer if I use two coats of paint?
Extra topcoats do not replace primer. They add colour coverage but cannot seal a porous surface or block stains the way a dedicated primer does.
What primer should I use on bare wood?
Oil-based or acrylic wood primers work well on most bare timber. For tannin-rich woods like oak or pine, use a shellac primer to prevent yellow bleed-through.
How long should primer dry before painting?
Most acrylic primers are ready to topcoat in one hour under normal conditions. Oil-based primers typically need 8–24 hours. Always check the manufacturer’s guidance on the tin.
Does primer colour matter?
Primer colour affects how many topcoats you need. Tinting your primer towards the final topcoat colour reduces the number of coats required and lowers material costs on high-contrast colour changes.
Recommended
Comments