
What is efficient painting: the South West homeowner's guide
TL;DR:
Efficient painting combines thorough preparation, quality materials, and a logical workflow to achieve long-lasting results with fewer coats. Proper surface prep, suitable tools, and timing are essential for speed and quality, especially considering regional climate challenges in the South West UK. Prioritizing quality over shortcuts ensures a durable finish that minimizes rework and enhances homeowner satisfaction.
Most homeowners assume efficient painting simply means finishing quickly. That assumption costs them time, money, and a finish that starts peeling before the year is out. What is efficient painting, really? It is the combination of thorough preparation, the right materials, and a logical workflow that gets you a lasting, high-quality result in as few coats and as little time as possible. Whether you are refreshing interior rooms or tackling the outside of your home here in the South West, understanding what efficient painting actually involves is the difference between a job you are proud of and one you redo in two years.
Table of Contents
Key Takeaways
Point | Details |
Preparation is key | Thorough cleaning, repairing, and priming prevents issues and reduces repainting time. |
Right paint and tools | Using high-coverage, fast-drying paints and quality brushes or rollers cuts coats and effort. |
Maintain a wet edge | Painting wet edges prevents lap marks and uneven finishes, saving rework time. |
Plan your workflow | Painting ceilings first, then trim, and walls maximises drying overlaps and efficiency. |
Weather impacts exterior work | Schedule outdoor painting in dry, mild weather for best results and speed in South West UK. |
What efficient painting means for homeowners
Efficient painting is not a race. It is a process built around doing the right things in the right order so that nothing needs to be redone. As a general principle, efficient painting means planning and preparing properly so you apply the right paint system with the fewest necessary coats and the least rework, while maintaining a consistent workflow to avoid lap marks and wasted effort.
For homeowners, this breaks down into four core principles:
Preparation first. Skipping prep is the single biggest cause of rework. Filling cracks, sanding surfaces, and priming properly means paint adheres the first time and stays there.
High-coverage materials. Choosing a quality paint with strong coverage reduces the number of coats you need. Two coats of a premium emulsion almost always beats three coats of something cheaper.
Consistent workflow. Painting in a logical sequence, top to bottom, ceiling to trim to walls, prevents drips landing on freshly painted surfaces and keeps the job moving without backtracking.
Wet edge maintenance. Keeping the leading edge of your paint wet as you work across a wall prevents the lap marks that make a room look like it was painted in sections.
Learning to apply professional painting techniques from the outset is what separates a satisfying result from a frustrating one. Efficiency is quality working smarter, not just faster.
Preparation: the foundation of efficient painting
Ask any professional decorator and they will tell you the same thing: the painting is the easy part. Success in painting is preparation. Cleaning, repairing, sanding, and priming surfaces before you open a tin of paint determines whether your finish lasts five years or five months. Skipping these steps does not save time; it creates peeling, poor adhesion, and touch-up work that costs far more in effort than the prep would have.
Here is a practical preparation sequence for interior surfaces:
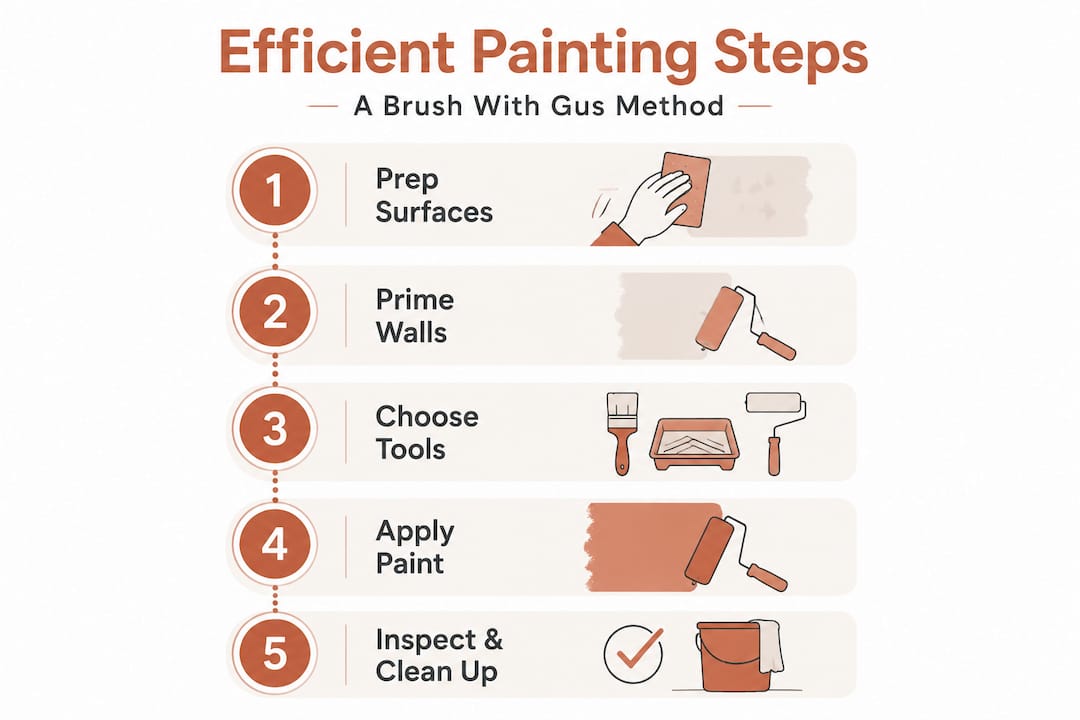
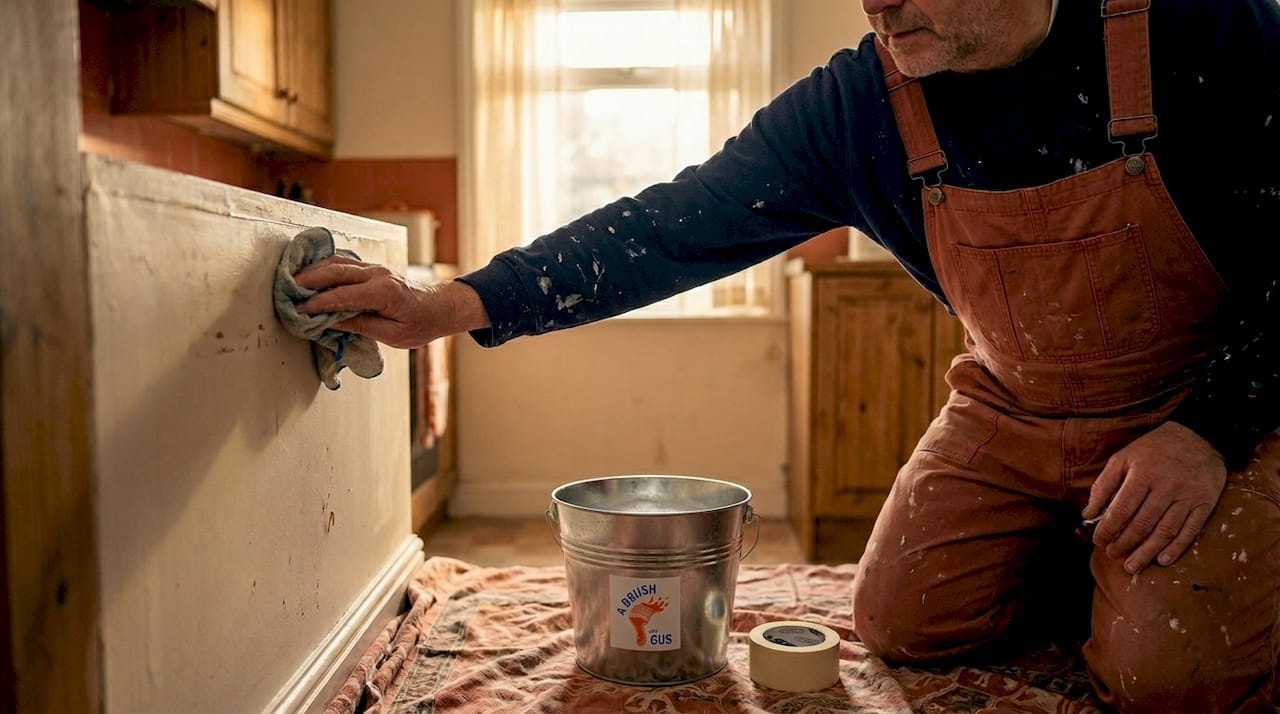
Clean all surfaces. Wash walls and woodwork with sugar soap to remove grease, grime, and cooking residue. Paint will not bond well to a dirty surface no matter how good the paint is.
Fill cracks and holes. Use a flexible filler for hairline cracks and a suitable wood filler for damaged skirting boards or door frames. Allow to dry fully before sanding.
Sand glossy surfaces. If existing paintwork is shiny, a light sand with medium-grit sandpaper gives the new paint something to grip. This is especially important on woodwork.
Prime where needed. New plaster requires a mist coat (diluted emulsion at roughly 10% water) before any topcoat. Repaired areas need a spot primer to prevent uneven sheen.
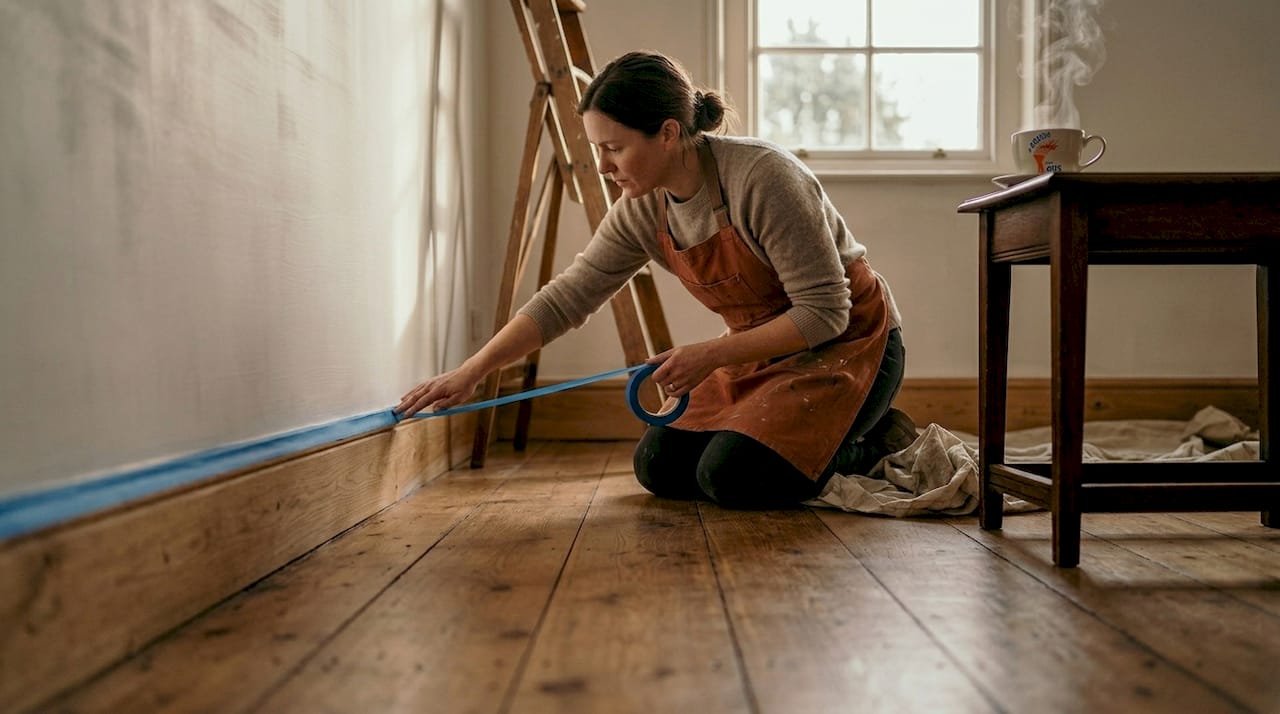
Mask and protect. Tape edges and protect floors before picking up a brush. Doing this after you start painting leads to messy edges and wasted time fixing them.
For exterior surfaces in the South West, preparation is even more critical because our climate adds another layer of complexity. Exterior painting requires thoroughly cleaned and fully dried surfaces before any paint is applied, as skipping this causes peeling, cracking, and uneven finishes. Use a pressure washer on rendered walls, masonry, and timber. Then allow 24 to 48 hours of drying time before painting, particularly after the damp, overcast conditions that are common across Devon, Cornwall, and Somerset.
Pro Tip: If you are working on new render or freshly repaired exterior masonry, use a stabilising solution before your primer coat. It binds loose particles and gives the topcoat a consistent surface to sit on, which dramatically reduces the chance of patchy coverage.
Understanding cleaning and priming preparation in detail pays dividends on every single project you take on.
Techniques and tools to paint efficiently indoors
With surfaces properly prepared, how you apply the paint is what determines your speed and finish quality. Efficient painting techniques indoors rely on a combination of method, tool choice, and discipline in maintaining your working rhythm.
The core indoor approach:
Cut in edges before rolling. Use an angled brush to paint a 5 to 7 cm band along ceiling lines, corners, and around woodwork before you bring a roller near the wall. Cutting edges first then rolling in sections while keeping a wet edge speeds up interior painting without sacrificing quality.
Use the ‘W’ rolling method. Apply paint to the wall in a W or M shape, then fill in the gaps without lifting the roller. This distributes paint evenly and avoids thick streaks.
Keep a wet edge at all times. Work across the wall in manageable sections, always overlapping into the wet paint from the previous section. Once paint starts to dry at the edge, you will get a visible line.
Choose the right tools. A short-pile roller (9mm to 12mm) gives a smooth finish on plaster walls. A medium-pile roller (15mm to 20mm) suits textured or uneven surfaces.
Choosing the right materials is equally important. High-coverage fast-dry paint reduces the number of coats and overall drying times, speeding up the entire process. This is not just a convenience; it is a genuine time and cost saving.
Tool | Best use | Why it matters |
Angled cutting brush (50mm) | Edges, corners, trim | Gives clean, controlled lines with less masking tape |
Short-pile roller (9mm) | Smooth plastered walls | Avoids stippling on flat surfaces |
Medium-pile roller (15mm) | Textured or rough walls | Pushes paint into surface irregularities |
Mini roller (100mm) | Radiators, window reveals | Reaches confined spaces quickly |
Extension pole | Ceilings and high walls | Removes the need for repeated ladder repositioning |
You can explore the full range of interior paint types to match the right finish to each surface. And for step-by-step technique guidance, learning how to paint walls for professional results at home is worth the reading time before you start.
Pro Tip: Never wash your roller between coats if the next coat follows within a couple of hours. Wrap it tightly in cling film or a plastic bag. This keeps it perfectly loaded and saves both time and water.
Managing exterior painting efficiency in South West UK
Exterior painting in the South West carries one challenge that interior work does not: the weather. Our mild, damp climate means timing is everything. Schedule exterior painting during dry periods with temperatures between 10 and 20°C, allow 24 to 48 hours of drying after cleaning, and avoid working between late autumn and early spring where possible.
Key principles for efficient exterior painting:
Work with the season, not against it. Late spring through to early autumn offers the most reliable windows in the South West. Even then, check a three-day forecast before you start.
Pressure wash before anything else. Algae, moss, and general grime are common on exterior walls here due to our higher rainfall. Clean surfaces are the difference between a coat that sticks and one that lifts.
Respect drying times. In higher humidity, surfaces take longer to dry than the product label suggests. Build an extra 24 hours into your schedule as a buffer.
Never paint below 8°C. Paint simply will not cure properly in cold conditions, leaving a soft, chalky surface that weathers badly within months.
Match the paint to the surface. Masonry paint for render and brick, microporous wood paint for timber, flexible exterior emulsion for roughcast. Using the wrong product defeats all the prep work you have done.
Condition | Suitable for exterior painting? | Notes |
10 to 20°C, dry | Yes | Ideal conditions across South West |
Above 25°C, full sun | Caution | Paint dries too fast, causing brush marks |
Below 8°C | No | Paint will not cure; risks chalking and flaking |
Overcast, no rain | Yes | Good diffused light; cooler temperatures slow drying usefully |
Rain forecast within 24 hours | No | Moisture compromises adhesion before paint cures |
Understanding weather and drying time for exterior painting in our region is not overcaution; it is the single biggest factor in whether exterior work lasts. Matching materials to conditions is equally important, and knowing your exterior paint options in detail helps enormously.
Pro Tip: If you are painting rendered walls on the south or west-facing sides of your home, start early in the morning before direct sunlight hits. Paint dries too fast in hot sun and you end up with lap marks and brush drag.
Planning your painting workflow for best results and time savings
The efficient painting process is not just about what you do; it is about the order in which you do it. A well-planned workflow turns a daunting project into a series of manageable steps that fit around each other’s drying times.
Follow this logical sequence:
Ceilings first. Any drips or splashes fall onto unpainted walls. Roll the ceiling, then allow it to dry while you prepare trim.
Trim and woodwork second. Paint skirting boards, door frames, and window surrounds before the walls. Minor splashes onto walls get covered when you roll the main surfaces.
Walls last. By this point, your ceiling and trim are dry and you can work confidently to the edges without fear of smearing fresh paint.
Cut in all edges before rolling each section. Do not cut in the entire room then roll; work wall by wall so cut-in edges are still wet when you roll up to them.
Use drying time productively. Batching tasks around drying times and reducing tool-reset cycles by working in sections dramatically increases efficiency. While a first coat dries, clean brushes, tape the next area, or move furniture into position.
Some additional workflow habits that make a real difference:
Prepare multiple tools before you start so you are not stopping mid-wall to find a brush.
Keep a damp cloth nearby for immediate clean-up of drips before they dry.
Label paint tins with room names and coat numbers so touch-ups use exactly the same batch.
Photograph walls before painting to note where plug sockets or switches are under furniture you have moved.
Good planning and preparation strategies are what separate a polished result from a patchy one. And when you are ready to take the techniques to another level, revisiting efficient painting workflow guidance gives you a framework you can apply to any room or exterior project.
Pro Tip: Keep one brush dedicated solely to cutting in and never use it for loading from the tin. A clean, dry brush gives you far more control at edges and stays in better condition for longer.
Our honest take: efficiency is not the goal, quality is
Here is something worth saying plainly: in our experience at A Brush With Gus, the homeowners who focus purely on finishing faster almost always call us back sooner than those who take the time to do it properly. Efficiency without quality is just fast failure.
The word “efficient” gets attached to all sorts of shortcuts that are actually false economies. Using cheaper paint to save money means more coats. Skipping a mist coat on fresh plaster means the topcoat soaks in unevenly and looks patchy. Painting in October because you cannot wait until spring means the finish bubbles by February. We have seen all of these.
What genuinely efficient painting looks like in practice is this: it costs the right amount of time upfront in prep so that the painting itself is quicker, cleaner, and more satisfying. The room that takes two proper preparation days and one painting day will outlast the room that gets rushed in a single weekend every time.
Gus and Rhys have been doing this across the South West for years. The jobs that stand up season after season are not the ones painted fastest. They are the ones where someone respected the process.
Ready to see what efficient painting looks like in practice?
If you would rather leave the preparation, timing, and technique to professionals who know South West conditions inside out, we are here to help.

At A Brush With Gus, Gus and Rhys bring the same methodical, quality-first approach to every residential project across Devon, Cornwall, Somerset, and beyond. From interior refresh work to full exterior treatments including airless spraying and UPVC spraying, we handle the planning and the hard work so your home gets a finish that lasts. Get in touch with us for a no-obligation quote and let’s talk about what your project needs to get a result you will be genuinely pleased with.
Frequently asked questions
What does efficient painting mean for my home renovation?
Efficient painting means preparing surfaces properly, choosing quality materials, and following a logical workflow to apply paint with fewer coats and minimal rework while achieving a flawless, lasting finish.
How important is surface preparation for efficient painting?
Preparation is the most critical step; skipping it causes peeling and poor adhesion that forces costly, time-consuming touch-up work later, making it far less efficient overall.
Can I paint exterior surfaces any time of year in South West UK?
It is best to stick to late spring through early autumn, as paint will not cure below 8°C, and the wet, cold winters common across the South West make proper adhesion and curing very difficult.
How can I speed up interior painting without losing quality?
Cut edges first, roll with a wet edge, use high-coverage fast-drying paint, and work top to bottom so every step of the process supports the next without backtracking or rework.
Recommended
Comments